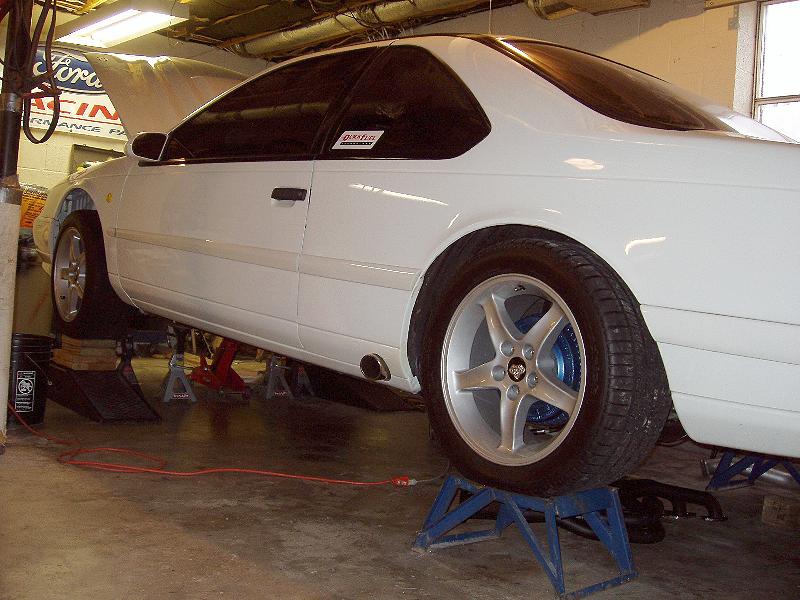
The Slow Process of Installing Long Tube Headers
on a car that makes even short tubes hard.


Started on this the first week in December, and will be glad when it is fired up again.


These shows the notch in the kmember that was needed to route the rear tube on the passenger side.


After making templates for it, steel pieces were cut to fit. The vertical piece has a 1/2 inch wide foot to help add strength, and keep every thing in place.


Above the final templates are test fitted.


The steel pieces are cut, and fitted, are ready for welding.


The U shaped piece will be spotted to the vertical, then pulled out and
welded. They will be inserted back in as a unit, then welded in place.
With the vertical piece and the U shaped piece all welded together,
then welded in place, the kmember will be at least as strong as stock.


The top of the header flange would not clear the floor, so it has been cut out and will be boxed in to give pleanty of room so a heat shield can be put between the headers and the floor board. This keeps the headers mounted up good and high so they will not drag on speed bumps, etc.


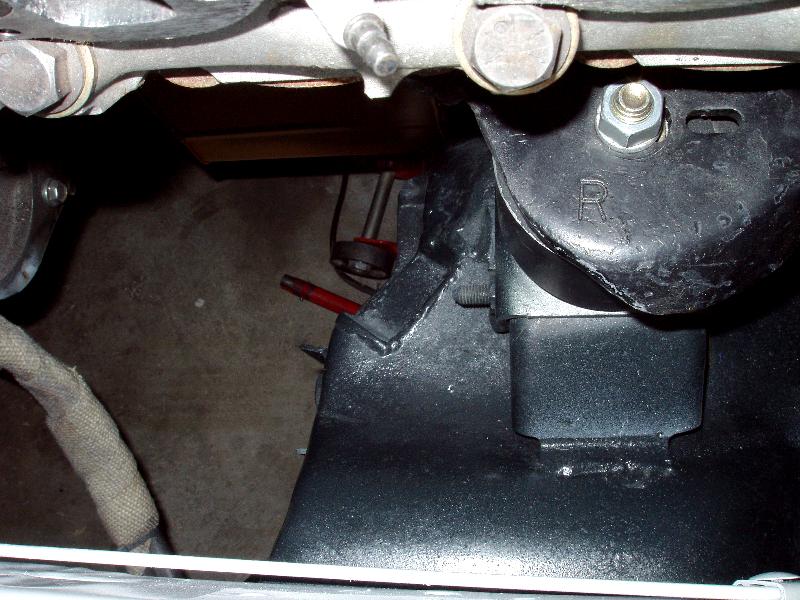
Boxing it with metal now


Ready For The Headers To Go Back In


Insulation added to keep from burning my feet


Modifying the floor and Kmember

Fitting Longtubes

Removing the Wiring Harness

The Headers With Ceramic Coating Instaled


The Bird

Phase 2, Getting it on the Road

Phase 3, Getting it ready for the Strip

Full Project