

Idioma
English
Espa�ol
Pages:
Introduction
Plans
Wood
Stitching
Epoxy
Parts
->Closing
Fibreglass
Opening
Extras
Water!
| Closing hull and deck |
| Intro |
This is a milestone in the project. A momento for reflection. And thinking about the problems ahead.
It is well possible that, even with the care applied, both halves will not fit each other exactly (tell me...). Maybe it's necessary to apply quite a bit of pressure to have them come together... Especially bow and stern areas are very rigid. Personally I was amazed at the force necessary, and even more so when the plywood didn't break.
It's not essencial that both halves fit hermetically. It's always possible to fill with putty.
| Photos |
|
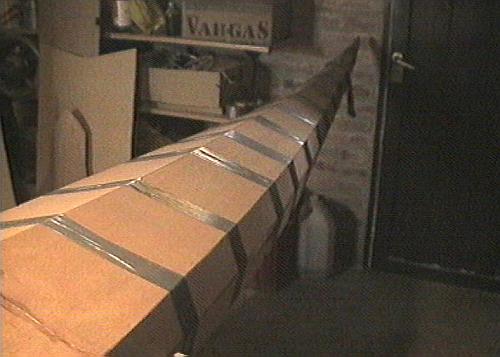
LOTS of duct tape! The tape doesn't adhere too well to the wood itself, so two layers are necessary. I used two large rolls!
|
|
||
|
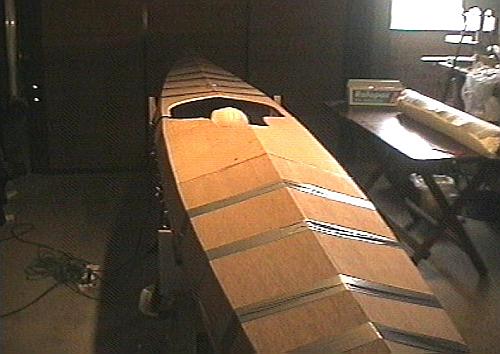
Once joined, it's necessary to open the cockpit hole to reach in and glue the sides together. The hole shape is largely a question of taste. This one didn't convince me, and was modified later. |
||||
|
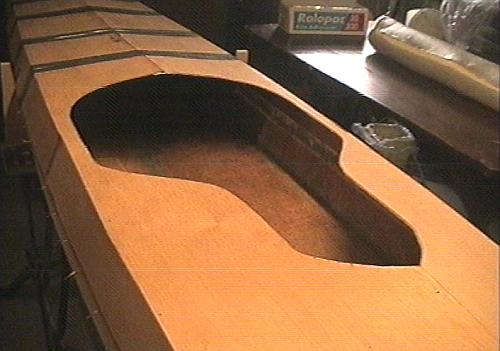
Another view of the opening. It's a simple solution and perfectly acceptable.
|

|
||
|
In the reachable area, close to the opening, I decided to use the tried and true stitch and glue method. This did help a lot in closing the joint. |
||||

|
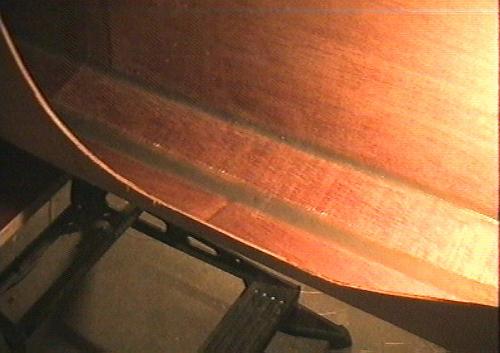
Once the cockpit has been cut out, the aft section closes much easier, and I put in the last stitches, fillet, and glass tape.
|
|
||
|
Done. A pity the fillet remains visible. I couldn't get other additives for the epoxy (talc). |
||||

|
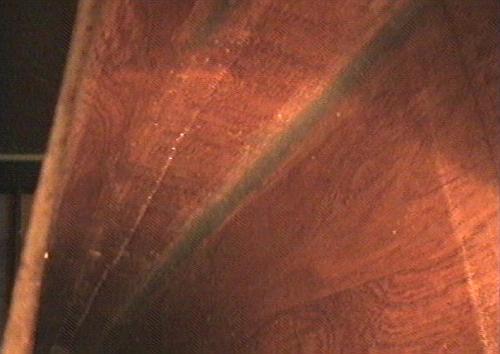
Now the most difficult trick in the project: glueing a 6 cm glass tape to the inner side of the joint, as far forward and aft as possible. Each author has slightly different approach. I added one more, working with strips only one meter long.
|

|
||
|
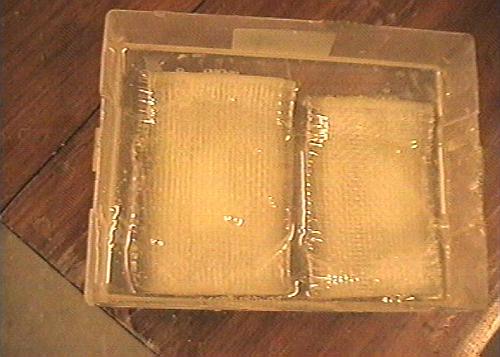
Here I added the resin. The tapes are loosely 'rolled up', to avoid pulling out the fibres. This takes practice! |
||||
|
Let them soak well. The roll must be almost transparent. Here they are almost ready to apply. I put them in place using a long wooden stick, first putting the roll at its start point, then gently pushing to unroll.
|
|
||
|
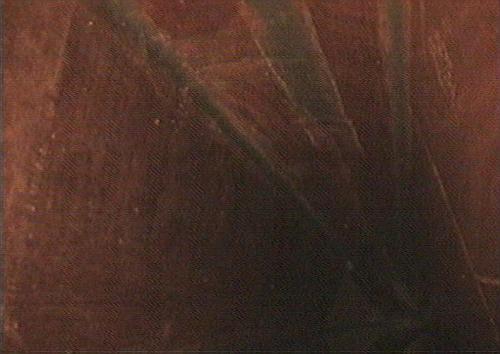
Once more or less in place and unrolled, I fixed a piece of foam to the stick and carefully centered the tape, at the same time applying a little extra resin. |
||||
|
Another tape ready. Of course, the hardest part is near the bow/stern. Patience! Nobody said this was an easy project.
|
|||
| (c) John Coppens ON6JC/LW3HAZ | correo |