

Language
English
Espa�ol
Pages:
Introduction
Plans
Wood
->Stitching
Epoxy
Parts
Closing
Fibreglass
Opening
Extras
Water!

| Cutting and stitching |
| Techniques |
From the previous session, we've obtained 8 large (more than 5.2 metres) pieces of plywood. Next step is drawing the forms.
To protect them, both panels are laid down, with the 'good' sides inside. Then, after drawing the forms, I used a few smallish nuts and bolts, just outside the lines, to join the panels and avoid displacements while cutting.
| Photos |
|
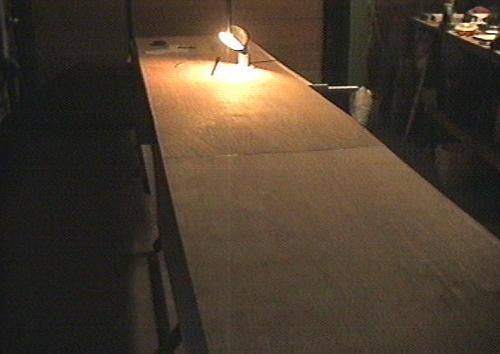
First necessity: invent some way to support these monster panels. I didn't have George's three tables, so this is a combination of a table and different sawhorses.
|
|
||
|
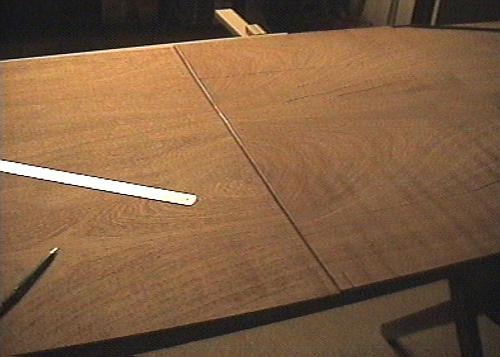
Before starting the drawing, it's necessary to have a reliable reference line. I strung a wire along the side of the panels, then marked a long line. |
||||
|
Using this reference, and a homemade square (why is this triangle called a square?), I traced the vertical lines at the separations from the table.
|
|
||
|
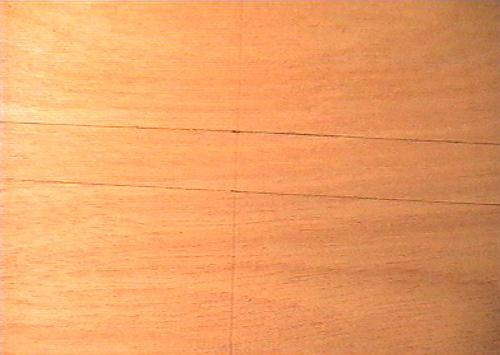
These are the vertical lines, already with the shapes drawn. |
||||
|
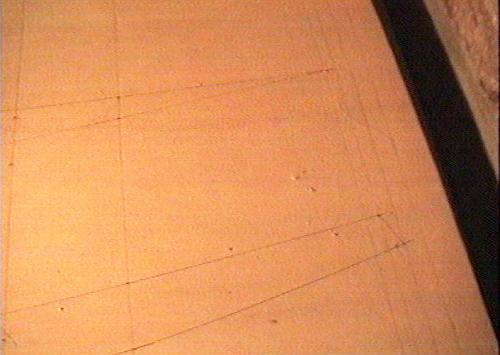
Along the verticals, from the reference line, mark all the points from the right side of the table. Then join them using fair lines. Use some semi-flexible form to help.
|
|
||
|
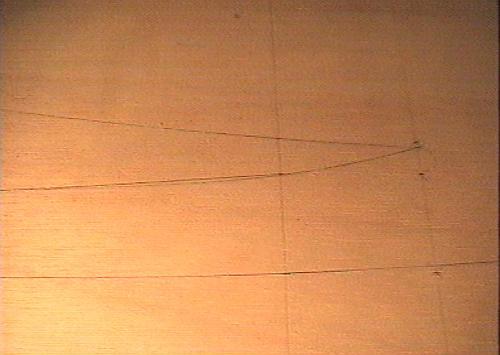
It's not that easy. Here are some errors, both mismarkings and errors estimating the curves. |
||||
|
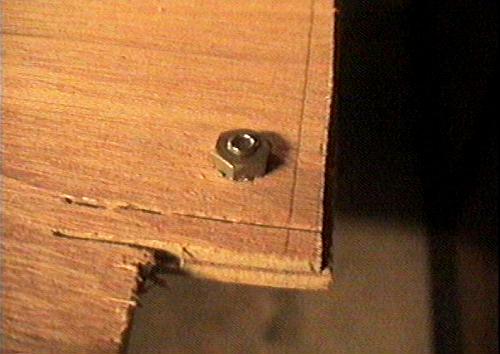
Finished, select some strategic spots to pass the bolts. Estimate the space necessary to pass the jigsaw!
|

|
||
|
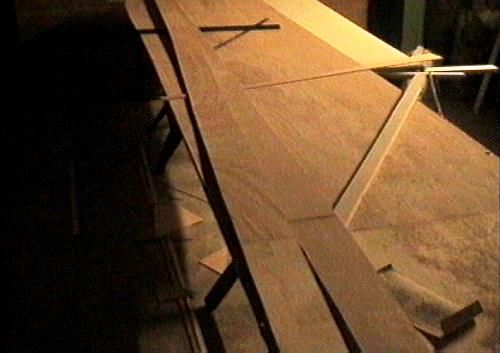
It's also difficult to maintain the panels together along the 5 metres. Several tricks were necessary. |
||||
|
Cut! Use a good blade in your jigsaw, and slowly advance outside the lines. While cutting, try supporting the long strips.
|
|
||
|
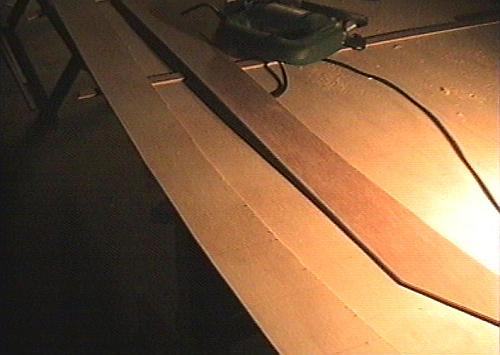
Before cutting the actual form from the panel, use the moment, to finish (sand) the other side. It's easier and more precise to do it now. Then cut the other side. This slice is 5 metres long and only 7 cm wide! |
||||
|
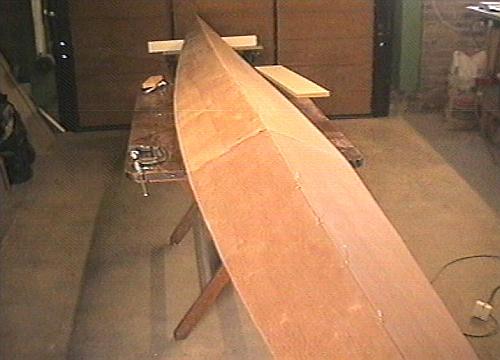
After cutting all, we've 8 pieces. Four of them are in wrong sense. Check the drawing, and select the correct ones to invert them. Then it's time to start the stitching, starting with the bottom (photo is the deck, though)
|
|
||
|
Without separating the center two panels, drill a small hole (1.5 mm) at 8 to 10 cm interval, about 6 mm from the side. I made a small piece of wood to help measuring. |
||||
|
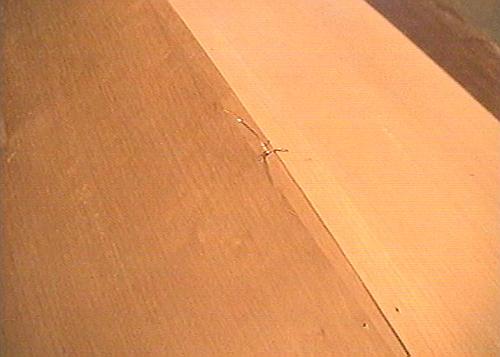
Again, with both panels still closed, pass small pieces of copper wire (8 cm) through the holes, and twist them slightly. After that, open the panels like a book.
|
|
||
|
That's the result. The borders to be stitched are already waiting to be drilled. |
||||

|
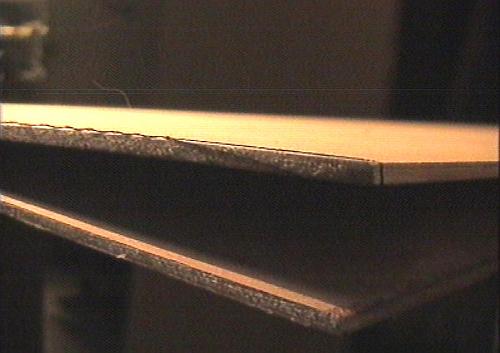
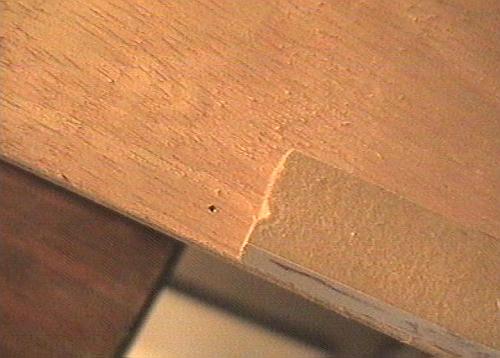
Though not really necessary, it improves the final product: I sanded the borders of the plywood at an angle, so that after stitching them together the separation will be minimum. The hull forms are handy in estimating the angle necessary.
|
|||
| (c) John Coppens ON6JC/LW3HAZ |