Courtesy of Wikipedia the definition is as follows:
"Microscopy is the technical field of using microscopes to view objects and areas of objects that cannot be seen with the naked eye (objects that are not within the resolution range of the normal eye). There are three well-known branches of microscopy: optical, electron, and scanning probe microscopy, along with the emerging field of X-ray microscopy. Both optical microscopy and electron microscopy involve the diffraction, reflection, or refraction of electromagnetic radiation/electron beams interacting with the specimen, and the collection of the scattered radiation or another signal in order to create an image. "
So what is Amateur microscopy?
Courtesy of Wikipedia the definition is as follows:
"Amateur microscopy is the investigation and observation of biological and non-biological specimens for recreational purposes. Collectors of minerals, insects, seashells, and plants may use microscopes as tools to uncover features that help them classify their collected items. Other amateurs may be interested in observing the life found in pond water and of other samples. Microscopes may also prove useful for the water quality assessment for people that keep a home aquarium. Photographic documentation and drawing of the microscopic images are additional pleasures. There are competitions for photomicrograph art. Participants of this pastime may use commercially prepared microscopic slides or prepare their own slides."
"In the late 1800s, amateur microscopy became a popular hobby in the United States and Europe. Several 'professional amateurs' were being paid for their sampling trips and microscopic explorations by philanthropists, to keep them amused on the Sunday afternoon (e.g., the diatom specialist A. Grunow, being paid by (among others) a Belgian industrialist). Professor John Phin published "Practical Hints on the Selection and Use of the Microscope (Second Edition, 1878)," and was also the editor of the "American Journal of Microscopy."
So now that you know a little more about microscopy here are just few more terms you should get familar with before I talk about my microscopes and why I use them.
Bright field
Bright field microscopy is the simplest of all the light microscopy techniques. Sample illumination is via transmitted white light, i.e. illuminated from below and observed from above. Limitations include low contrast of most biological samples and low apparent resolution due to the blur of out-of-focus material. The simplicity of the technique and the minimal sample preparation required are significant advantages.[citation needed]
Oblique illumination
The use of oblique (from the side) illumination gives the image a three-dimensional appearance and can highlight otherwise invisible features. A more recent technique based on this method is Hoffmann's modulation contrast, a system found on inverted microscopes for use in cell culture. Oblique illumination enhances contrast even in clear specimens; however, because light enters off-axis, the position of an object will appear to shift as the focus is changed. This limitation makes techniques like optical sectioning or accurate measurement on the z-axis impossible.
Dark field microscopy is a technique for improving the contrast of unstained, transparent specimens.[16] Dark field illumination uses a carefully aligned light source to minimize the quantity of directly transmitted (unscattered) light entering the image plane, collecting only the light scattered by the sample. Dark field can dramatically improve image contrast – especially of transparent objects – while requiring little equipment setup or sample preparation. However, the technique suffers from low light intensity in the final image of many biological samples and continues to be affected by low apparent resolution.
Dispersion staining is an optical technique that results in a colored image of a colorless object. This is an optical staining technique and requires no stains or dyes to produce a color effect. There are five different microscope configurations used in the broader technique of dispersion staining. They include brightfield Becke line, oblique, darkfield, phase contrast, and objective stop dispersion staining.
Phase contrast
More sophisticated techniques will show proportional differences in optical density. Phase contrast is a widely used technique that shows differences in refractive index as difference in contrast. It was developed by the Dutch physicist Frits Zernike in the 1930s (for which he was awarded the Nobel Prize in 1953). The nucleus in a cell for example will show up darkly against the surrounding cytoplasm. Contrast is excellent; however it is not for use with thick objects. Frequently, a halo is formed even around small objects, which obscures detail. The system consists of a circular annulus in the condenser, which produces a cone of light. This cone is superimposed on a similar sized ring within the phase-objective. Every objective has a different size ring, so for every objective another condenser setting has to be chosen. The ring in the objective has special optical properties: it, first of all, reduces the direct light in intensity, but more importantly, it creates an artificial phase difference of about a quarter wavelength. As the physical properties of this direct light have changed, interference with the diffracted light occurs, resulting in the phase contrast image. One disadvantage of phase-contrast microscopy is s halo formation (halo-light ring).
Early on in my career I had the opportunity to use mainly high end Lieca Microscopes for making detailed inspections on automotive engine parts. Lieca makes some very nice microscopes and the objectives on those high end scopes were indeed superior. But for most budding scientists, the price point for these high end scopes would be very expensive for the average hobbyist or college student. So being curious, I decided to investigate and to see what is possible for anyone who would like to try micoscopy on a smaller budget using the availability of low cost student level microscopes that had price tags of around $100.00 US for each scope..
Are these just toys for kids? Are they even worth the effort to buy them? Well, to my surprise some of these lower cost microscopes were actually pretty good. The bulk of these low cost student grade microscopes are indeed manufactured in China ( no surprise!) . Granted they do not match the quality level of a high end Carl Ziess, Lieca, or Olympus branded microscope. But the microscopes I obtained from AMSCOPE back in 2016 that are being talked about and shown here on my webpage are indeed acceptable for making many types of observations in the microverse as the included objectives on these scopes are good. Are there better scopes and objectives out there? YES. But not at this price point. So if your looking for a useable entry level microscope with out all of the bells and whistles these could fit the bill nicely. However, I am actually a big fan of the Euromex microscopes from Holland. The quality and build of these microscopes is most excellent, priced fairly, and come with many features my lower end microscopes just do not have. Also the online reviews and customer satisfaction for the Euromex scopes seem to be very high as well. So please check those scopes out. as well.
I purchased the following student level microscopes for creating this webpage. At the time of this writing these scopes have went up in price subtantially
NOTE! As of 2018 Amscope has made significant modifications to the MC160C and has eliminated the fine focus knob. Only coarse focus knob is available on this scope. This news will be a deal breaker for some as the fine focus knob is very helpful on making slight focus adjustments under higher magnification.
My Cost $48.00 US! Purchased in 2016.
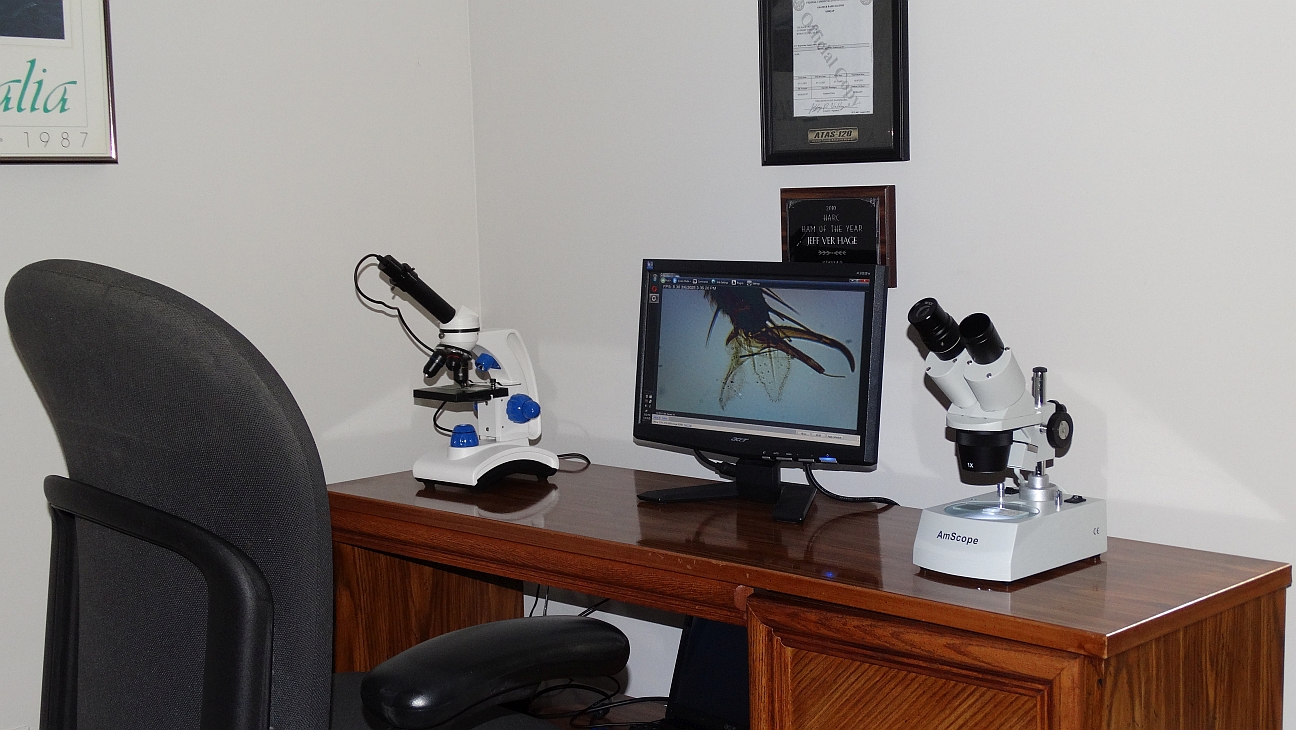
AMSCOPE SE305R-P-LED 1X - 30X Stereo Microscope
My Cost $119.80 US! Purchased in 2016
CELESTRON USB 2.0 2MP MICROSCOPE CAMERA
My Cost $39.00 US! Purchased in 2016
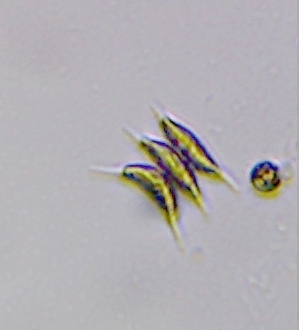
BRIGHT FIELD IMAGE EXAMPLES BY KB8QAP
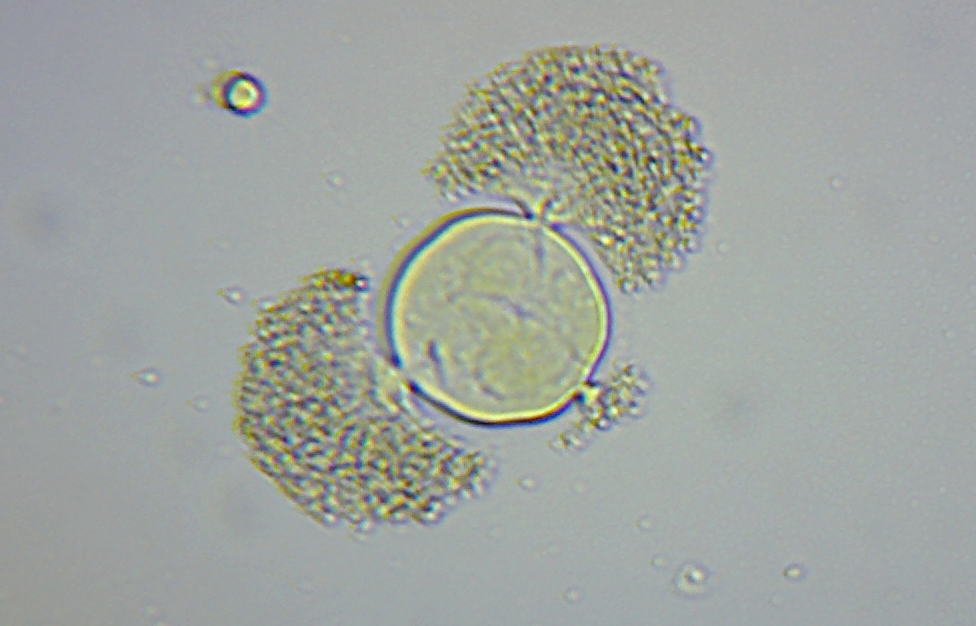
Here I am using a combination of 400X to 600X magnification to view the wide diversity of biological life that thrives in in a microworld by placing a single drop of pond water onto a microscope slide with my observations. A glass cover slip is added to protect the objective and add clarity. Here we see that the pond water is actually a living microverse that is filled to the brim with outstanding specimens to observe, learn from, and to discover their unique functions and life cycle purposes.
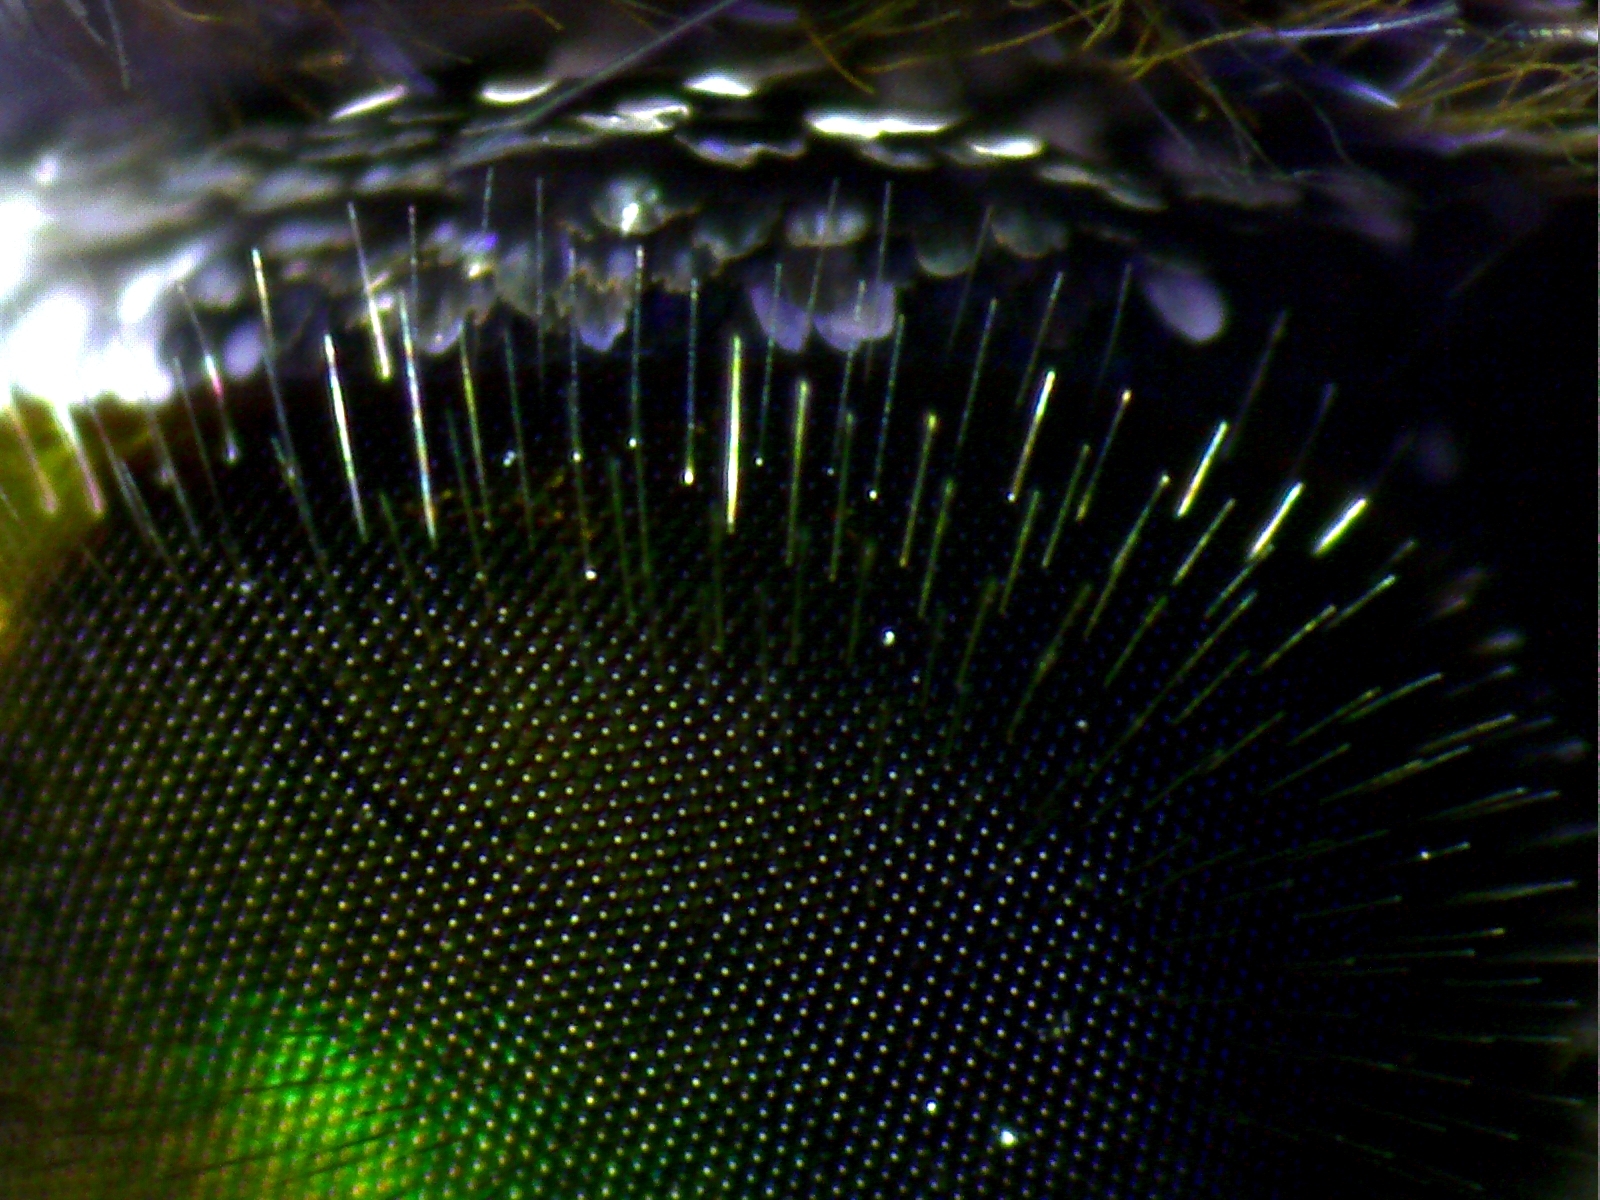
Additional Images below! Look out! Here we can observe something we don't see everyday! We are looking directly at the amazing face and compound eyes of a migratory Red Admiral Butteryfly at 150X magnification. I discovered this specimen laying upside down dead along the roads edge after being hit by a passing motorist.
Thousands of benificial insects and butterflys are killed yearly thru this process of accidental vehicle impacts.
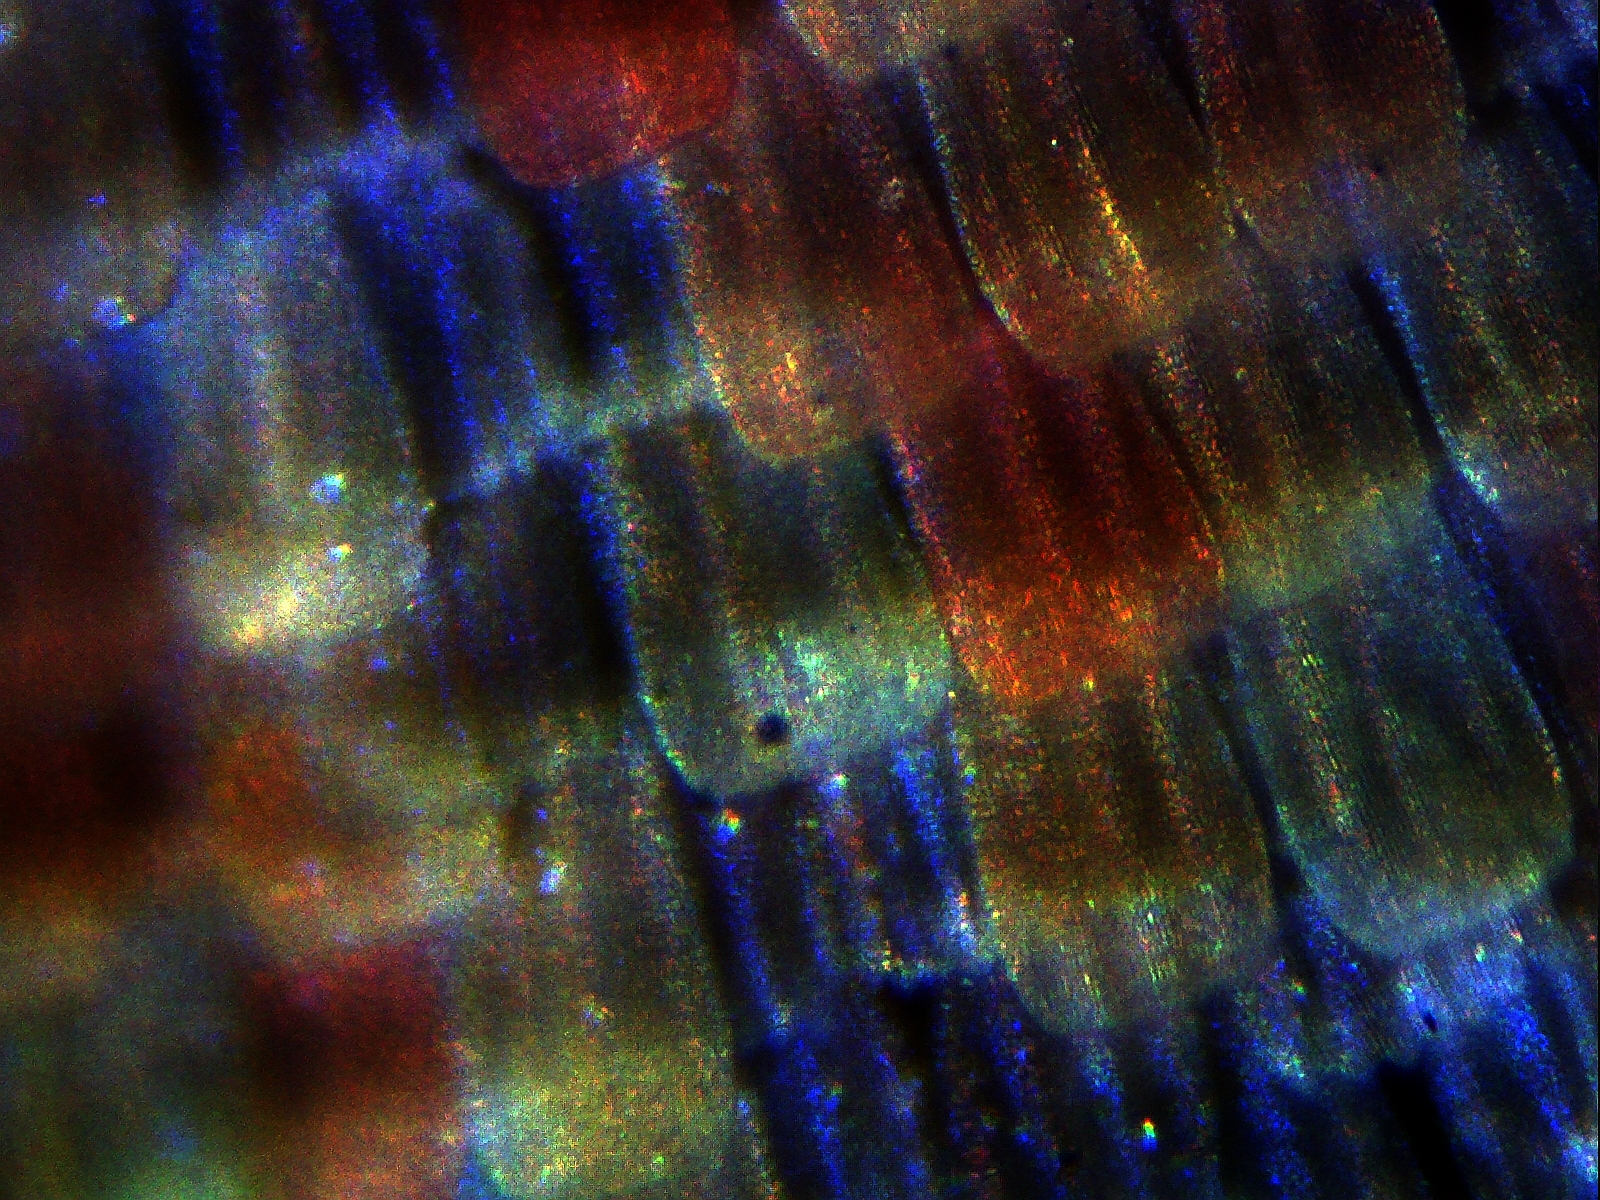
Here we can see further added detail on one of the compound eyes of Red Admiral Butterfly now magnified at 400X using my M160C-2L-PB10 microscope.
Above images..I use the top mounted LED light on my scope to illuminate the butterfly wings and intricate scales pattern it contains. These colorful tiny scales are quiet remarkable and serve multiple purposes. Each overlapping scale fits neatly into a matching pocket built into the wing. The scales are designed to dislodge and break off from the wing to help free any stuck butterfly from getting trapped onto a sticky spider's web. It is believed that the scales of butterflys and moths provide protection from echolocating bio sonar signals from hungry bats as the saw tooth pattern on the scales confuses the bats locating ability to finds its prey.
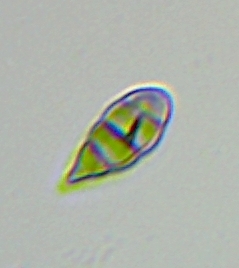
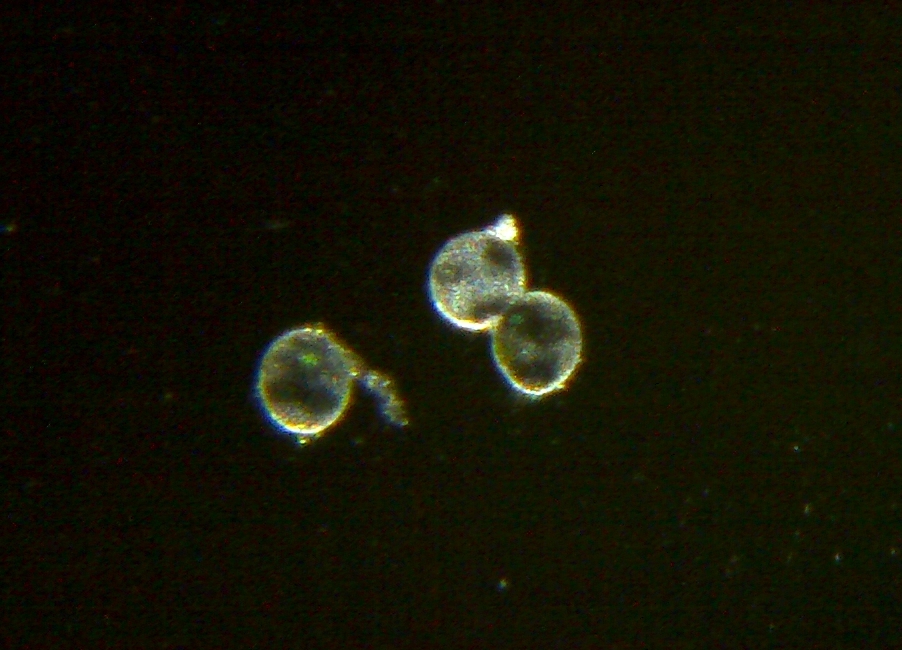
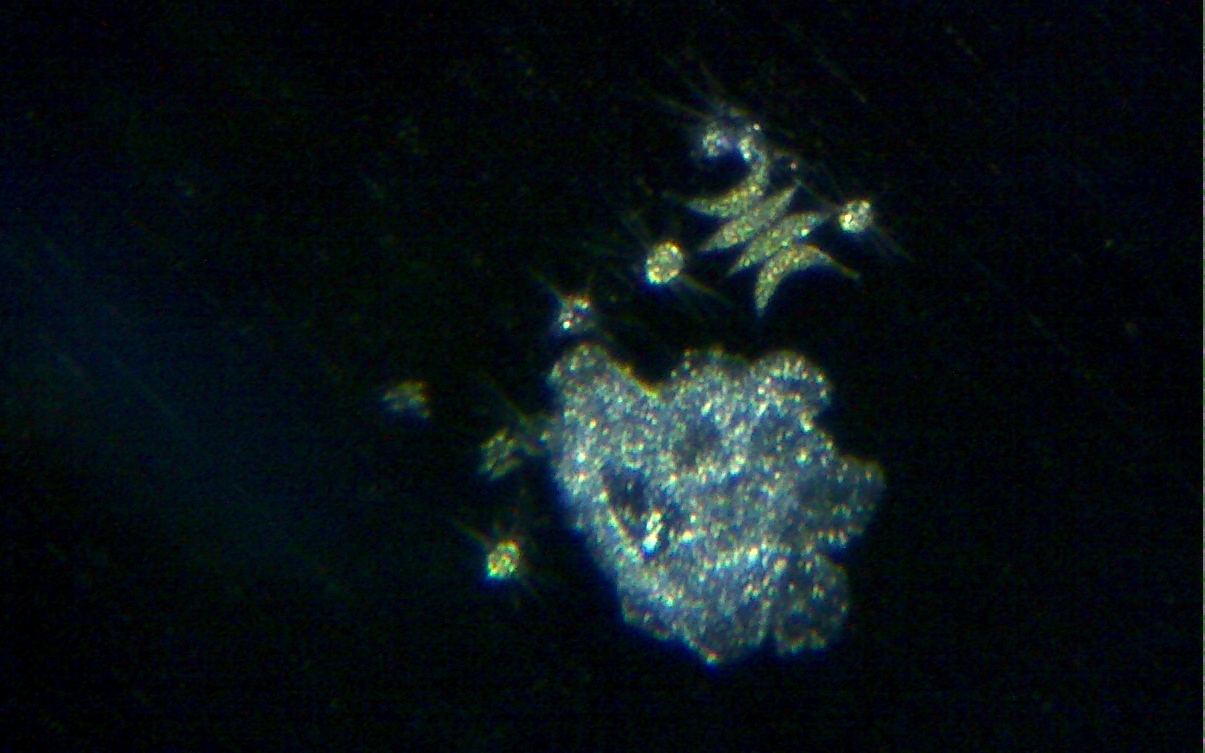
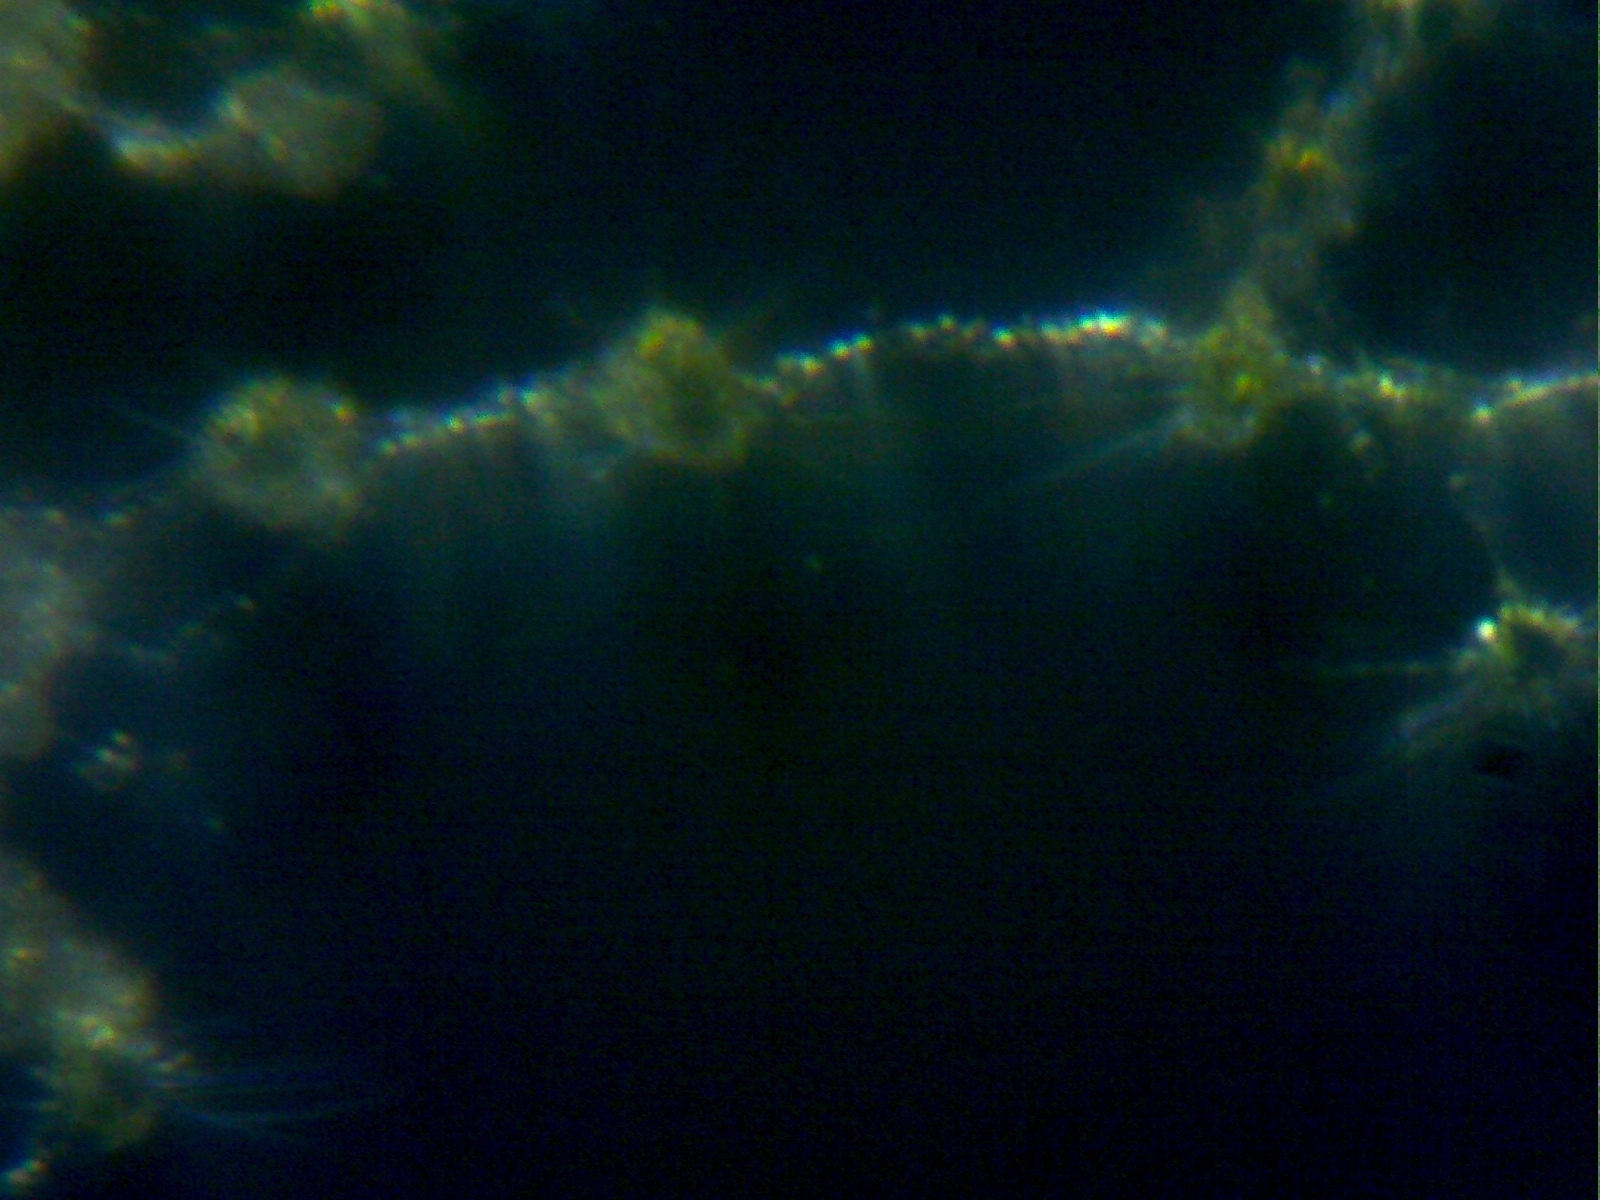
OBLIQUE ILLUMINATION EXAMPLES:
Lastly, I would like to demonstrate a technique known as oblique illumination for the next few images of the same pond water specimens. Here I turned off the base mounted LED illumination used for bright field observation on the microscope and have now switch to a 40 lumen white led flash light that was hand held off the side edge of the microscope stage with the white LED light shining now horizontally across the edge of the glass slide plate at about 15 degrees off true horizontal. This technique will now make the specimens retain their true colors and they appear more 3D in appearance on a darker or black background of the stage. Something to keep in mind if you want to get more detail on your specimens.