My Vortech YSi Supercharger Install
Starting Point

Work Time
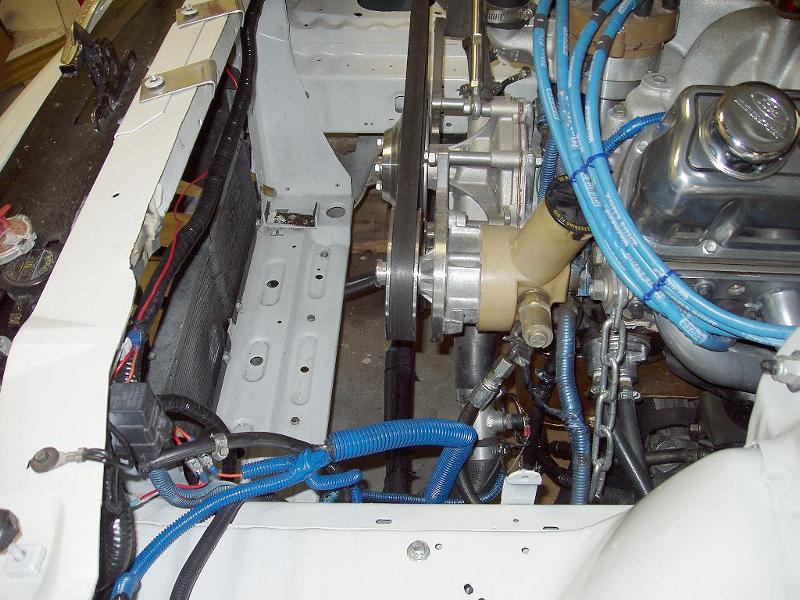
The radiator and fan removed, ready to get started.
The Alternator and mount is removed. The Kit comes with a special mount
to position the alternator lower to make room for the discharge tube coming
from the drivers side YSi.
The P/S pump and mount were removed, and will not be used .
The high pressure hose was removed from the swivel piece at the rack.
The return line was cut off at the rack to be about 3 inches long. The
swivel piece was cut to allow it to slide into the end of the return line to form
a loop.
The P/S rack will be replaced with a manual rack this Winter.


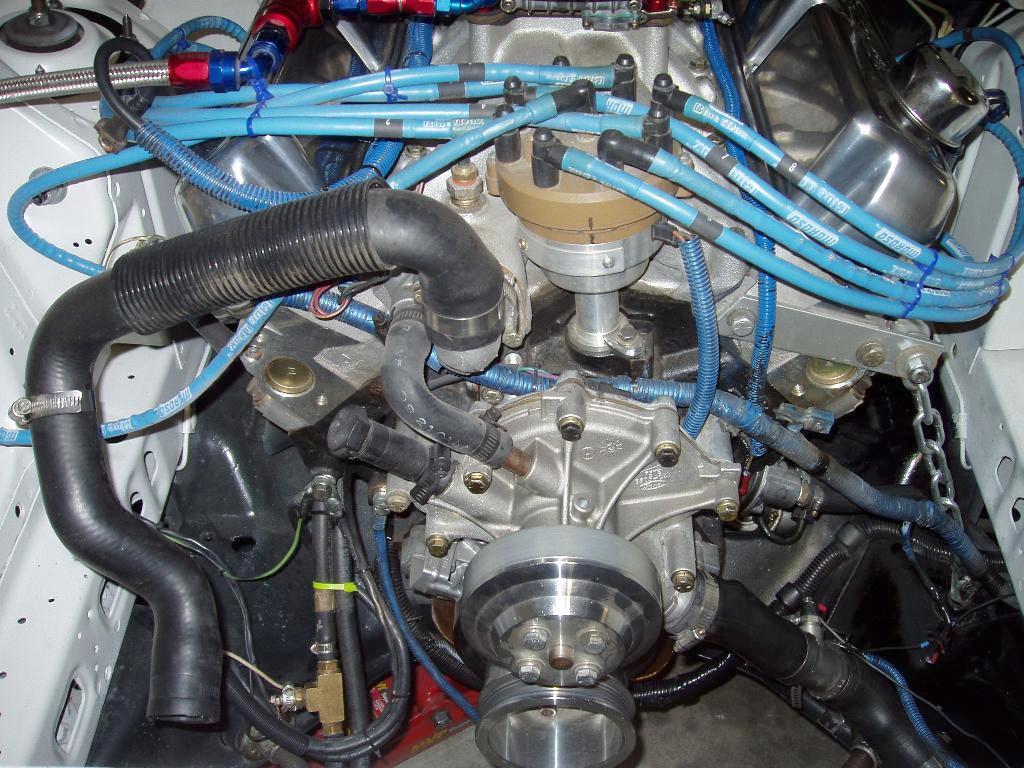
New Alternator mount is on with a new 130 amp alternator. Lower 8 inch
supercharger pulley installed also.
Next will be punching the oil drain hole in the pan, install the
fittings, and install the oil feed fitting to the oil sending unit mount.

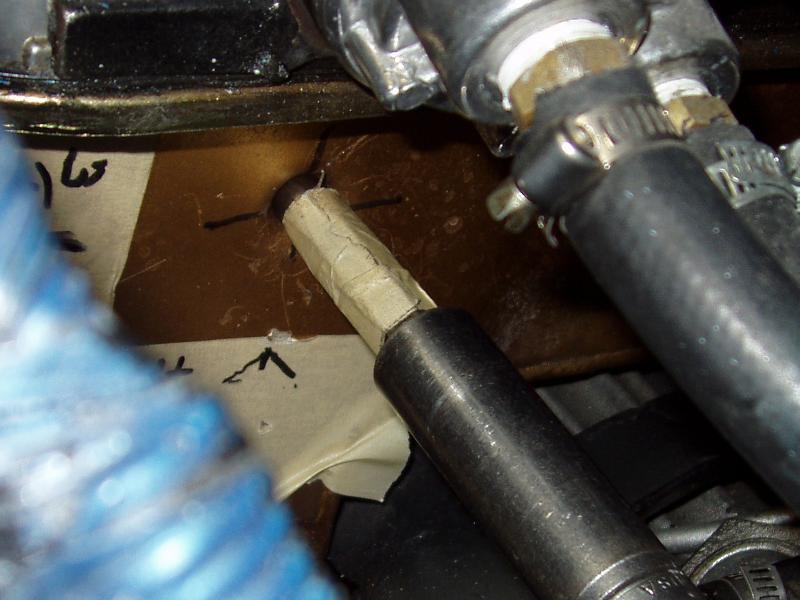
Punches were used to get the hole to about 9/16 diameter, then the 3/8 NPT
tap was used to thread it. I used a small punch first, then inserted a piece of
welding rod into the hole to see how much clearance I had. I then used a deep
socket to fit each punch, marked each punch with tape to know where to stop.
I then used a couple of extensions, and pounded the punches in to roll the opening till
it was about 9/16 opening. I used 4 separate tapered punches to keep enlarging
the hole, with out the punches going in too far and hitting something. For the final
sizing, I slid a 9/16 boxed wrench up on to the punch, and marked where it stopped.
I wrapped masking tape at that point to let me know where to stop.

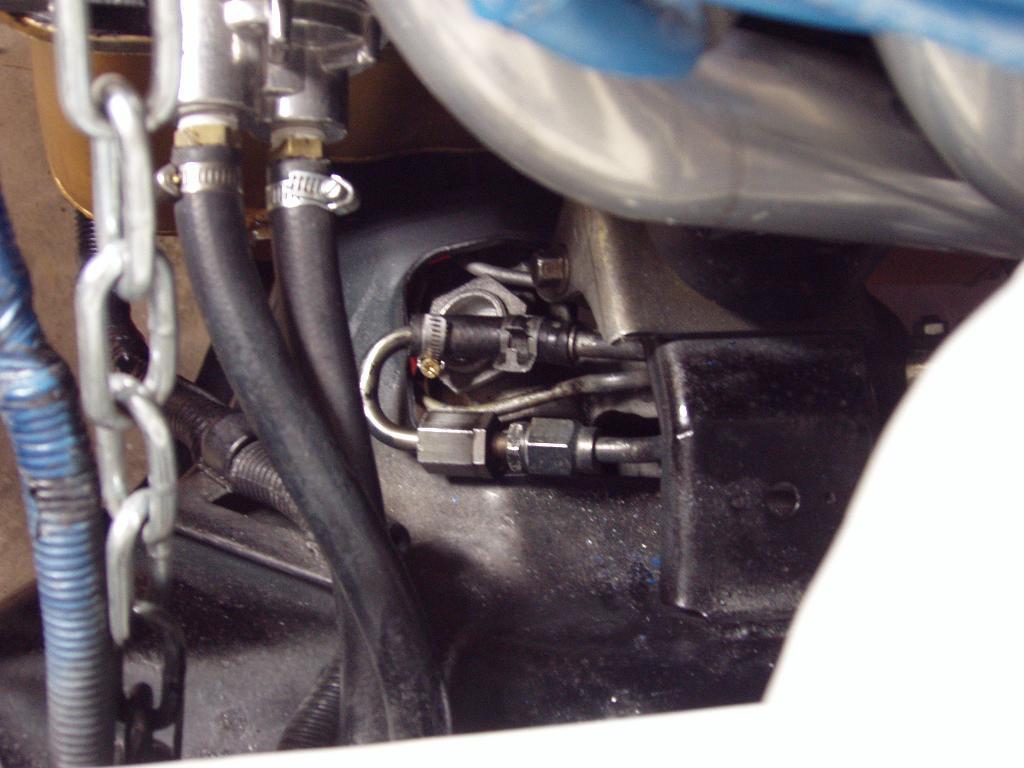
Ready for the Drain fitting to be installed
I wanted to make sure ALL the shavings were removed from the oil pan, so
bought 2 gallons of 5w30 at a time, and after draining the my regular oil, I
poured 2 gallons in, then drained it into a clean container and ran one of those
strong extendable magnets through it to see if there was any still in it. There was,
and I did it 2 more times till it was all gone. I then filled it with my regular oil
to be ready to fire it when completed.

Ready for the Oil Supply Line, then the mount for the YSi.


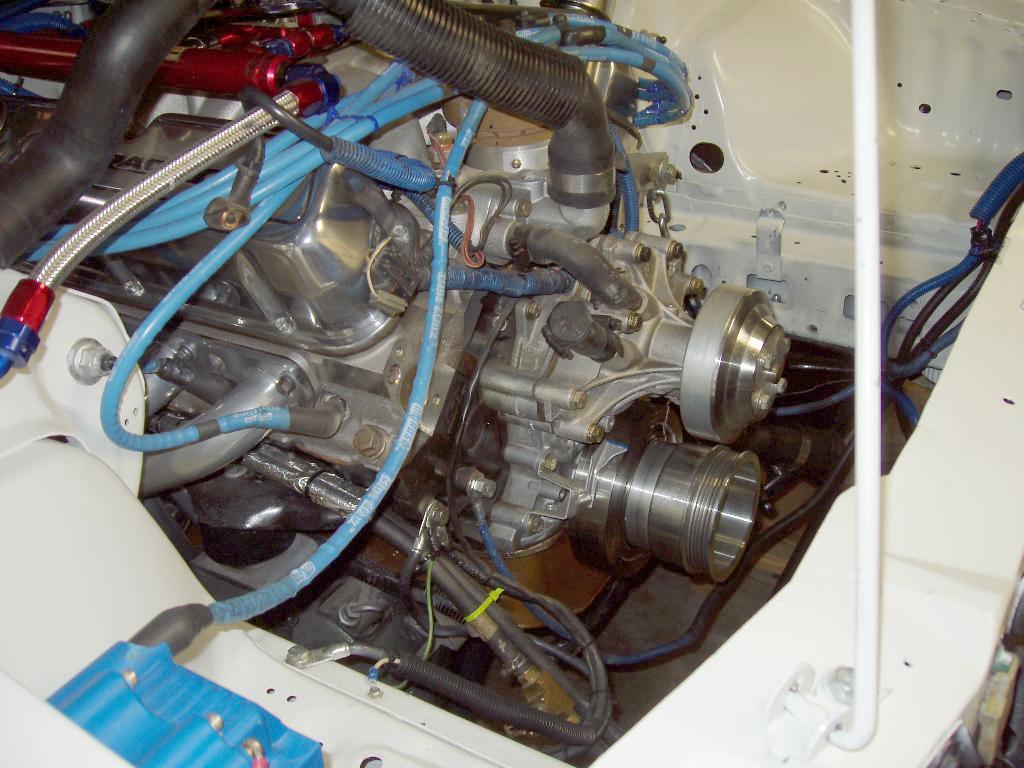
The YSi Mount is almost on.
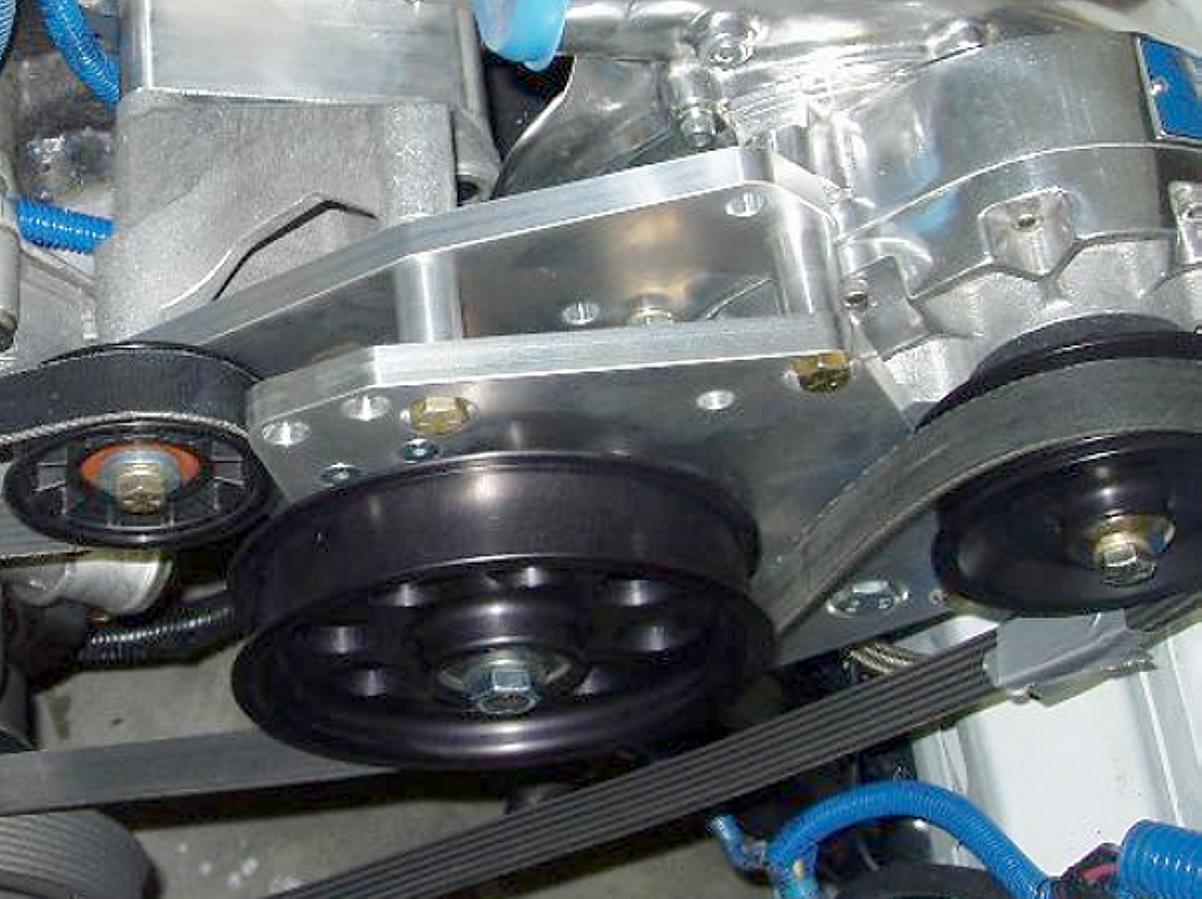
It is on, but several things still need to be done
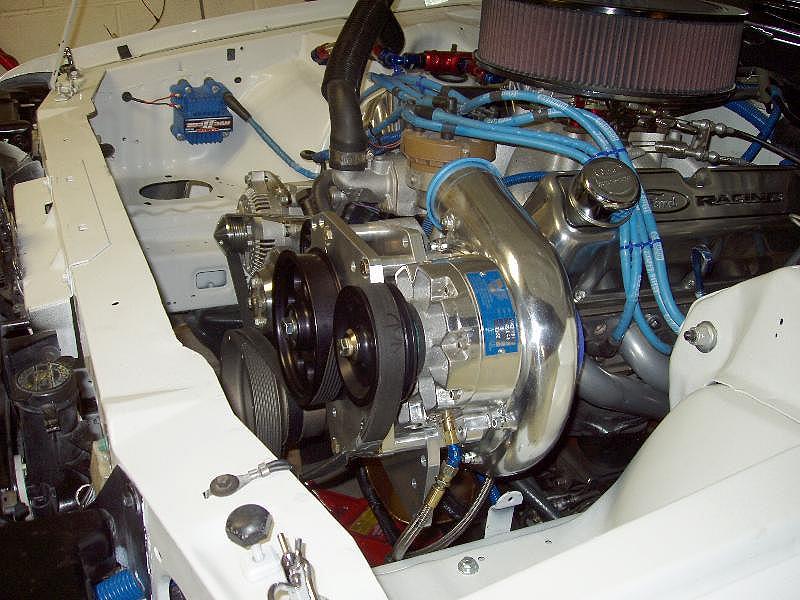

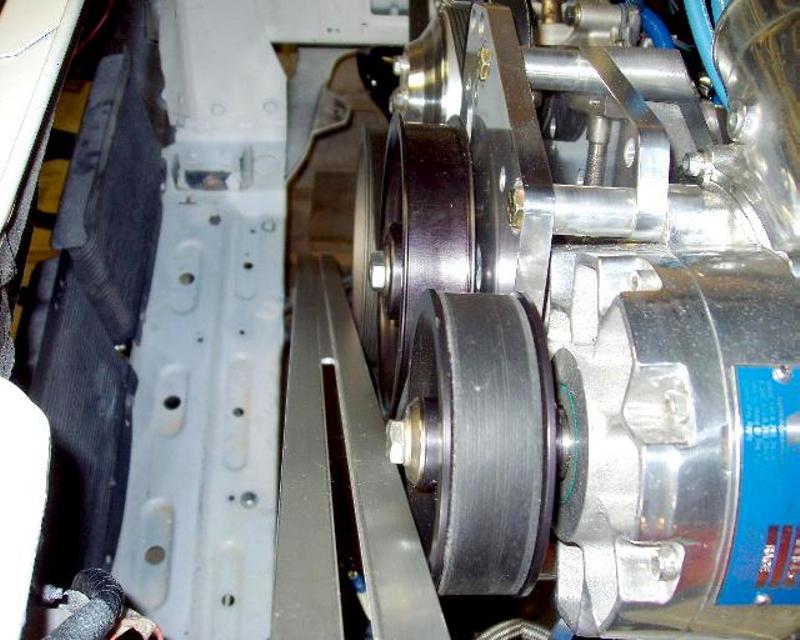
Last 3 pictures are with a old 6 rib for mock up purposes only. The
supplied belt will not work with my chosen pulley on the head. Will get the
correct belt Monday. The radiator support needs some modifying to allow the
top of the radiator to be shifted forward 1 inch.

This is the area that will be reshaped to allow the
radiator to be shifted forward to clear the SC belt.

This is what required the radiator to be shifted 2 inches forward.

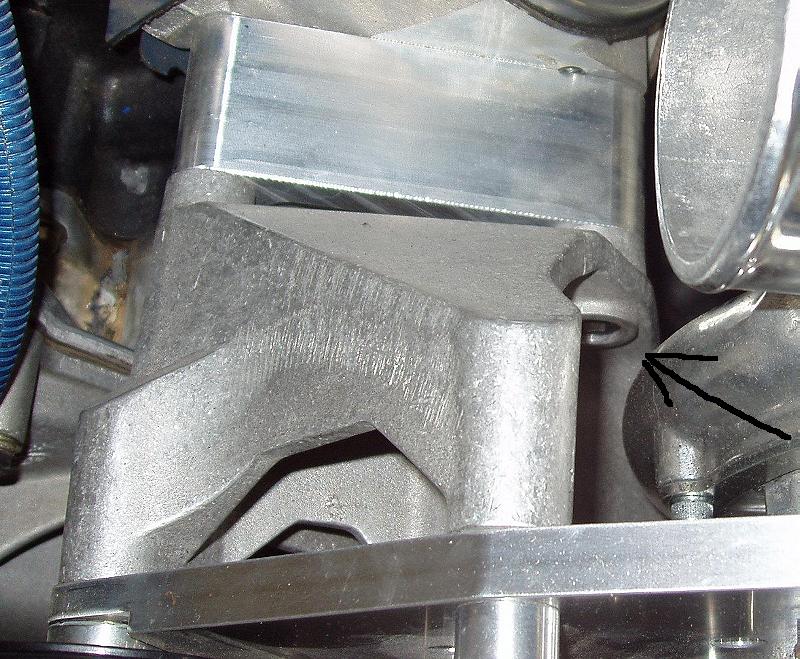
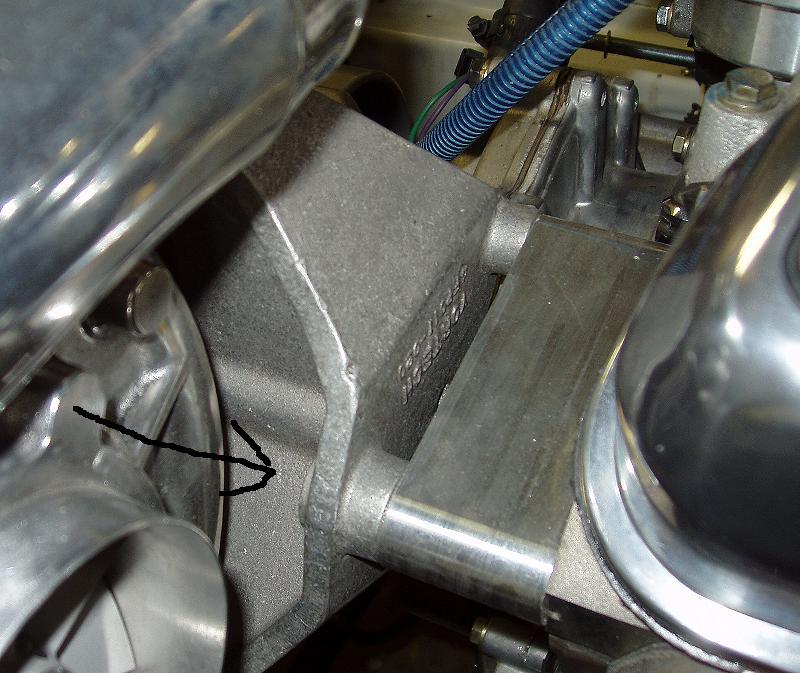
To get enough room for the fan to clear the 8 rib
belt, the radiator support had to be modified. The top part was trimed to
the point indicated at point #1. I also had to lower the radiator 3/4 of a inch, and
shift the bottom of the mount forward 1 inch at point #2.
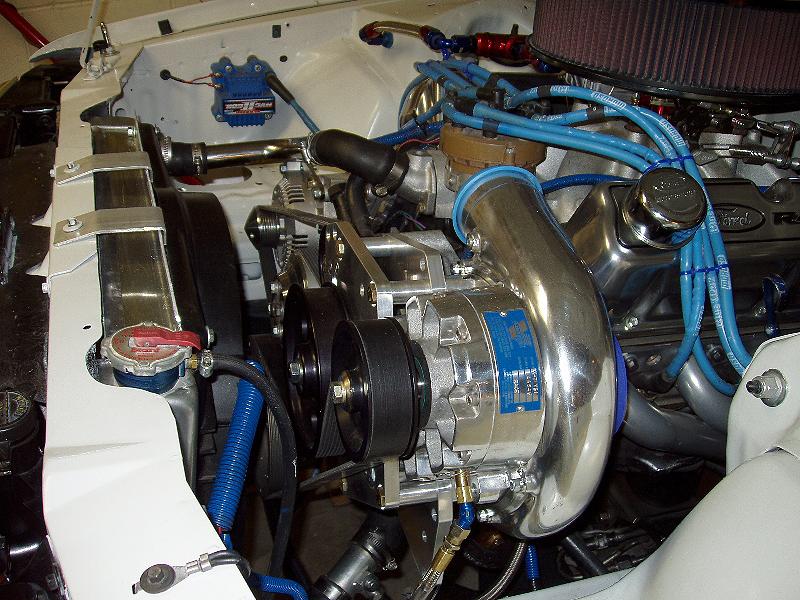
Below are a few shots of the discharge tube and carb
enclosure that I took while mocking them up today.

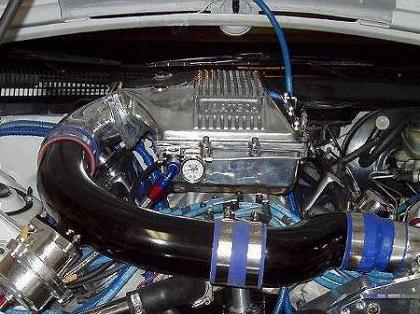
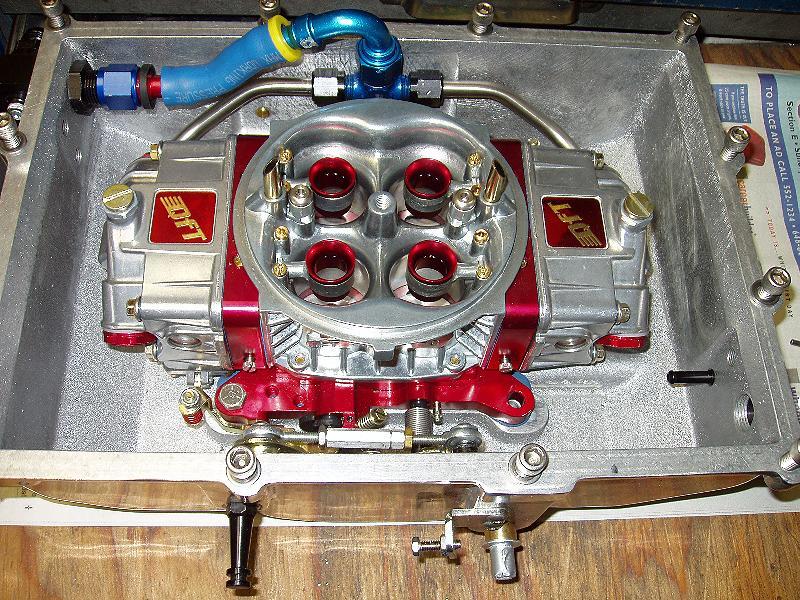
The enclosure has a Quickfuel 750 blow through carb
inside. It has worked perfectly from the first fire up .

The 4 inch short radius 90 worked out fine. I used 600, then 800 sandpaper
on the elbow, then a Brillo Pad. After that, some metal polish.
I used the top part of the Vortech bracket, and the bottom of the Lokar.
Looks like it should work out fine.

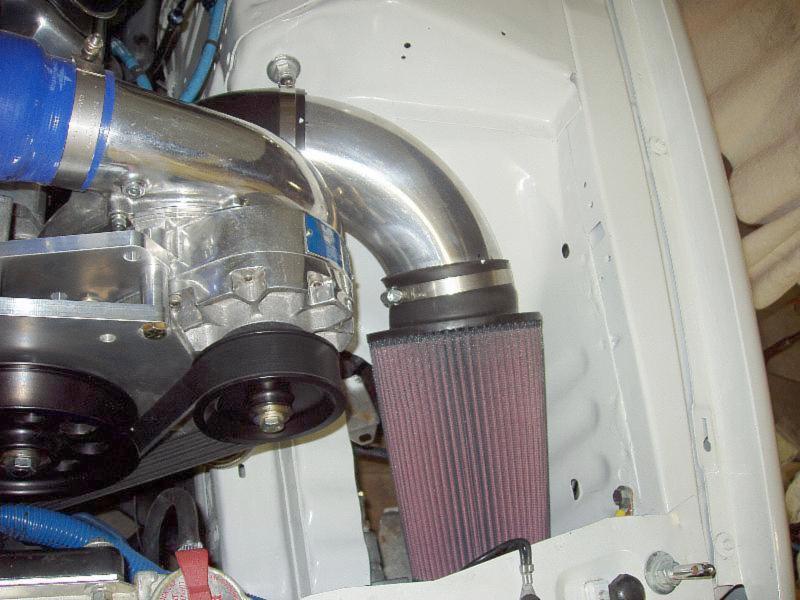
I will make a enclosure for the filter to take advantage
of the fresh air opening I made under it.
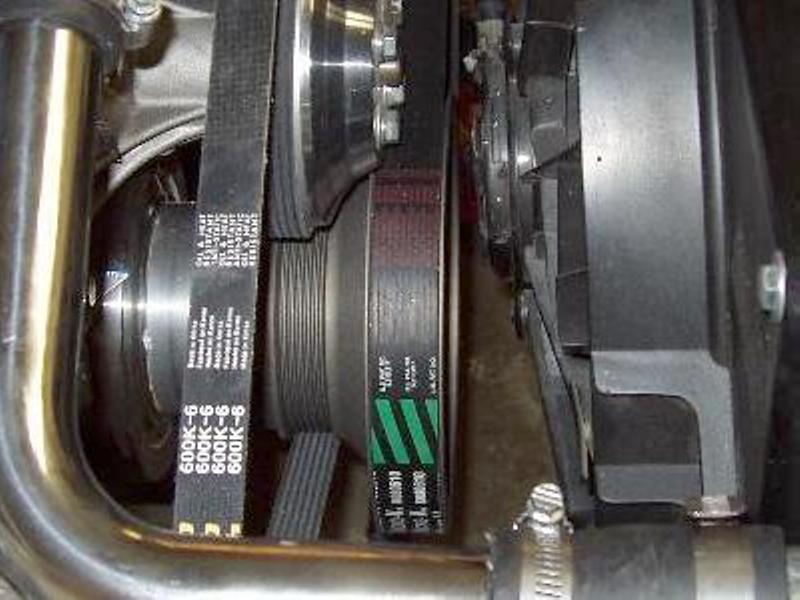
The pulleys did not line up perfect

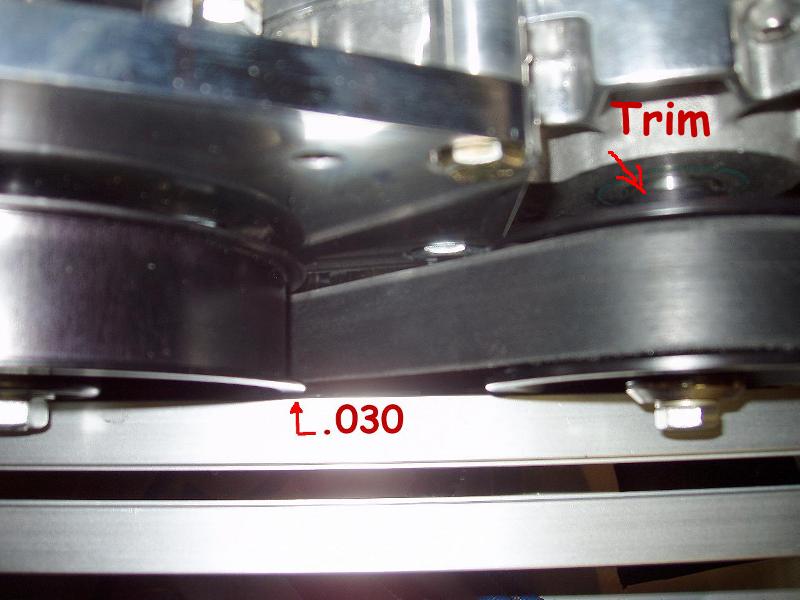
I had .030 trimed off the back of the pulley.
Now they are perfect. Time for a fresh belt
The YSi Install is Complete
I converted it to E85, and it is making 800+ RWHP now.
Cold Air Install
A simple Modification to make life Easier
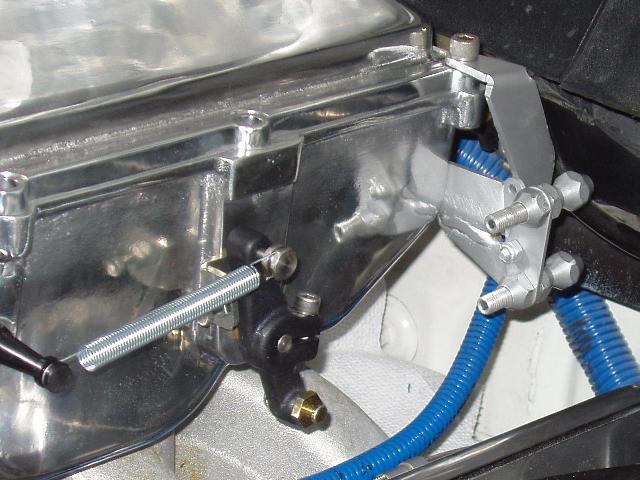
The YSi mounts to the cylinder head with 3 bolts. One of
the bolts is a impossible to get at with out removing both mounting
plates and SC, and it is a allen head. This requires that you completly
dissemble the mount to work on the head, change a gasket, etc.
By replacing the allen head bolt with a stud, and using a nut and
AN washer, you can remove the nut, then the 2 mounting bolts,
and lift the complete SC unit off as one piece.
The allen head bolt has been replaced with a stud and nut.

Fuel System Upgraded to Feed the Beast
I installed a Mallory Comp 250 pump so the fuel
keeps up with the demands of the 393 with the
new YSi. It is rated at 250 Gals Per Hour, and
will pump over 20 psi when needed


The matching return type fuel pressure regulator and AN 10 return line


VORTECH V-7 YSi-TRIM SUPERCHARGER
"Large blower" performance in a smaller package
that fits most existing Vortech bracketry

    * Fits engines up to 1200 horsepower
    * Maximum airflow: 1,600 CFM *
    * Maximum boost pressure: 30 PSI *
    * Maximum impeller speed: 65,000 RPM
    * Adiabatic efficiency: 78% **

Note: Most of the guys racing in NMRA Renegade Class
      are using the YSi, and are spinning them up
      to 36-40 PSI with out a intercooler.
Getting it ready for the Strip