ContentsSection 1 | Introduction
|
|
ContentsSection 1 | Introduction
|
|
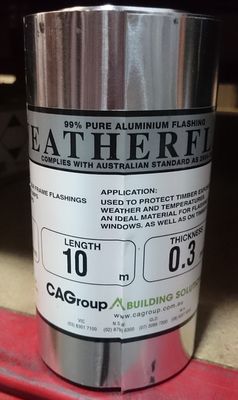
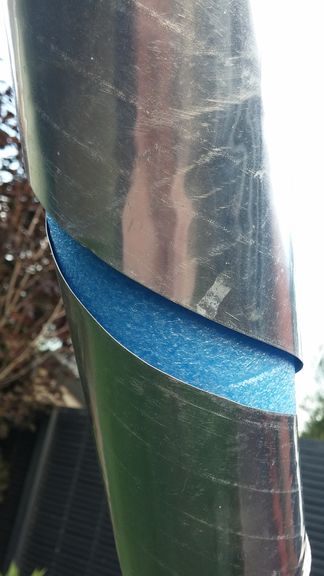
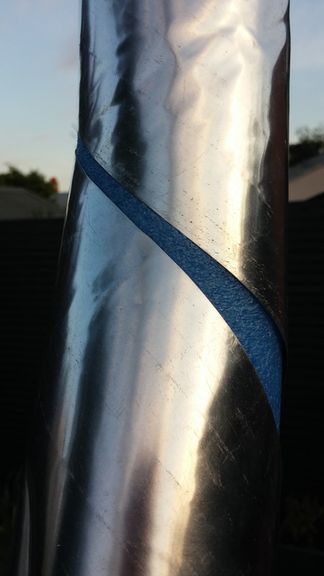
The aluminium strap available is 150mm or 6" wide so needs to be cut down the length to get the desired 120mm or 5" width. A heavy duty pair of scissors was used and after a bit of time cutting carefully, a 10m by 120mm / 5" strap was created. The 10m (~33ft) length was subsequently cut shorter once wrapped around the loop.
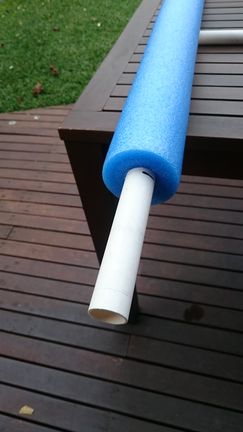
All three pool noodles came with the centre cut out which was used to join them together using some PVC.
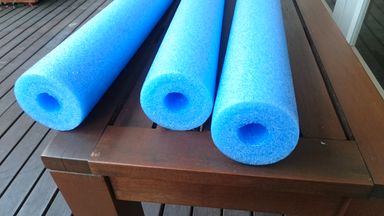
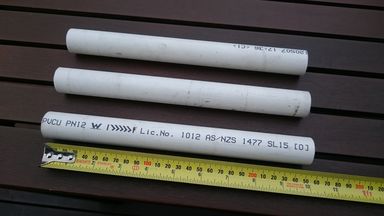
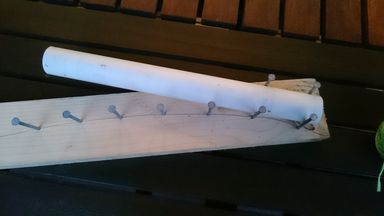
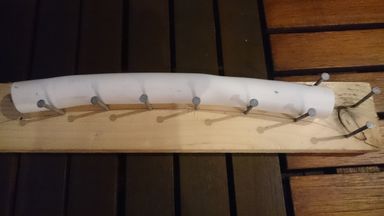
To keep the loop as circular as possible the PVC was curved using a quickly made jig made from nails and some wood. The PVC was heated with a heat gun and bent into shape.
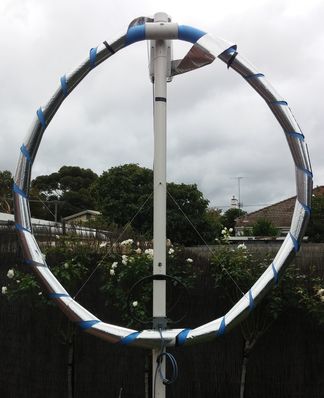
Below shows the assembled loop 4.5m in circumference.

I tried a few different ways of wrapping the aluminium around the loop construction. I found winding a fine pitch with a small gap between turns resulted in an antenna that worked better. One experiment I performed was to wind the most course pitch possible with large gaps between turns and therefore used less total length of aluminium. My initial thought was this may work better as a shorter length means less loss resistance. Instead the performance on air was noticeably worse and the bandwidth was higher. In the end the loop was constructed with 22 turns with about a 1-2cm (~1/2") inside gap between each turn.
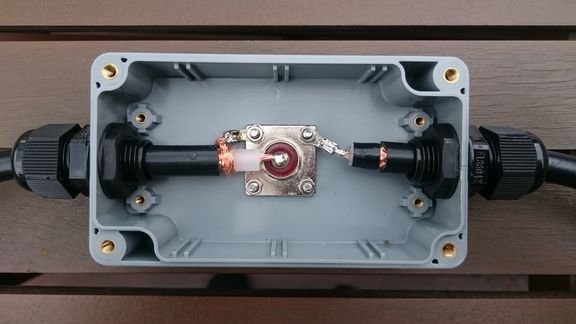
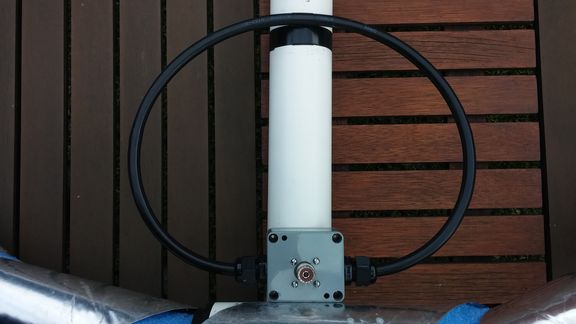
Originally the coupling loop was made from RG58 and just taped into position on the loop. A more permanent one shown below was made from RG-213 coax which is stiff and holds its position. It's placed in a water resistant box where it connects to a SO-239 connector.
The coupling loop shown in its position on the loop.
A 5pF-250pF VVC was used for the tuning capacitor. The VVC is rated at 5kV which should allow 100W+. Legal limit in Australia is only 400W so a lot of hams don't bother with an amplifier and just run barefoot.

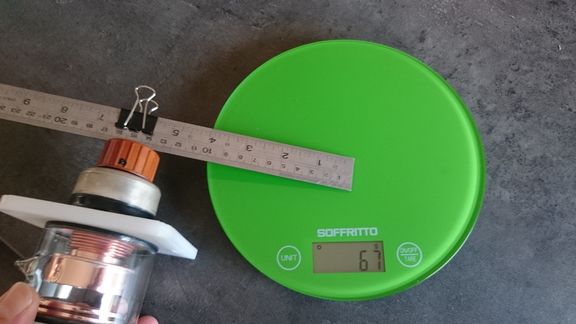
The Vacuum Variable Capacitors require a fairly high torque to turn the adjustment
screw. To determine the torque required to turn the capacitor I used a ruler and kitchen
scale to measure the value, an idea I came across elsewhere on the internet.
The torque was not consistent across the range of capacitance due to it's construction,
the highest torque measured was around 1.8kg.cm. From this value a motor with around
4kg.cm torque seemed ideal.
Various motor drive techniques were considered but a direct drive system with a geared motor the same as K8NDS was chosen for its simplicity, low cost and minimal play. The RPM of the motor was chosen based on a compromise. A high speed motor would allow for fast tuning between bands. But a slow speed motor would be preferred for fine tuning. The capacitor has around 20 turns from minimum to maximum capacitance. A 30RPM motor was chosen which allows QSY between bands in well less than a minute, but is slow enough to enable fine tuning.

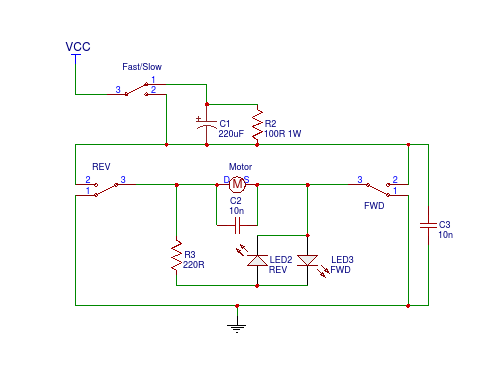
The control box has two momentary push buttons for up and down tuning, a couple of LED's to
indicate power to the motor and a rocker switch. The rocker switch has a centre off position and
a fast and slow tuning selection.
For fast tuning the momentary push buttons just apply the supply voltage across the motor. For
the fine tuning a resistor is switched in series limiting current to the motor. When the motor
first starts after the button is pressed there is an inrush current. To prevent the motor from
stalling at start-up, a capacitor is placed in parallel with the resistor.
Double throw push button switches were chosen to help stop the motor and prevent run on when
the button is released. The motor is electrically shorted when both buttons are released which
in effect puts a break on the motor.