The D-104 Microphone...

 
The first D-104 microphone was offered for sale in 1933. Originally they had no pre-amplifier in the base and the high impedence crystal element was a good match for the high impedence audio inputs of the tube rigs of the era. During the 1960's a pre-amplifier was added. This was more for matching the microphone element to the more modern rigs that required a lower impedence microphone than for raising the output level of the microphone. Production of the D-104 continued until 2001.

Astatic ad from 1947

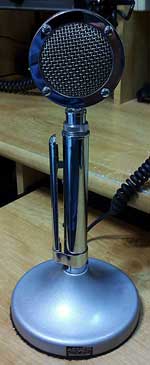
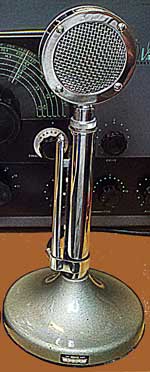
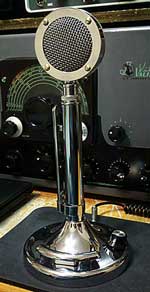
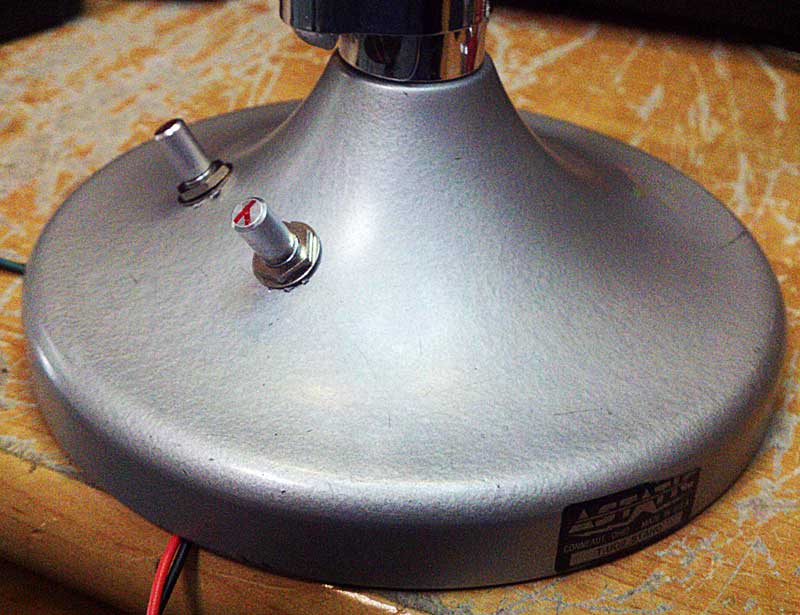
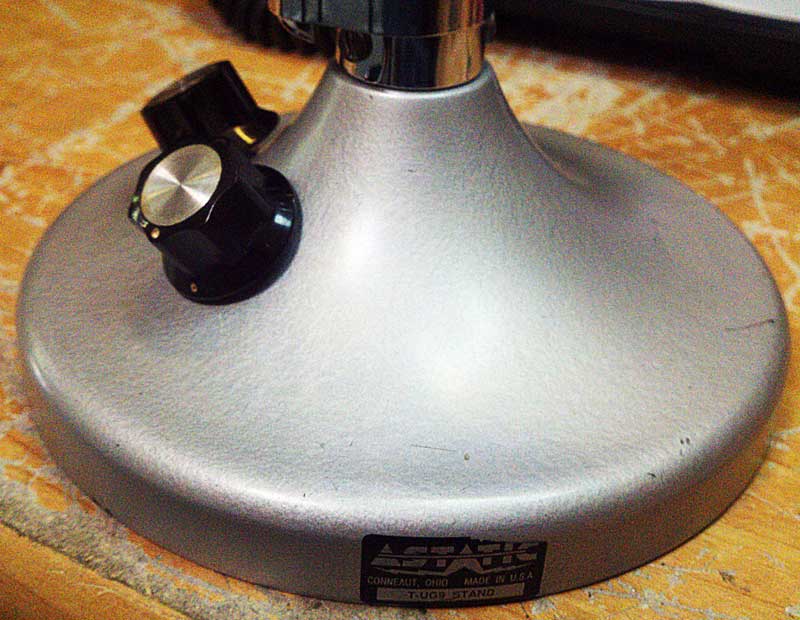
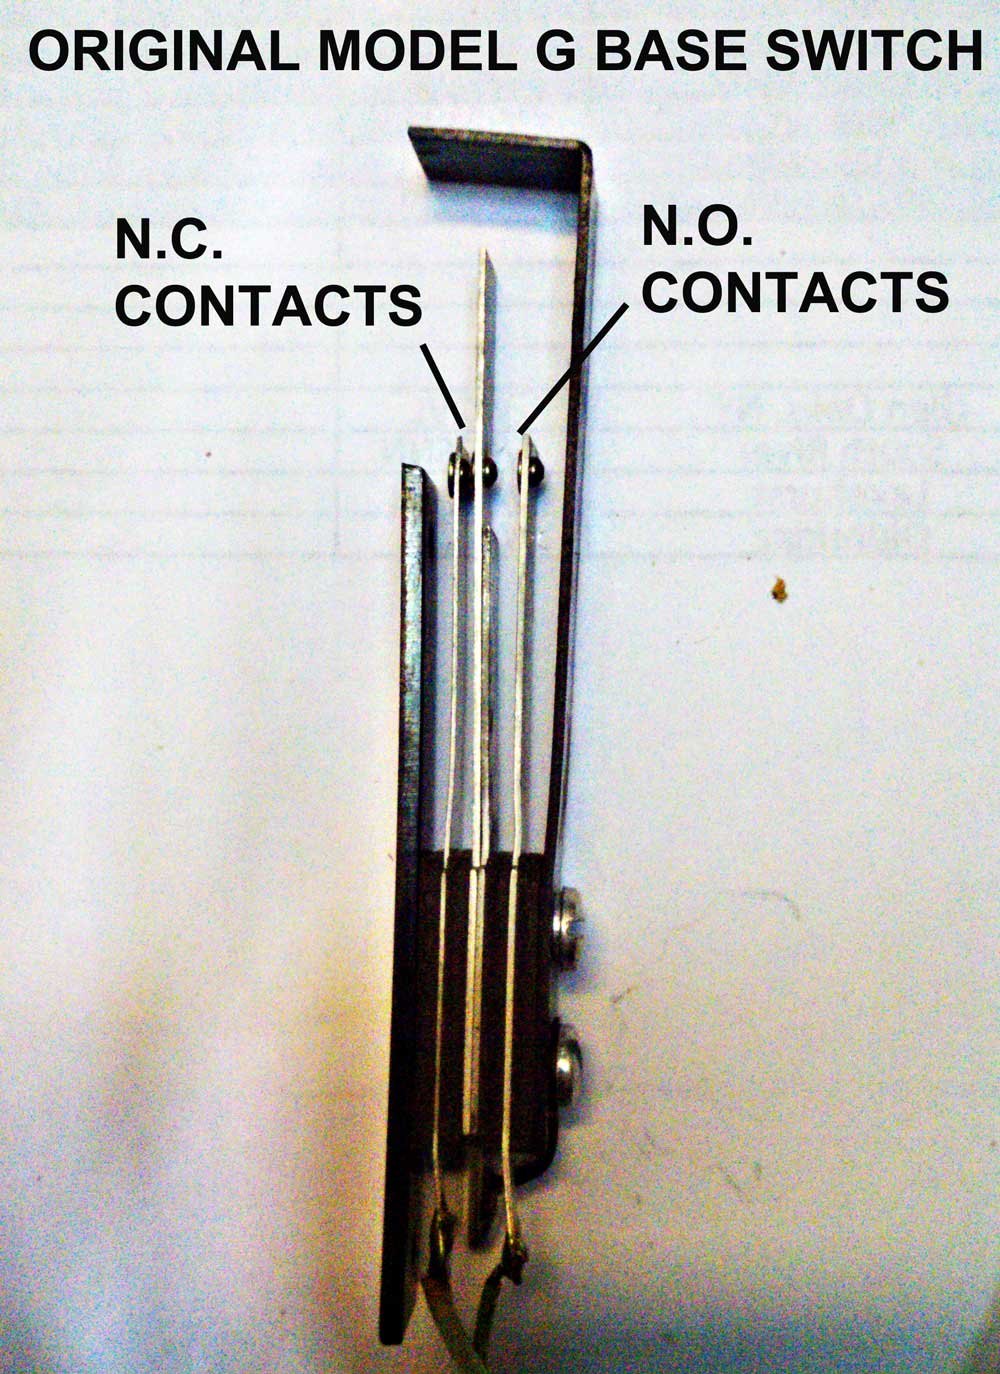
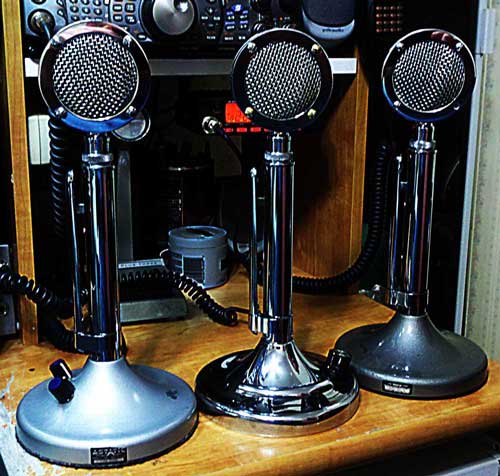
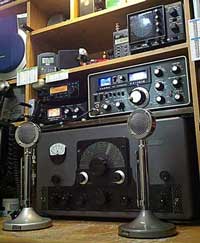
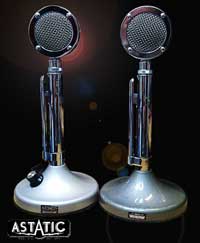
I have two D-104s that came with two rigs I bought at hamfests. The one pictured to the left is a newer amplified model (T-UG 9 base) that came with a Yaesu FT-101E. The one on the right is an unamplified older model (Model G base) that came with a Johnson Vikimg Valiant.

Shortly after I got the newer one I started having problems with RF feedback with it. I was able to get rid of most of the feedback but wasn't satisfied with the tonal quality of the mic (little low freq response). The pre-amp was also generating noise on it's own which I wasn't happy with.

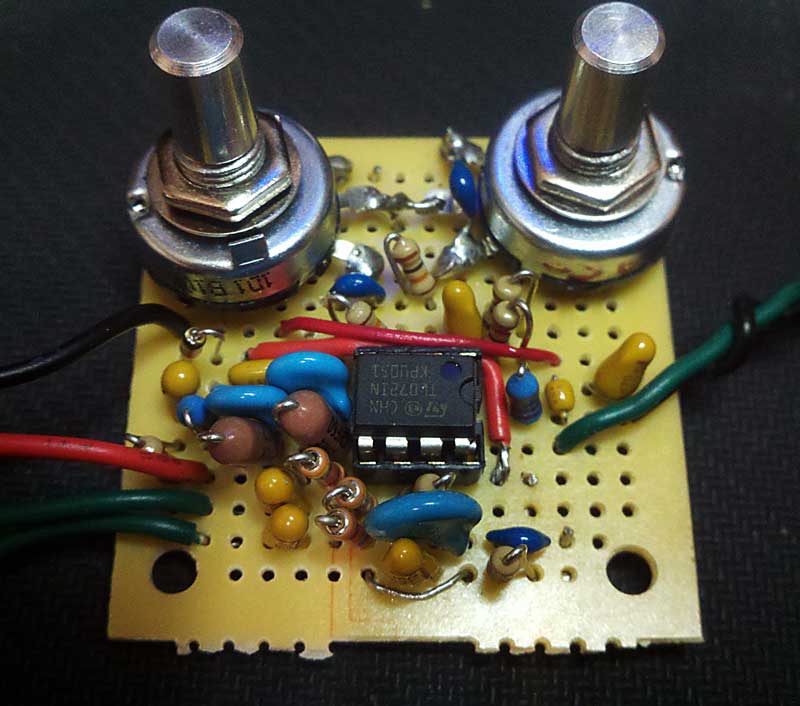
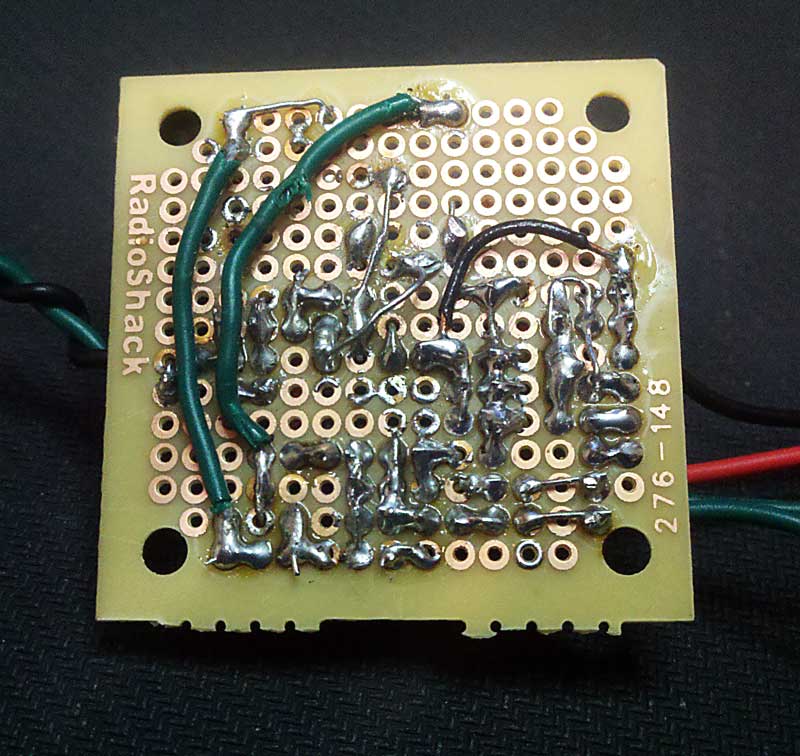
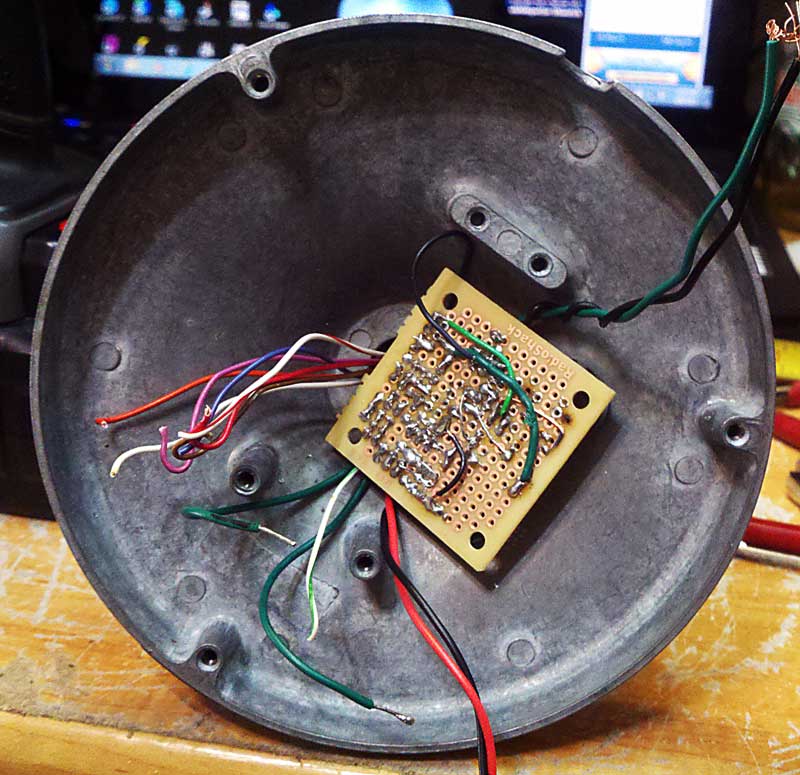
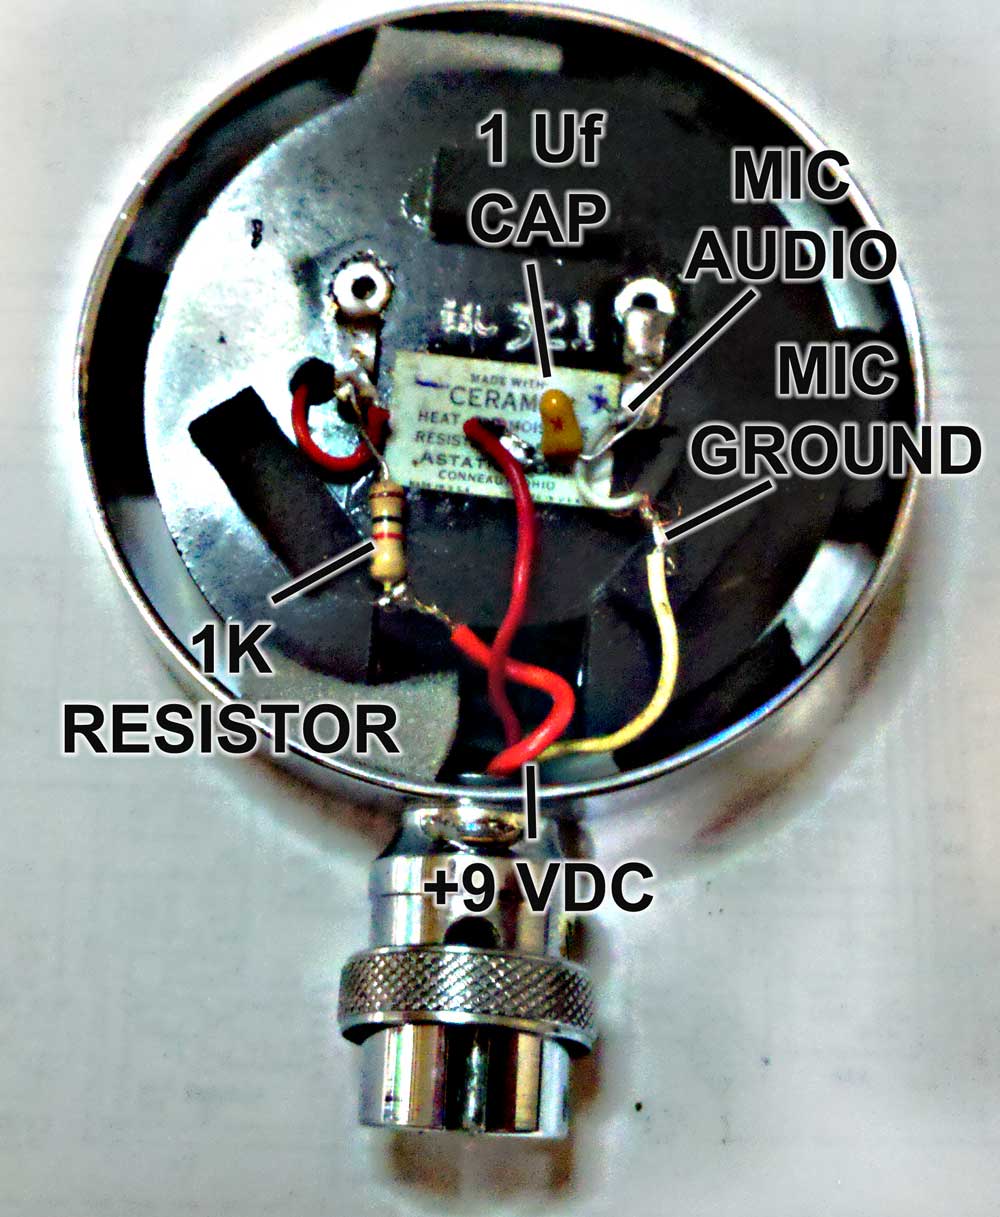
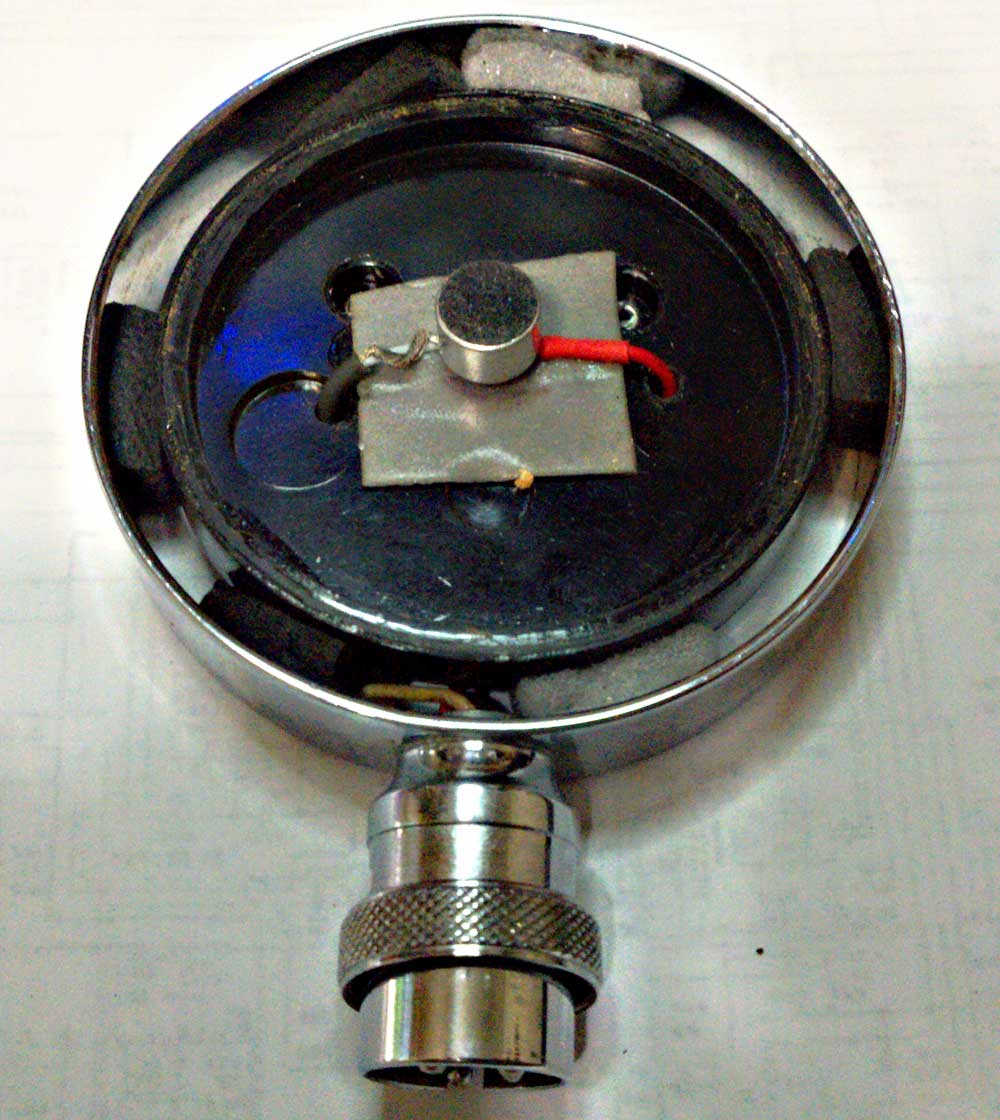
Searching the internet presented several pre-amp designs to choose from. I was looking for a design that would provide some equalization and decided on this one, the W2AEW pre-amp. It is an op-amp design with bass and treble controls. The design has no gain control but I'm sure one could be easily added. The mic gain control on the FT-101E works well in place of it. The design also takes power (+ 8 VDC) from a newer rig's mic connector instead of a 9V battery. As there is no voltage for this on the mic connector on the FT-101E so I used a 9V battery to power the circuit. There is a video on You Tube decribing the pre-amp design that can be viewed here. The schematic in the video shows two 2.2 Meg ohm resistors connected to each side of the mic element to ground which are not shown in the schematic on the website. I added the resistors and found that the mic sounds a little better with less noise pick up. I used a TL072 op-amp to avoid working with surface mount components.


Latest addition to the collection donated by George, K2EPD. The Astatic D-104 Silver Eagle.


Click on an image below for a larger view...


The pre-amp assembled on a piece of perf board from Radio Shack


Underside of the pre-amp


Pre-amp installed into the mic base before wiring


Location of the tone control shafts in mic base. You can use trim pots if you would rather have the adjustments inside the base


Pre-amp installed and wired in the mic base


The new pre-amp works great!


All finished up and ready to make noise on the air


The older D-104...

The older D-104 (Model G base) came attached to the Viking Valiant I picked up. After doing the audio mods on the Valiant I wasn't pleased with the frequency response of the mic (little low end response). The head from the newer mic sounded much fuller. In my infinite wisdom I decided to disassemble the head of this one and see if anything could be done with it. As luck would have it after I had taken the front and back off the head I dropped it on the desk. It landed face down on the "pin" of the mic element and broke the crystal. Now what do I do??? I have recently seen a lot on the net about the good sound quality of the Radio Shack condenser mic element. A trip to the local Shack and I had my $4 mic element replacement. To use this element a 1K ohm resistor, a coupling capacitor and a power source is required. I used a 1uF cap and a 9V battery. I could have put all the required components in the base of the mic but decided I would still like to be able to use a stock D-104 head on this base so I had to put the resistor and cap in the head. This meant running another wire up to the head for power. Sounds easy right? I decided to use the unused 3rd pin in the socket and plug where the head plugs in to the base. I didn't realize at the time that this pin is grounded to the metal housing of the head by the screw that holds the head plug in place which would have been fine if this had not been the positive lead from the battery. I found that the plug had another threaded hole in it that was ungrounded. I had to drill another hole in the head housing to use this hole. Now, on to the easy part... I needed to switch the battery voltage on and off. The model G stand only has a SPDT PTT switch (one side NO and one side NC). I needed two NO contacts so I disassembled the switch and reconfigured it and am switching the negative of the battery on and off to ground (its grounded when the side bar is squeezed). All in all I am pleased with the cheap Radio Shack mic element. It sounds much better than the original D-104 element and I've gotten audio reports of great and punchy audio. If I had to do it all again I would put all the components in the base and be done with it!

With the modified audio chain in the Valiant the Radio Shack element provides plenty of audio drive and I've gotten good audio reports with it. I have tried it on the FT-101E but it could probably use a preamplifier in front of the rig. I have purchased another element and am going to try it with the above pre-amplifier circut and see how it plays.

The stated freq response of the Radio Shack condenser mic is 30 - 15,000 Hz.


Click on an image for a larger view


Rear view of modified D-104 head


Front view of modified D-head


PTT switch original configuration


Reconfigured PTT switch


The schizmatic

I used a 9 V battery in the base of the mic to power the element so having the ability to switch the battery on & off was needed. If an external power source is used switching would not be needed.


Other D-104 pre-amp designs and info...


The current D-104 collection