TOWER PICTURES 1
|
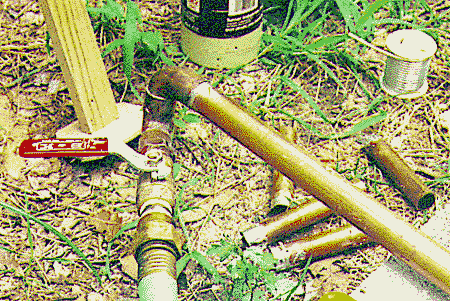
Making 3/4" copper water pipe into a drill with a
garden hose. I hammered the ends almost flat to form a
nozzle.
|
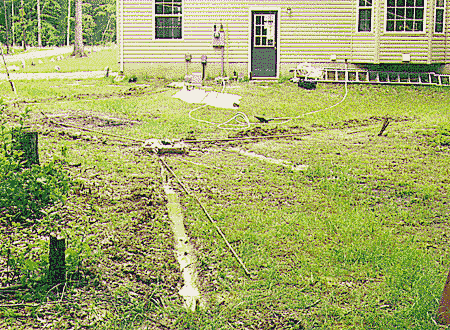
There are two ground rods in each trench, with more
3/4" pipe for connecting radials.
|
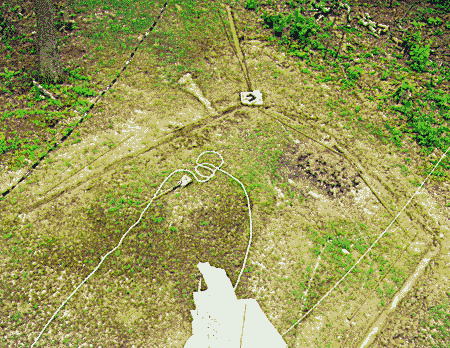
The three trenches are better seen in this overhead view.
One of the ground radials (lower right) is extended to
reach the house and tie into the service ground.
|
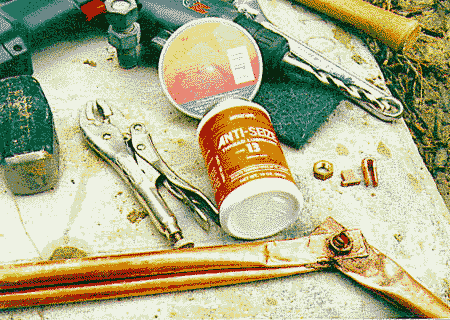
To tie in the ground radials to the tower, I made a
transition to flexible refrigeration tubing. Two sections
in parallel add surface area and reduce the impedance
while remaining flexible. By separating the nut and the
anvil of the split bolt, the anvil can be reversed in the
slot to reinforce the bolt head and help it hold.
Copper-filled anti-seize makes an effective antioxidant,
completing the all-copper joint.
|
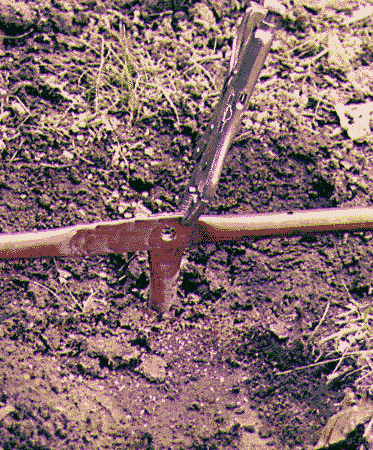
Once each ground pipe is sunk, the ends and radial pipe
are flattened and drilled for the modified copper split
bolt.
|
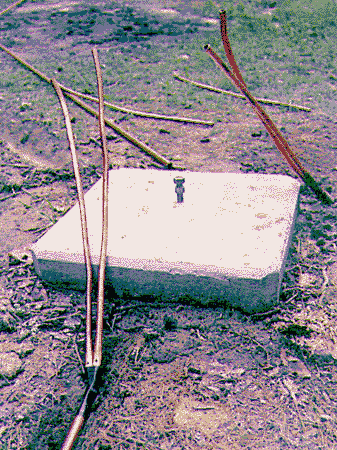
Each joint is wrapped to seal in the antioxidant paste.
Two out of the three radials are ready. By the way, this
is a pier-pin base. Below grade, it is 24" diameter
and 24" deep, with a re-bar cage. It extends 4"
above grade to protect the tower from lingering moisture.
|
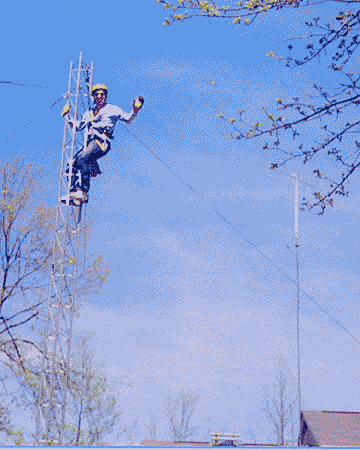
I put the first three sections together on the ground and
tied on some temporary rope guys. Three friends and I had
no problem standing it up. The reason for the big grin:
my first tower is finally going up!
|
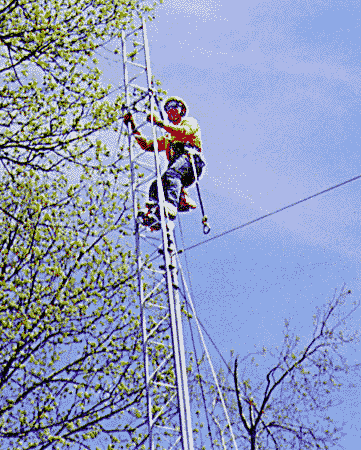
Here, I have just completed placing section #4, to which
the first set of permanent, steel guys will be attached.
The guy attachment bracket is already installed, just
above my right hand. The gin pole is still attached to
the 3rd section, but retracted.
|
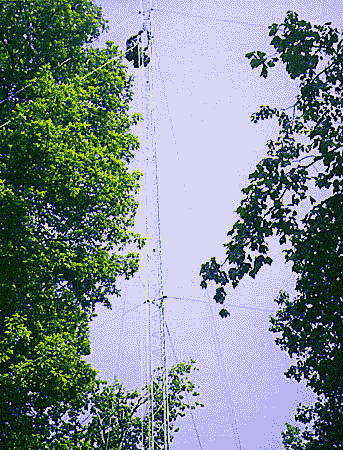
In this photo, I am just below the second guy point,
which is at the 70 foot level, to retrieve the yellow
polypropylene temporary guys and take them up to
stabilize section #10 above.
|
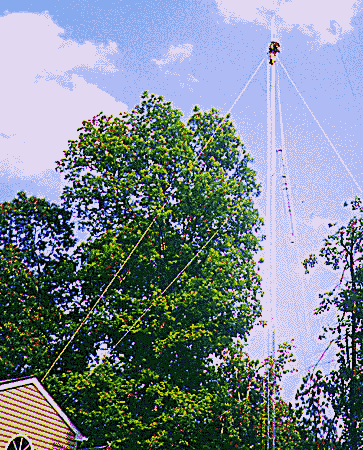
Here, I am on section #10, at 100 feet, and the last
section, with mast, top plate, two thrust bearings, and a
counterbalance weight, is coming up! Since the top
section will have the last permanent set of guy cables, I
am using temporary guys to stabilize section #10 while I
wrangle the last, heaviest section into place. The view
from the top is getting pretty awesome. The big hickory
tree just to the left of the tower, is 90 feet tall.
|
On
to tower picture gallery 2
|
Good luck and
have fun with your tower project!
--...MARK_N1LO...--
|
since 12/21/99