
![]()
![]()
![]()
![]()
![]()
English - Hrvatski
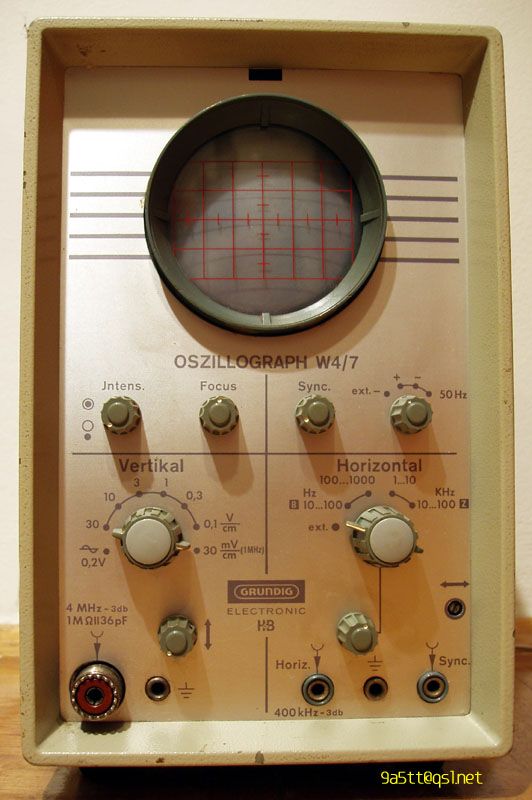
Grundig W4/7 oscilloscope restoring
Part One - Part Two - Part Three
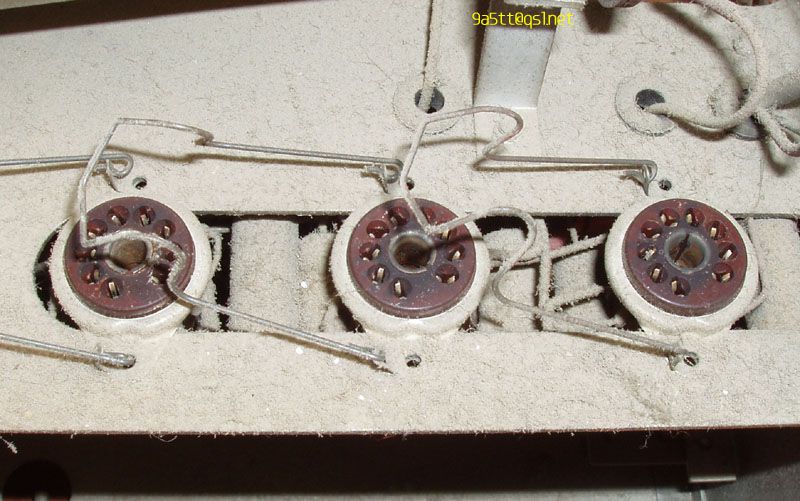
Before caps replacement, complete guts was thoroughly cleaned from dust. Tubes were pulled out first. Vacumn cleaner did a great job.

Dust and dirt accumulated on tubes was cleaned with a soft paper towel. I did not use any solvents, just blew on tube and wiped it. Like you do with your glasses (if you use one).
Don't get tempted to wipe the marking. You will have great success doing this on your first try.
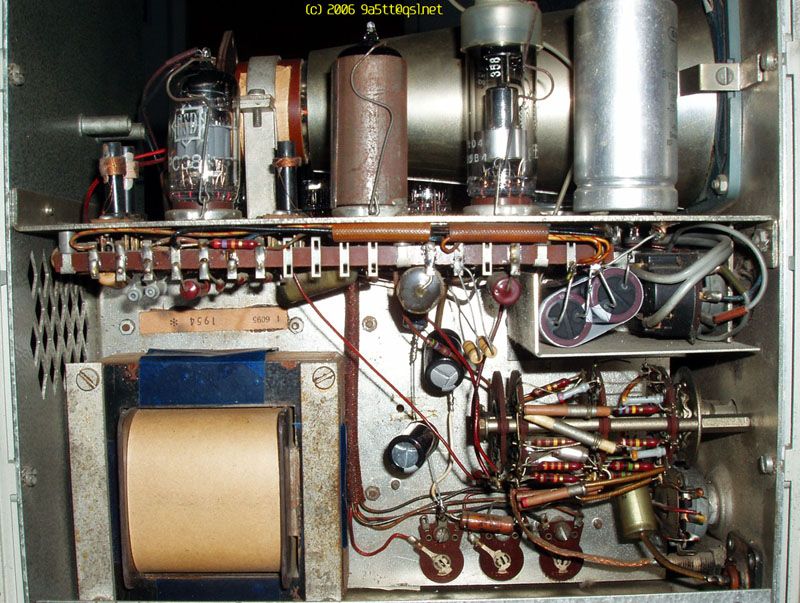
Following 6 vacuum tubes and CRT are inside:
- ECC85
- EF184
- PCC88
- PCF80
- PCF80
- EY86
- DG7-32
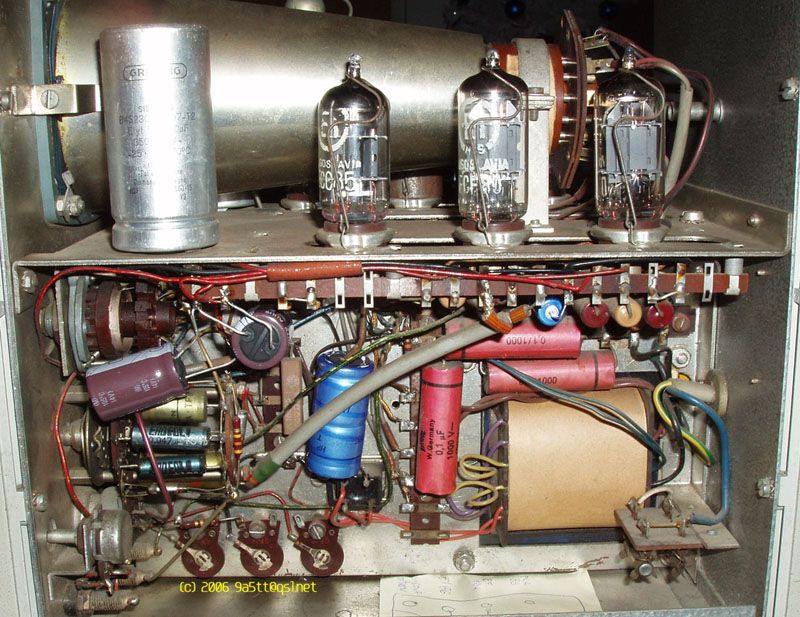
After electrolytics replacement, tubes were returned to their sockets. Meanwhile I soaked the buttons in lukewarm water and detergent. Old toothbrush removed all dirt accumulated in button grooves. With this detergent solution I've washed the housing and mains cable. It seems like previous owner(s) was a smoker. Can imagine the look of his lungs...
Almost the original look...
All potentiometers and rotary switches were sprayed to reduce problems caused with oxidized contacts.
First power-up. No problems, all tubes heating up. Horizontal line appeared shortly. Straight one, with no waves. Connecting the signal source, all OK.
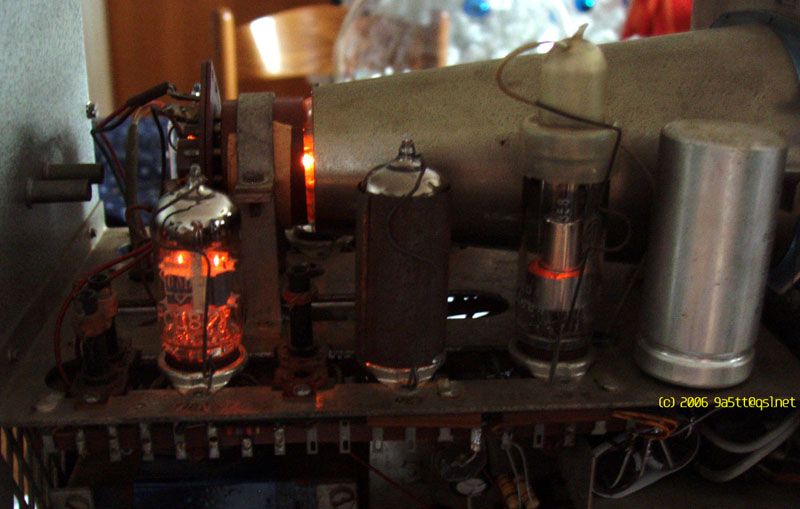
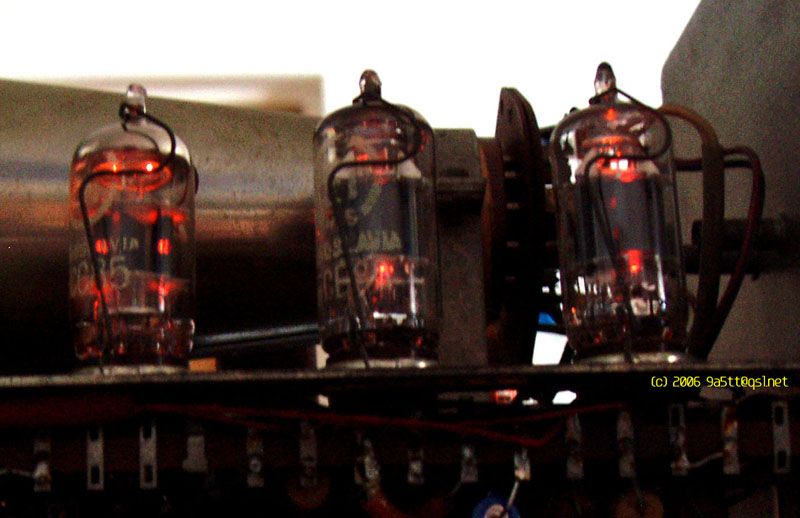
Can' get enough of this sweet glow
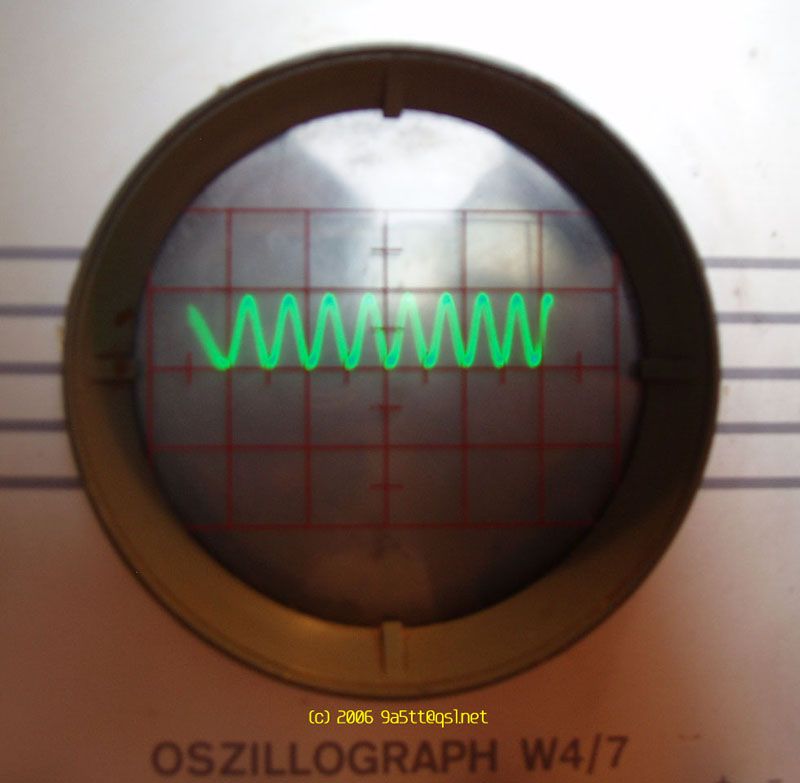
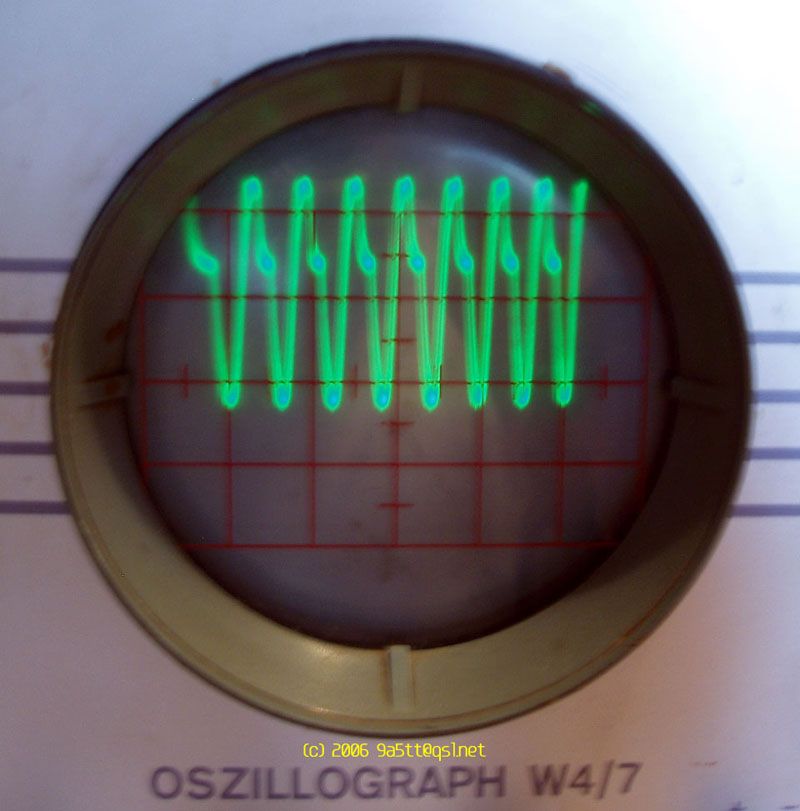
Pure sine wave signal 1kHz 1Vpp (left) and distorted at my audio amp output (right)
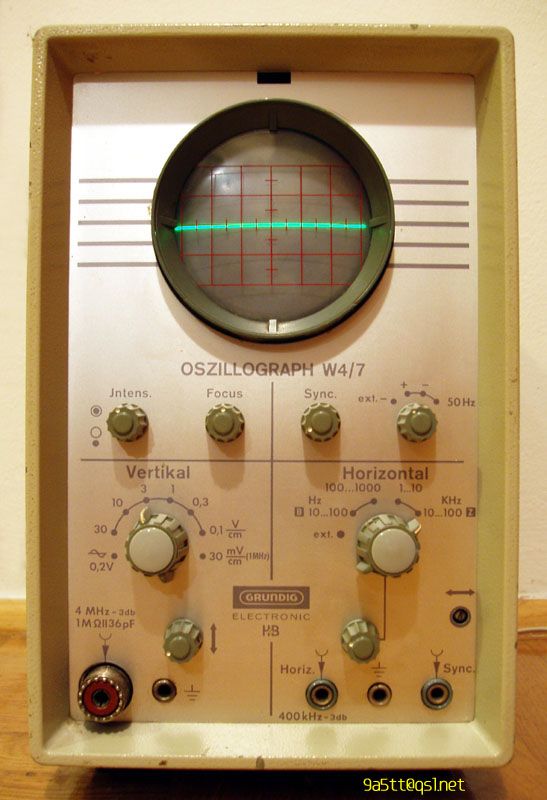
Finished!

Before and now
Final assembly showed this nice instrument in a new light.
Total cost: few electrolytic caps (20€) and few free evenings.
Part One - Part Two - Part Three
Images (C) 2006 Tomislav Kordaso, 9A5TT