|

Best viewed with IE 6.0 and a
minimum of 800 x 600 resolution
Alternate Menu for incompatible
browsers
Home
Up
Ham Radio
Christian Pages
Inspirations
Web Rings
Motorcycling
Tribute to America
Link Directory
Win An Award
Awards I've Won
Vote Exchange
Garden of Friendship
Hunting
Travel Directions
Web Tools
Java Script
Clip Art
Greeting Cards
Health Info
Free 4meg Mailbox
WM8C's LinkTrader Page
Contact WM8C
PSP Projects
| |
Summer 2002 - Continued
In the Spring we talked about it, now we finally got around to
doing it! Boy what a project it turned out be. It was a fun project
though and below are the basics for the Water Wheel House.
The pictures below aren't meant to be a
complete guide to building this house but will hopefully give you a general idea
of the construction.
| |
|
|
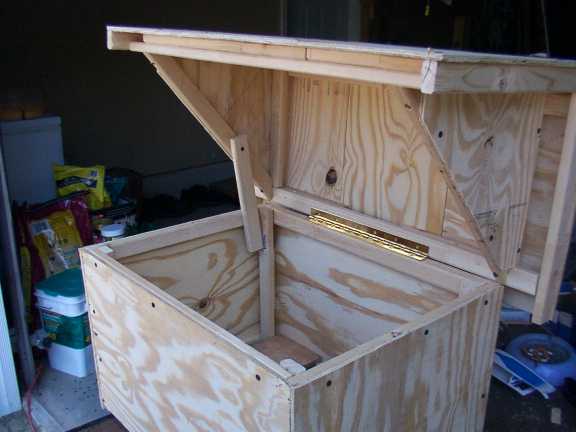
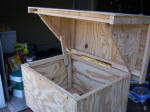
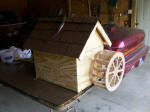
| The box is approximately 30" x 20" with
a hinged lid for cleaning access. The box was sized for the filter tub
we wanted to use. |
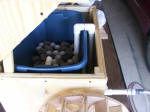
A 10 gallon plastic container from Walmart
serves as the filter tub. |
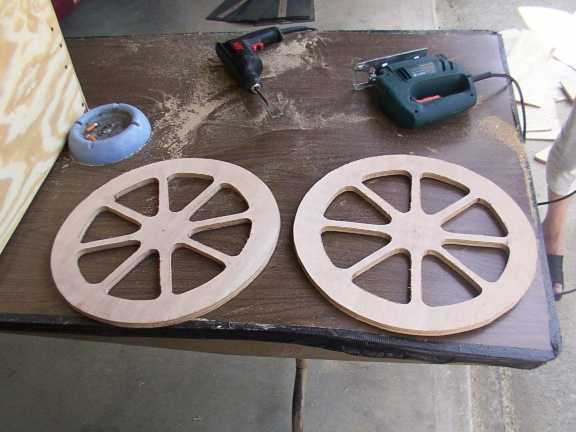
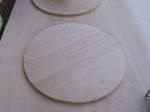
Cut out two 15" disks. We used birch
plywood for longevity and water exposure. |
|

|
|
| |
|
|
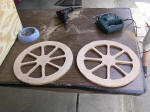
| Use your imagination for the wheel design.
We went with a simple spoke pattern. |
The assembled Water Wheel with 5" spokes appx
3" apart. |
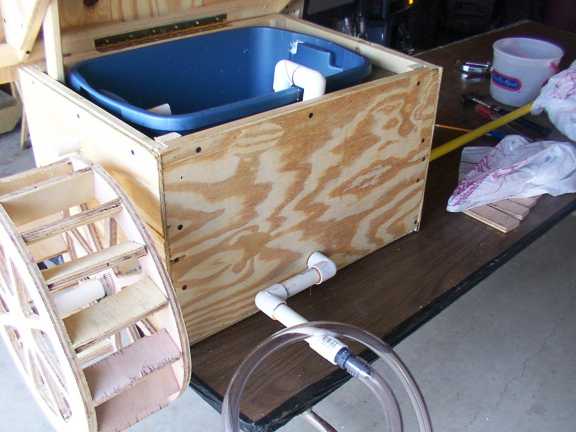
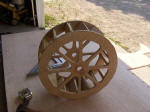
Wheel mounted to house. We used 1 1/4"
PVC pipe for bearings (one each end of the house) and 3/4" PVC pipe for the
main shaft which runs all the through to the back of the house. |
|
|
|
| |
|
|
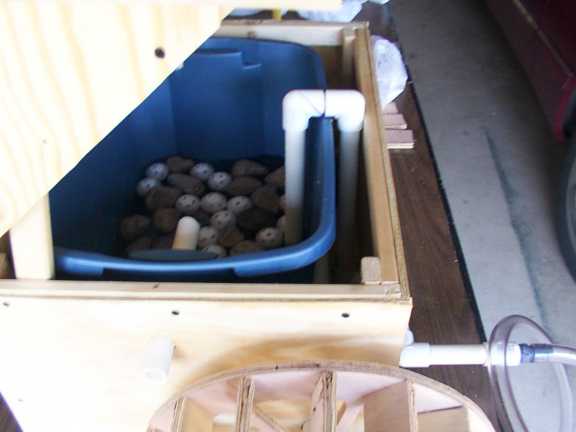
| An inside view of the plumbing. I used
a bottom up-flow design. Lava rock and plastic golf balls for the
lower layer and filter media for upper layers. |
Side view with pump attachment point for the
plumbing. |
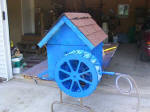
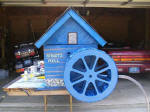
Roof tiles on and first coat of paint.
We ended up attaching a plastic bladder to the paddle sections to get the
rotation speed we wanted. This helped keep the wheel in motion even
with minimal flow from the pump. |
|

|
|
| |
|
|
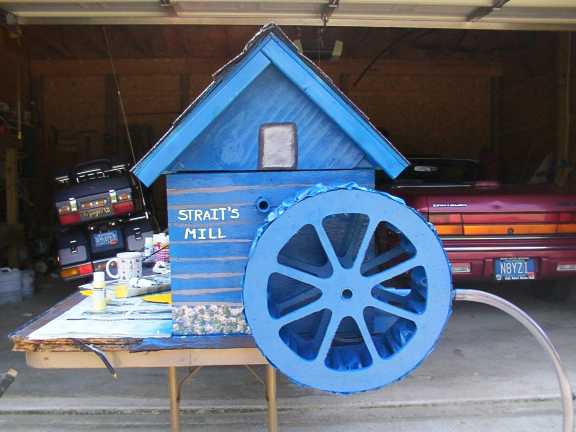
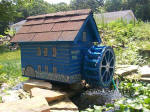
| My wife added some art work to the house.
Here you can also see the a better view of the plastic added in the paddle
spokes for rotation. |
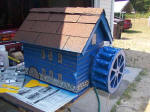
Front view of Strait's Mill |
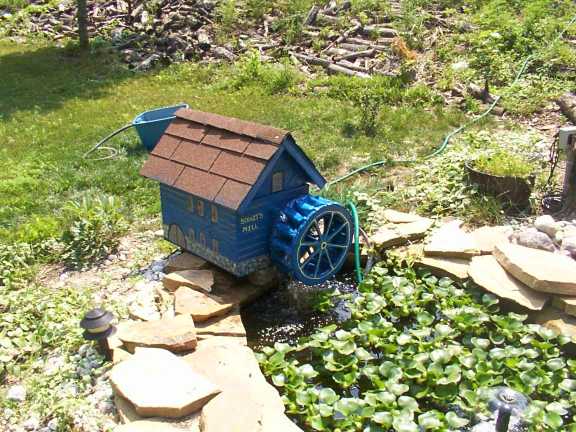
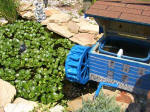
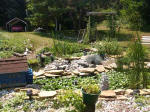
The Wheel House in it's new home at one end
our lower pond. You can see the black filter media that tops off the
filter section. |
|
|
|
| |
|
|
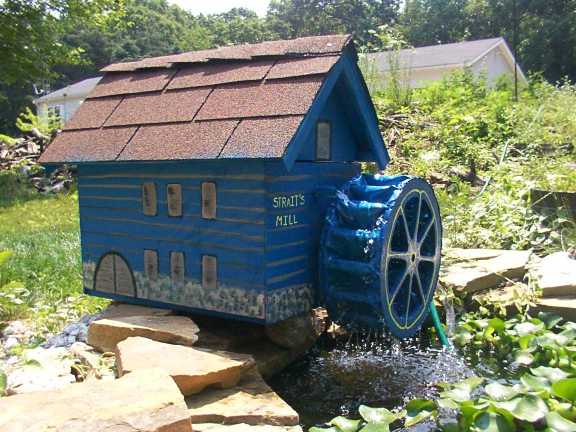
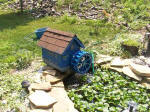
| The finished project in action! |
A little closer view of the house. I
found that it adds a nice aeration to to pond water as it turns as well. |
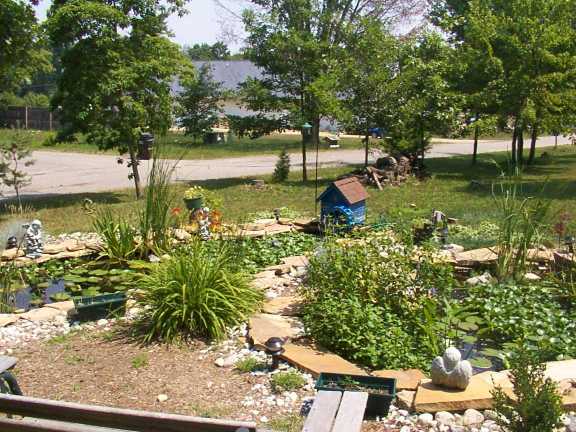
View up the hill over both ponds. |
|
|
|
| |
|
|
| |
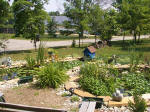
View down the hill over both ponds. |
|
| |
|
|
Just few more construction notes:
- Muffler clamps were used inside the wheel at each
side to keep the wheel in place on the 3/4" PVC. We cut the holes tight
enough that they probably weren't needed but did so as a precaution to keep it
in it's place.
- Once the wheel was in place, we used an end cap on
the 3/4" PVC to keep the wheel from coming through the bearing tubes.
This end cap fits through the 1 1/4" tube for removal if needed as well.
We used a piece of 2x4 screwed to the the inside of the box with a half moon
cut into it to support the bearing tubes and a strap over the top of the
bearing tube to to keep it down on the support block.
- Plastic used in between the paddle slats was from an
old water bed liner but any plastic liner would suffice. This was
stapled in place. We found that by having a place for the water to
collect as it turned, it added just enough weight to keep the wheel turning
without needing a lot of water pressure on the wheel. We just spray
painted the plastic to match the wheel spoke color.
- The out flow for the water is a tube that goes
through the outer box wall and the filter tub. We used 3/4" PVC for
this. I didn't seal around the tube as I wanted to be able to remove it
if needed. The hole in the filter tub is tight enough to keep seepage
down to a minimum but this could be sealed if desired to prevent any seepage
all together. There is also a small hole near the top edge to allow
water to flow out and back into the pond through the bottom if the tube became
plugged for some reason can't flow out that tube. This hole is about
1/2" above the water level during normal operation.
- The bottom of the box is lined with three slats from
1/2" plywood to support the filter tub and allow water flow back to the pond
if the tub over flowed.
- This project took about 19 hours without a plan so
I'm sure it could be done quicker with a head start on a design.
[ Up ] [ Pond Summer 2000 ] [ Pond Winter 2000 ] [ Pond Spring 2001 ] [ Pond Summer 2001 ] [ Pond Fall 2001 ] [ Pond Winter 2001 ] [ Pond Spring 2002 ] [ Pond Summer 2002 ] [ Water Wheel Project ] [ Pond Fall 2002 ] [ Pond Spring 2003 ] [ Pond Summer 2003 ] [ Pond Fall 2003 ]
| |
This site created with:
Frontpage 2002 and

This site is certified:


Remember September 11, 2001
|