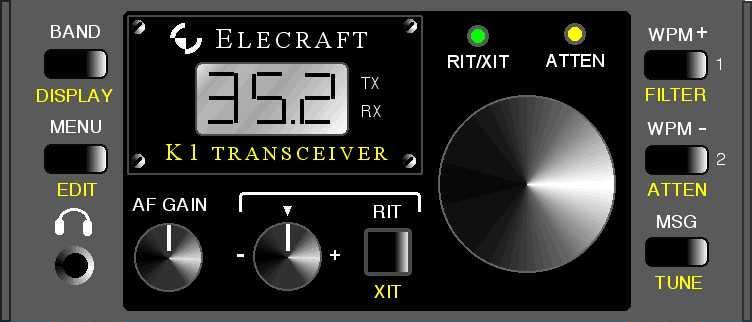
Elecraft K1 Serial# 1492
Click images for larger view
|
I started the inventory on friday evening. It took most of the evening |
|
|
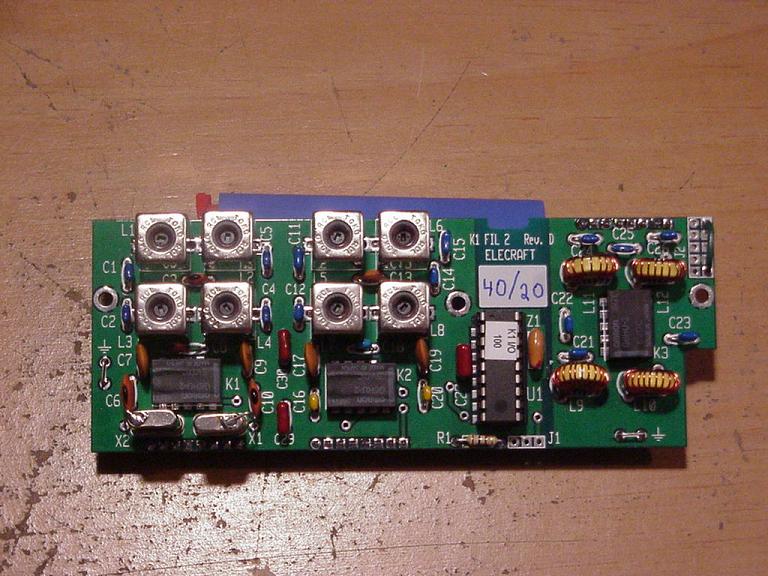
You start out with the Filter board. I suppose it's a warm up for things to come |
|
| Another View of the Filter Board. Notice the Toroids.
Fun fun |
|
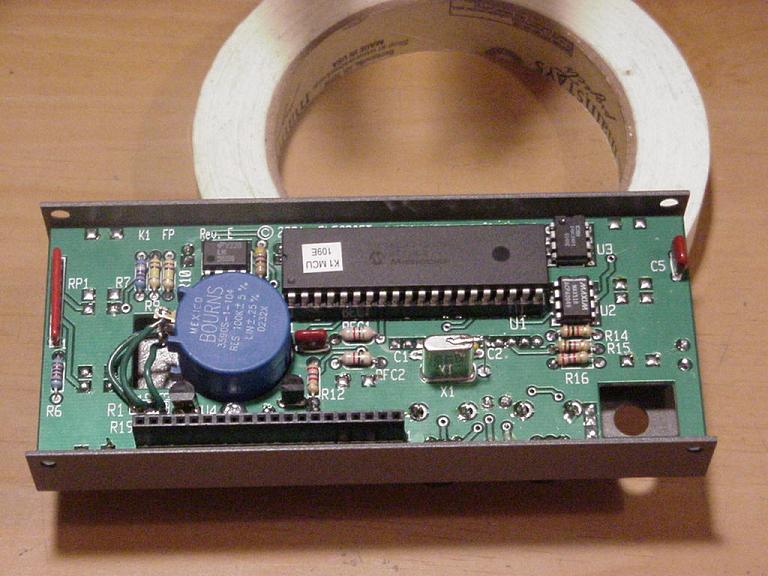
| The next step is the Front Panel |
|
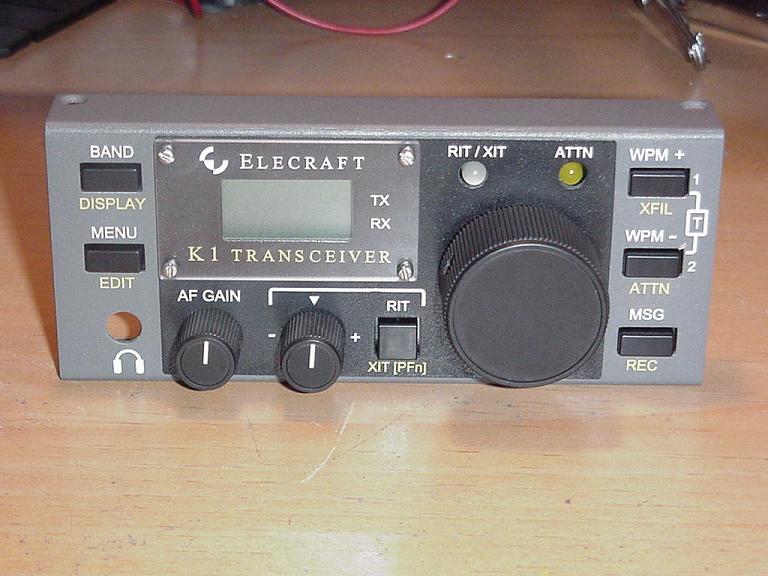
| The finished Front Panel just waiting for a nice place to call home |
|
|
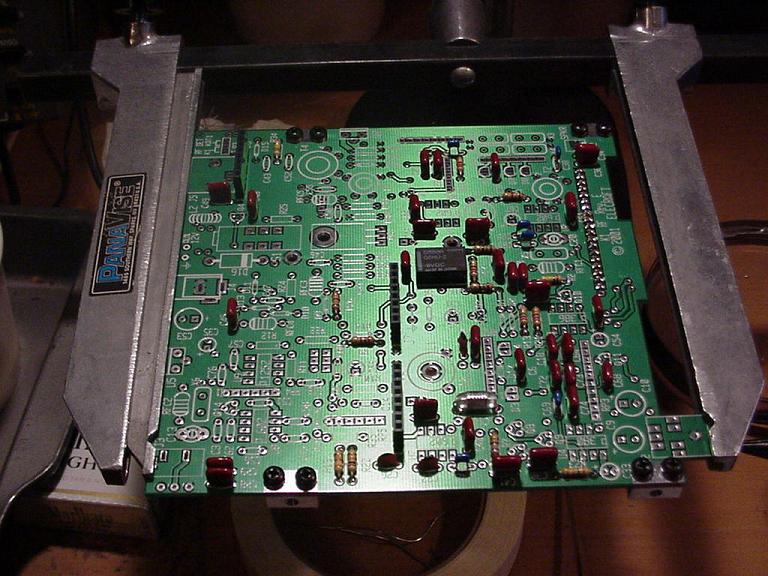
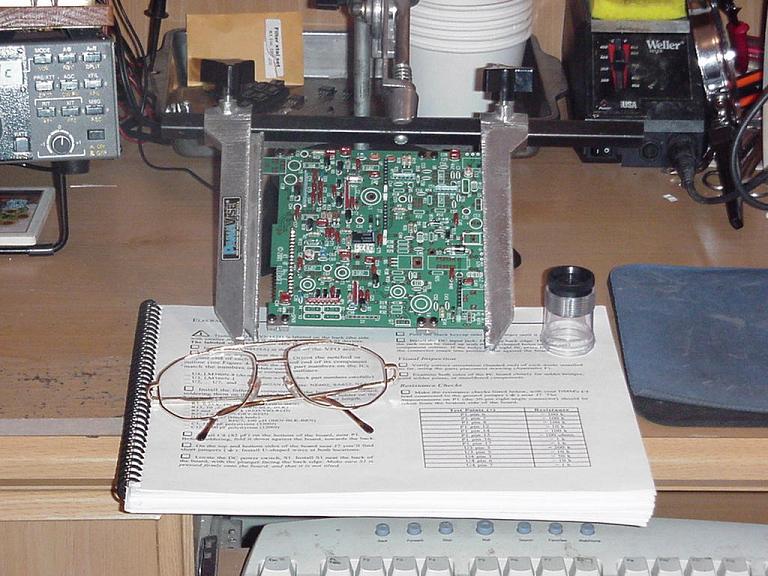
Started out with all the easy pieces on the RF board. Mostly in the receiver section |
|
| Help for the eyes is a must.
At least for my tired eyes |
|
| Completed on Wed evening.
The finished rig on Jim's(WZ7W) K2 Cute ain't it? |
|
| KFL1-4
Four Band Filter Module (40,30,20,15) |
Completed 26 Mar 2007 |
| K1B1
Noise Blanker |
Completed 28 Mar 2007 |
| K1BKLTKIT
Backlighted LCD |
Completed 29 Mar 2007 |


My Elecraft K1 review
 Looking for something fun? Try a kit and you may even learn something along the way.
 I have just recently returned to amateur radio and needed something to get me back to
on the air with minimal expense. The answer came in the form of an HF
that you can build yourself.
 I chose the K1, a small QRP rig for CW.
 Elecraft did an excelent job on their manual and it walks you step by step along the way.
The manual does a great job of describing the various circuits inside and is a great way to
learn about how a radio does it's magic.
 I recieved the kit on a friday and as per the manual I did the inventory which took most of
the evening.All parts were there and neatly seperated for each board so it was easy to check.
On saturday I started and worked on and off most of the weekend which put a good dent in this
project with only the big RF board left left to do.
 About half way into the RF board you get to do checks which include an actual reciever test.
This test lets you hook it up and actually recieve signals over the air. With the recieve
checks done and grinning ear to ear I pressed on to the transmitter section and final
completion on wendsday evening after work.
 The great thing about this kit is there really is no need for fancy test equipment. You will need
a volt/ohm meter which no ham would be without and the other checks are performed using the
radio's built in frequency counter.
 The kit comes with various options and I chose the bare boned 2 band version but can easily add
options with little effort.The boards are of a modular design and allows you to just plug in the
extra boards. I intend to build the automatic antenna tuner for this rig which fits inside it's little case.
 This rig is made for CW only but Elecraft also makes a K2 that is all band and all mode with it's options.
You will need a soldering iron with a small tip and temperature control and a clean working area but
the kit was easy to put together due to the great manual so if you follow directions and
take your time you too can be on the air with a radio that you built yourself.

Need more info? Check out Elecraft's web site
Comments..![]()