Seems like everyone out there has a PIC based counter circuit. Mine is mostly stolen from OM3CPH. This seemed to be the ideal "learn how to program a PIC to drive an LCD" project. This also seemed an ideal application for B. G. Micro's dirt-cheap LCD1003 (three bucks!).
I should probably note that while the LCD1003 is cheap, it's mechanically a bit of a pain. The unit (sometimes) comes with a flat cable attached. The spacing is 1.27mm (0.05"), which makes it hard to work with. You really need to unsolder the cable from the LCD and put in something a little more useful. Practicing on little tiny stuff like an SMK-1 comes in handy here. Also, the bezel is an odd-shaped thing that, unless you have a lot of room, needs to be cut down. But hey, for three bucks! A roughly equivalent display from DigiKey is $20, so I can take a little inconvenience.
To start understanding this whole business of driving the LCD, I got B.G. Micro's Pic-an-LCD (KIT1012). This is kind of expensive, but it provided me a platform that started out working, and then I could just work on the software until I understood what it takes to drive an LCD. Although I used Petr's counting code, the code to drive the LCD is mine. (Well, in fact, I had started with Petr's LED code, didn't realize he had LCD code until I was done.)
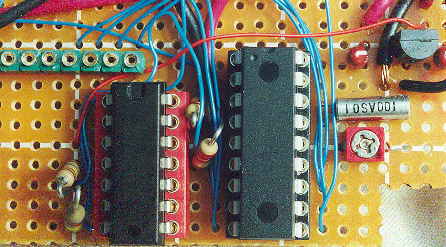
 The circuit is pretty simple. There is no input circuitry shown. In fact, I've been playing
with different input circuits - there are any number on the net. With just the PIC and a
buffer, it needs TTL level input. I still haven't decided which input I like best.
You can click on the image at left to get a closer, annotated view (114K).
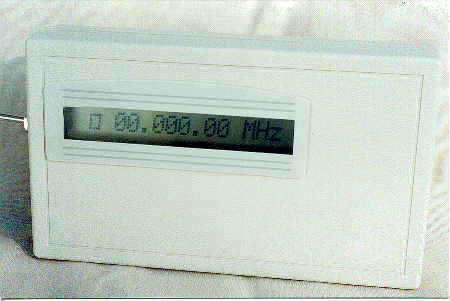
 Here's the counter all wrapped up and ready to go. It's actually a pretty
tight squeeze into the Radio Shack box, but it does contain the circuitry,
LCD, and battery.
