I acquired an older 40' (5 sections) Heights Tower from the
estate of an SK. It was carefully disassembled and moved
to my home QTH. I then had Heights spec out a 56' tower by
supplying two brand new bottom sections. I bought 6 large J-Bolts from
them also. They supplied a 7
page, stamped PE document. I built almost everything to that spec and
submitted it to my Building Dept in my permit application.
The permit was issued with no questions.
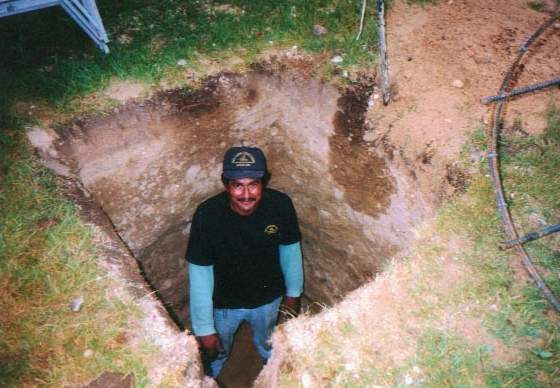
Eddie Guatemala "The Concrete Specialist" finishing the 4X4X7' hole. He's in over his head, again.
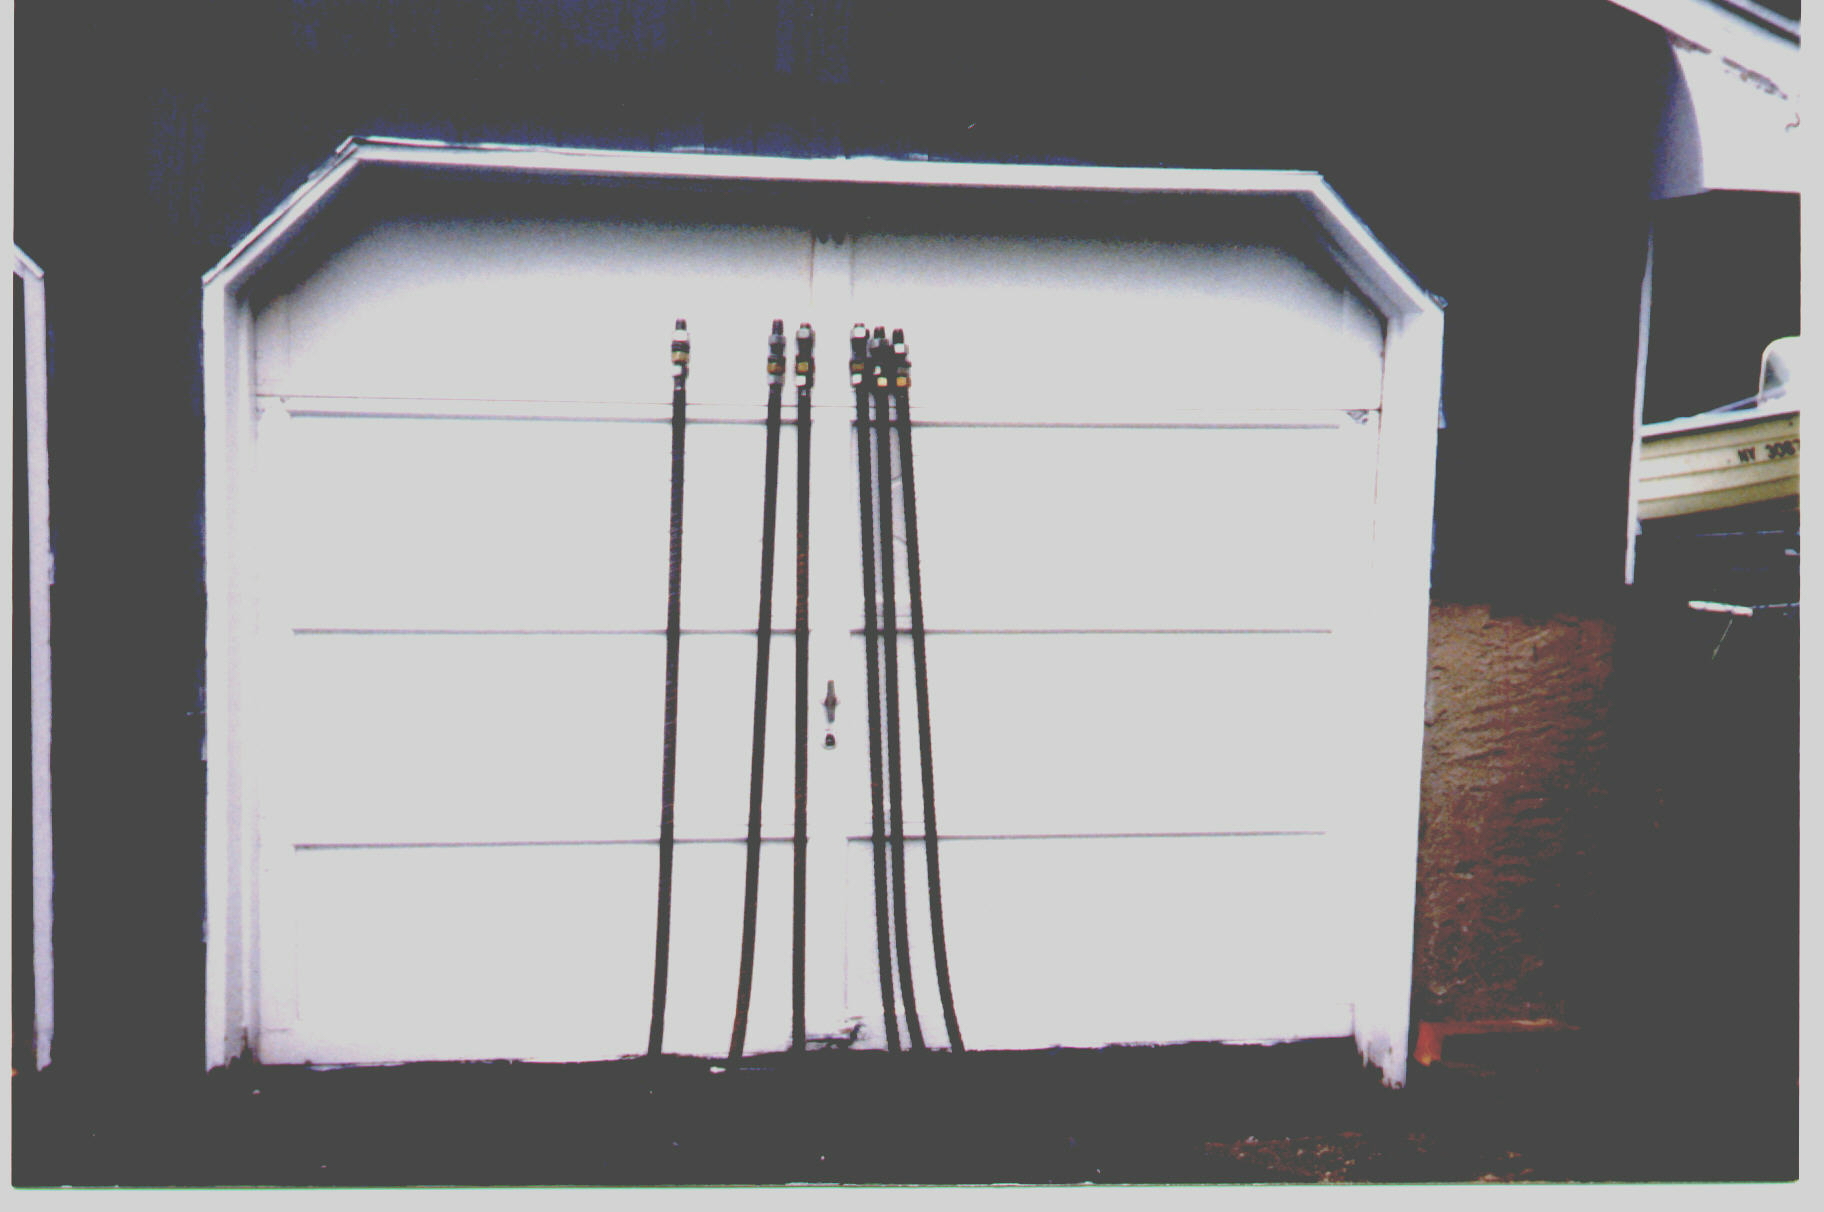
These are the 6 J-Bolts used to anchor the tower. They are about 6' long.
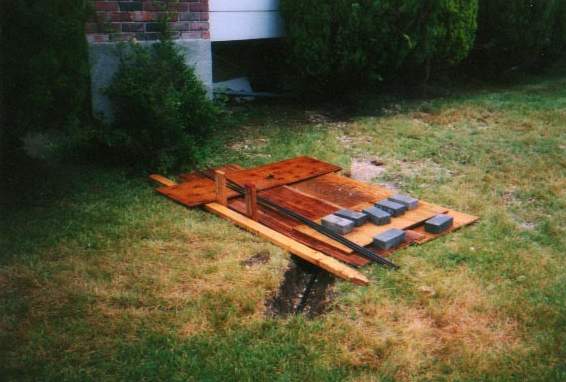
The hole is done and covered over for the night.
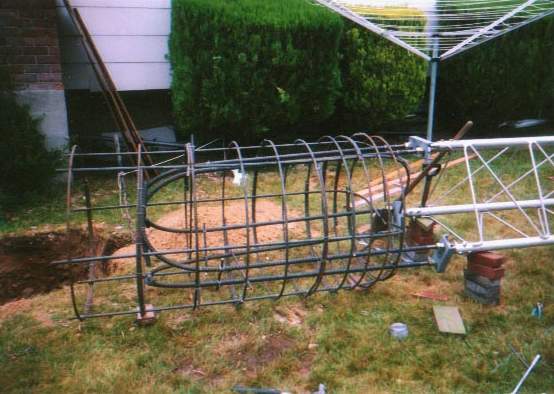
This is the rebar cage constructed according to specs.

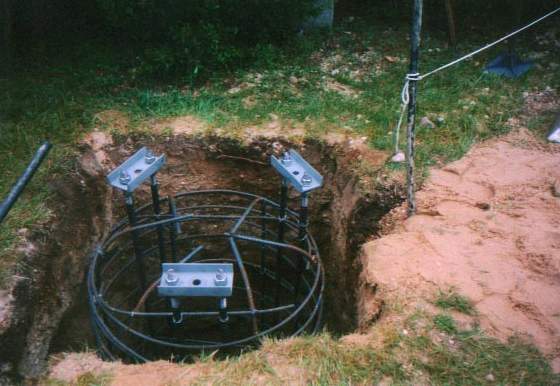
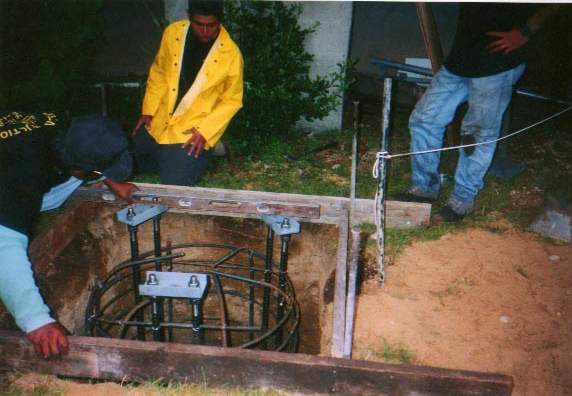
Eddie begins to set up the J-bolts. Notice the non standard anchor brackets. I decided to use locally constructed brackets instead of the ones recommended by Heights.
The J-bolts are wired together to be mated to the base.
J-bolts and the rebar cage are wired together and mated to the lower section.
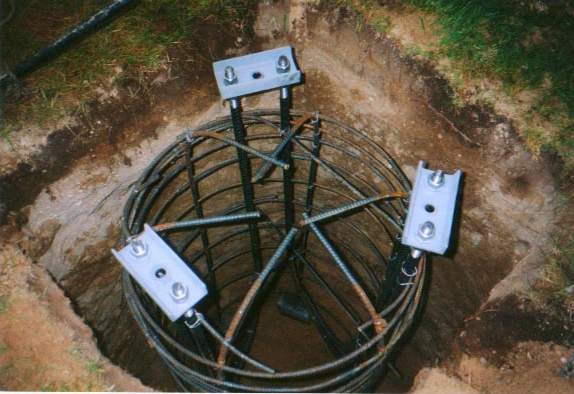
The J-bolts and cage are positioned for lowering into the hole.

The J-bolts and rebar in the hole, and leveled.
The anchor brackets are made from heavy grade steel channel.
A stress analysis was computed for them.
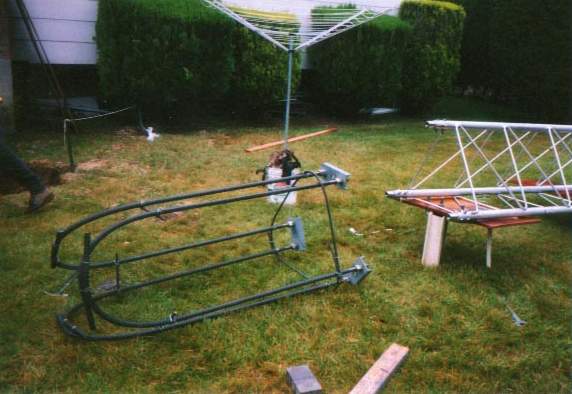
Another shot of the 200 lbs of steel. The bottom rests on bricks.
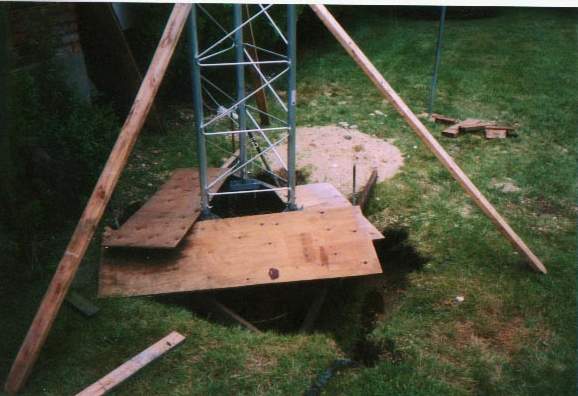
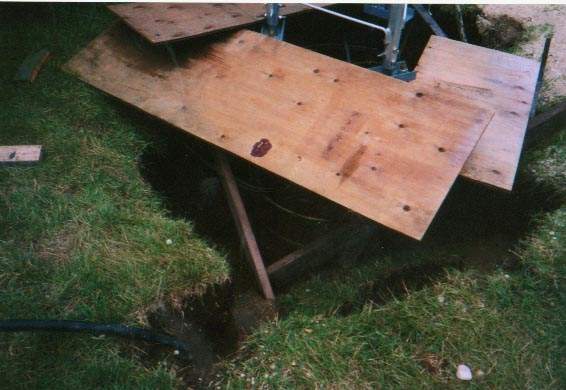
The men are setting the top forms in preparation for the concrete pouring. We place the lower section on the J-bolts, plumb it, and stake it down. They quit for the evening as it begins to rain steadily.
The rain continues for 3 more days. When the workers return, the hole has collapsed.
A close-up. Mud has filled in the bottem 5' of the 7' hole. You can see the wooden forms sitting on the mud.
While I was away at work, the men dug a narrow trench around the rebar pulling out all the mud. It was a tremendous amount of work, and they didn't charge me a dime extra. The 7' deep hole is now about 6' to 8' in diameter, much bigger than it started!
They filled it with concrete, and finished it nicely. After a week of curing, we added section 2.
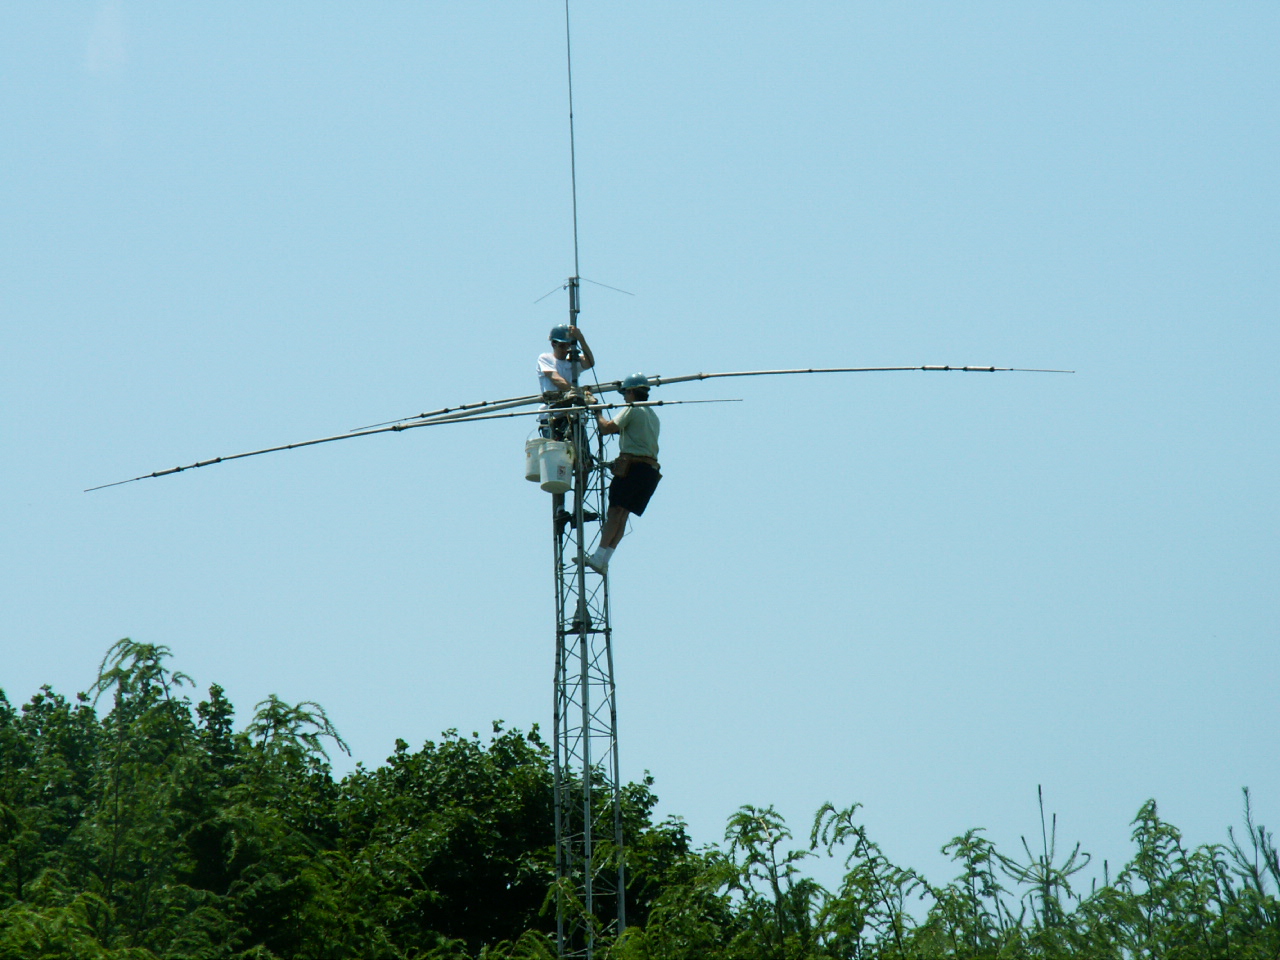
My son Michael (N2NTD) and I (KE2LJ) complete the attachment of section 3.
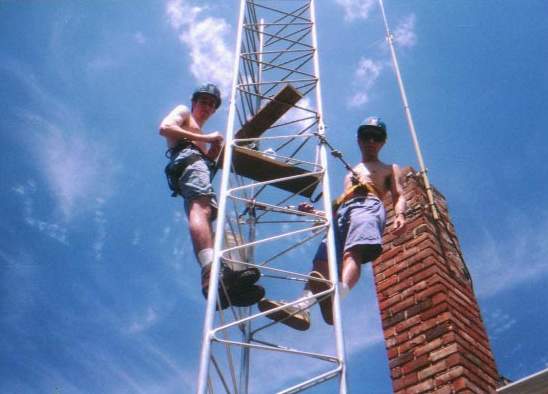
Another view. Notice the bottle of NoAlox on our work plank. We used plenty of it, coating every surface where friction or oxidation would be a problem.
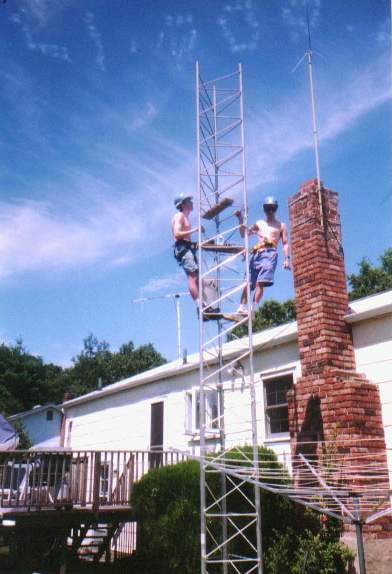
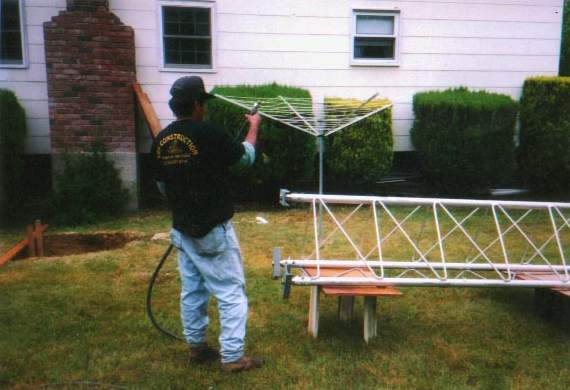
Setting the pulley on top of section 3. No gin pole was used at any time on the entire job. Two men can construct this tower quite easily.
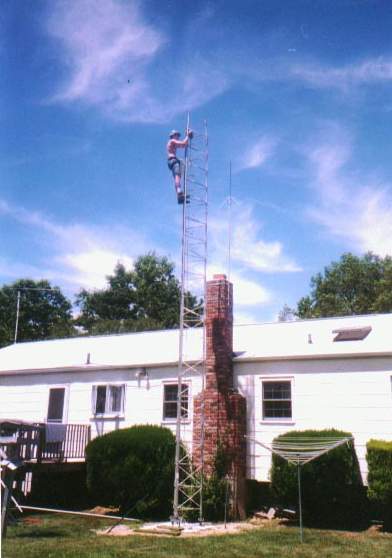
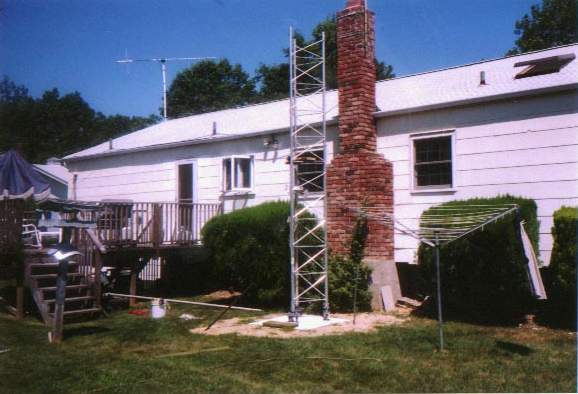
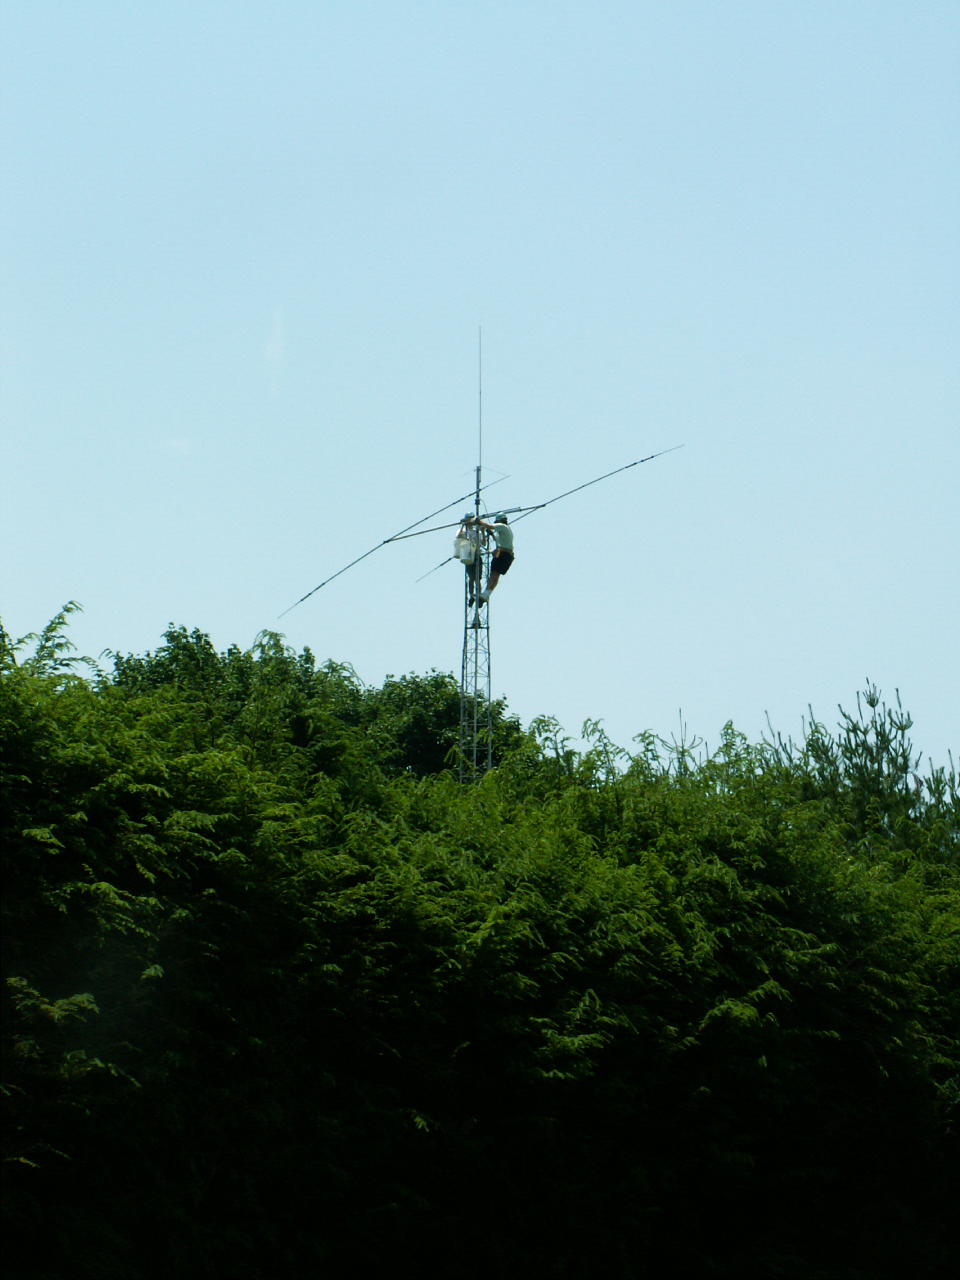
This is the completed 56' tower. On top is a TH3 and a Diamond X300A.

In 2007, the tower had to be dismantled. We were moving to a retirement house in Florida.
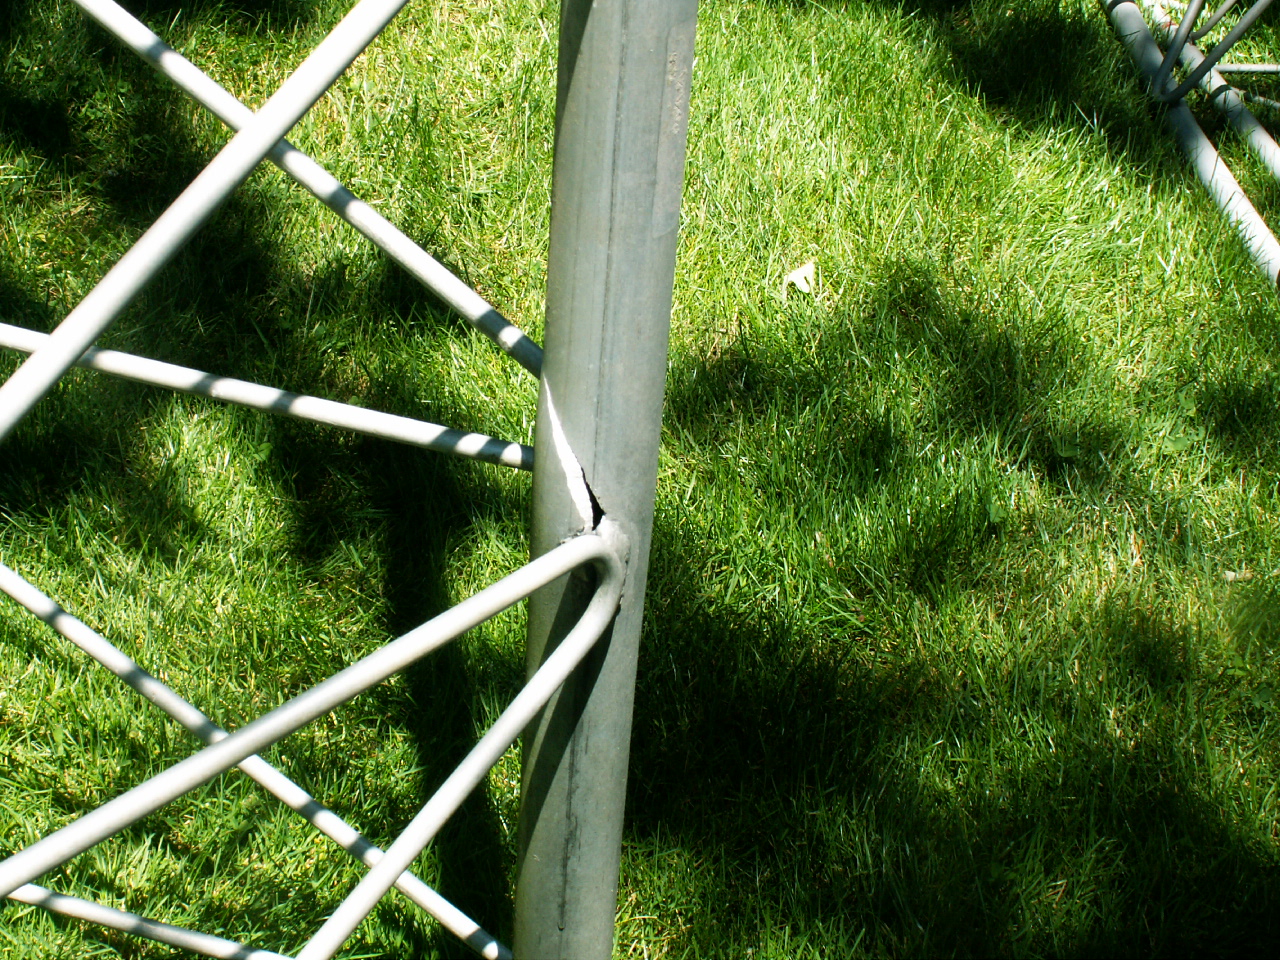
Over the years, ice had built up in one of the legs, and split it badly.