I started building my 1340 in late 2001. I ended up finishing it over the Christmas/New Year holidays later that year. It took longer than I expected, more because of interruptions and other little projects than anything else...
Overall I was impressed with the 1340. The quality of the case and components was good. The circuit board is packed, but well marked and well laid out. The instructions are easy to follow. I did run into a couple of challenges though...
One of the 47pF capacitors in my kit had a marking that looked like "471". I think it must have been 47K or 47J, but the letter hadn't fully printed. I didn't realize what had happened until I was short one 47pF capacitor and had an extra 470pF capacitor. This was easily fixed with a quick trip to Radio Shack.
C19 is a 100uF capacitor. The fit against L5 was snug, so I got a miniature 100 uF capacitor. The smaller capacitors cost a bit more, but the fit was much better.
U2 has a different orientation than U3 (the IC next to it). I don't ever remember installing an IC backwards before, but there's a first time for everything. I had to cut it out and replaced it with a spare I had on hand.
I knew I wanted to set my frequency range for the novice segment. As I was winding L3, I figured if the frequency was too low I'd just remove a winding. The problem was the VFO is mixed with a crystal oscillator. The higher the VFO frequency, the lower the final frequency--it's backward! I had to add a turn to get up to the frequency where I wanted it.
For the coils, I wound them and used superglue to hold them in place. Then I used a drop of regular craft glue on the board and placed the coil. Once the glue had a chance to dry, I soldered the connection. This gives a bit of mechanical stability.
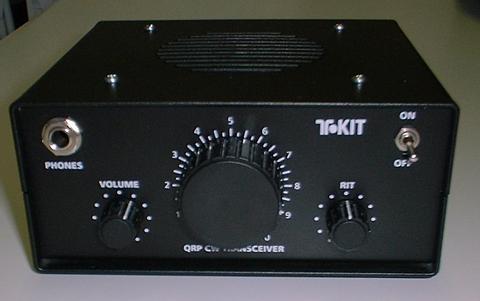
One final thing was the speaker mounting. After assembly there was some buzzing of the aluminum frame at certain frequencies (including the sidetone frequency). I messed around with another TenTec kit I was building and found a solution I was happy with.
Take some narrow electrical tape (3/8" or so--if you don't have narrow use a sharp knife to split a nearly empty roll of electrical tape down the middle giving you two narrow strips). Run some around the hole that holds the speaker and fold over both sides of the hole. The speaker will now rest against the tape. Then apply tape along all four edges on the side that will go against the enclosure. Be neat because you can see this area through the speaker grill. Tighten things down and you shouldn't have any buzzing.
Overall I've been impressed with this radio. I'll post more impressions when I have a couple of hours of air time under my belt...
Copyright © 2002-2009 by Jim McClanahan All rights reserved.
All trademarks and brands are the property of their respective owners.