LC Meter
LC meter is one of most used equipments by hams. Fortunately, it is easy to diy one for about 15-18 TL (~10USD) in Türkiye.
I used Phil Rice's (VK3BHR) schem. You can get all files and information from his site : sites.google.com/site/vk3bhr/home/index2-html

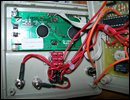
There is no difficulty about printing pcb. Routes are clear and thick enough for ironning.
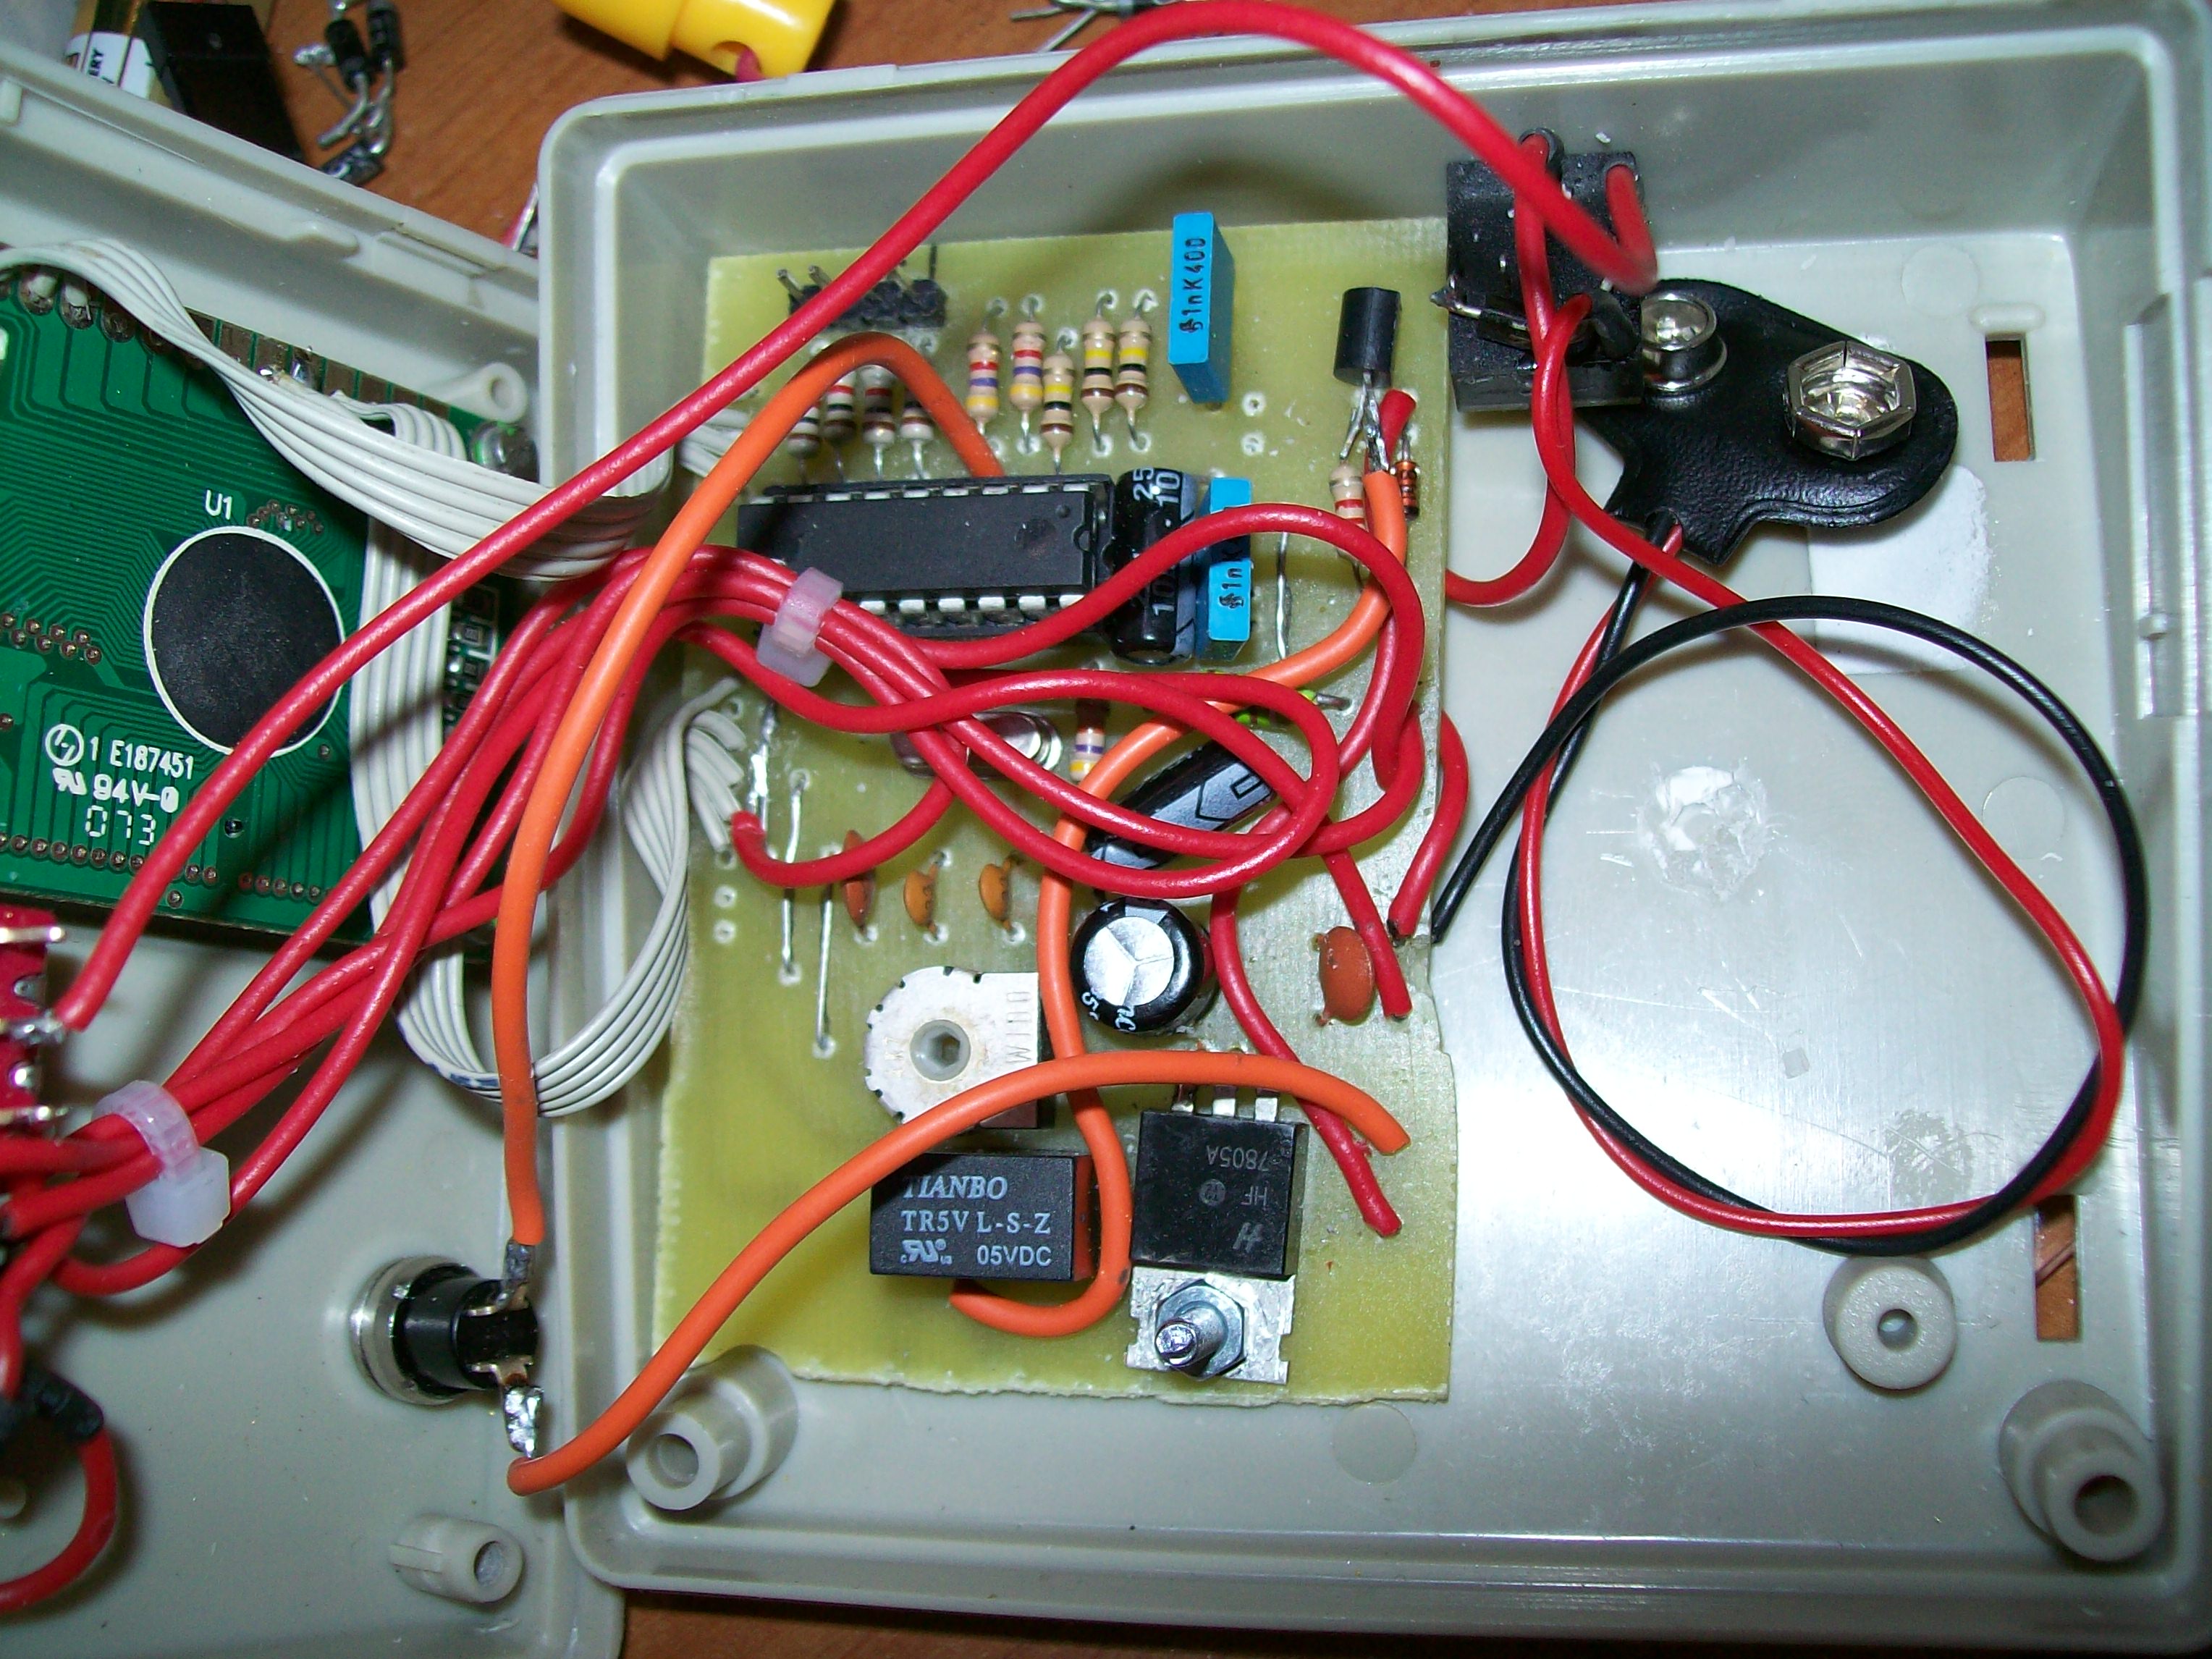
I couldn't find the original relay used in circuit. So I had to make some modifications.
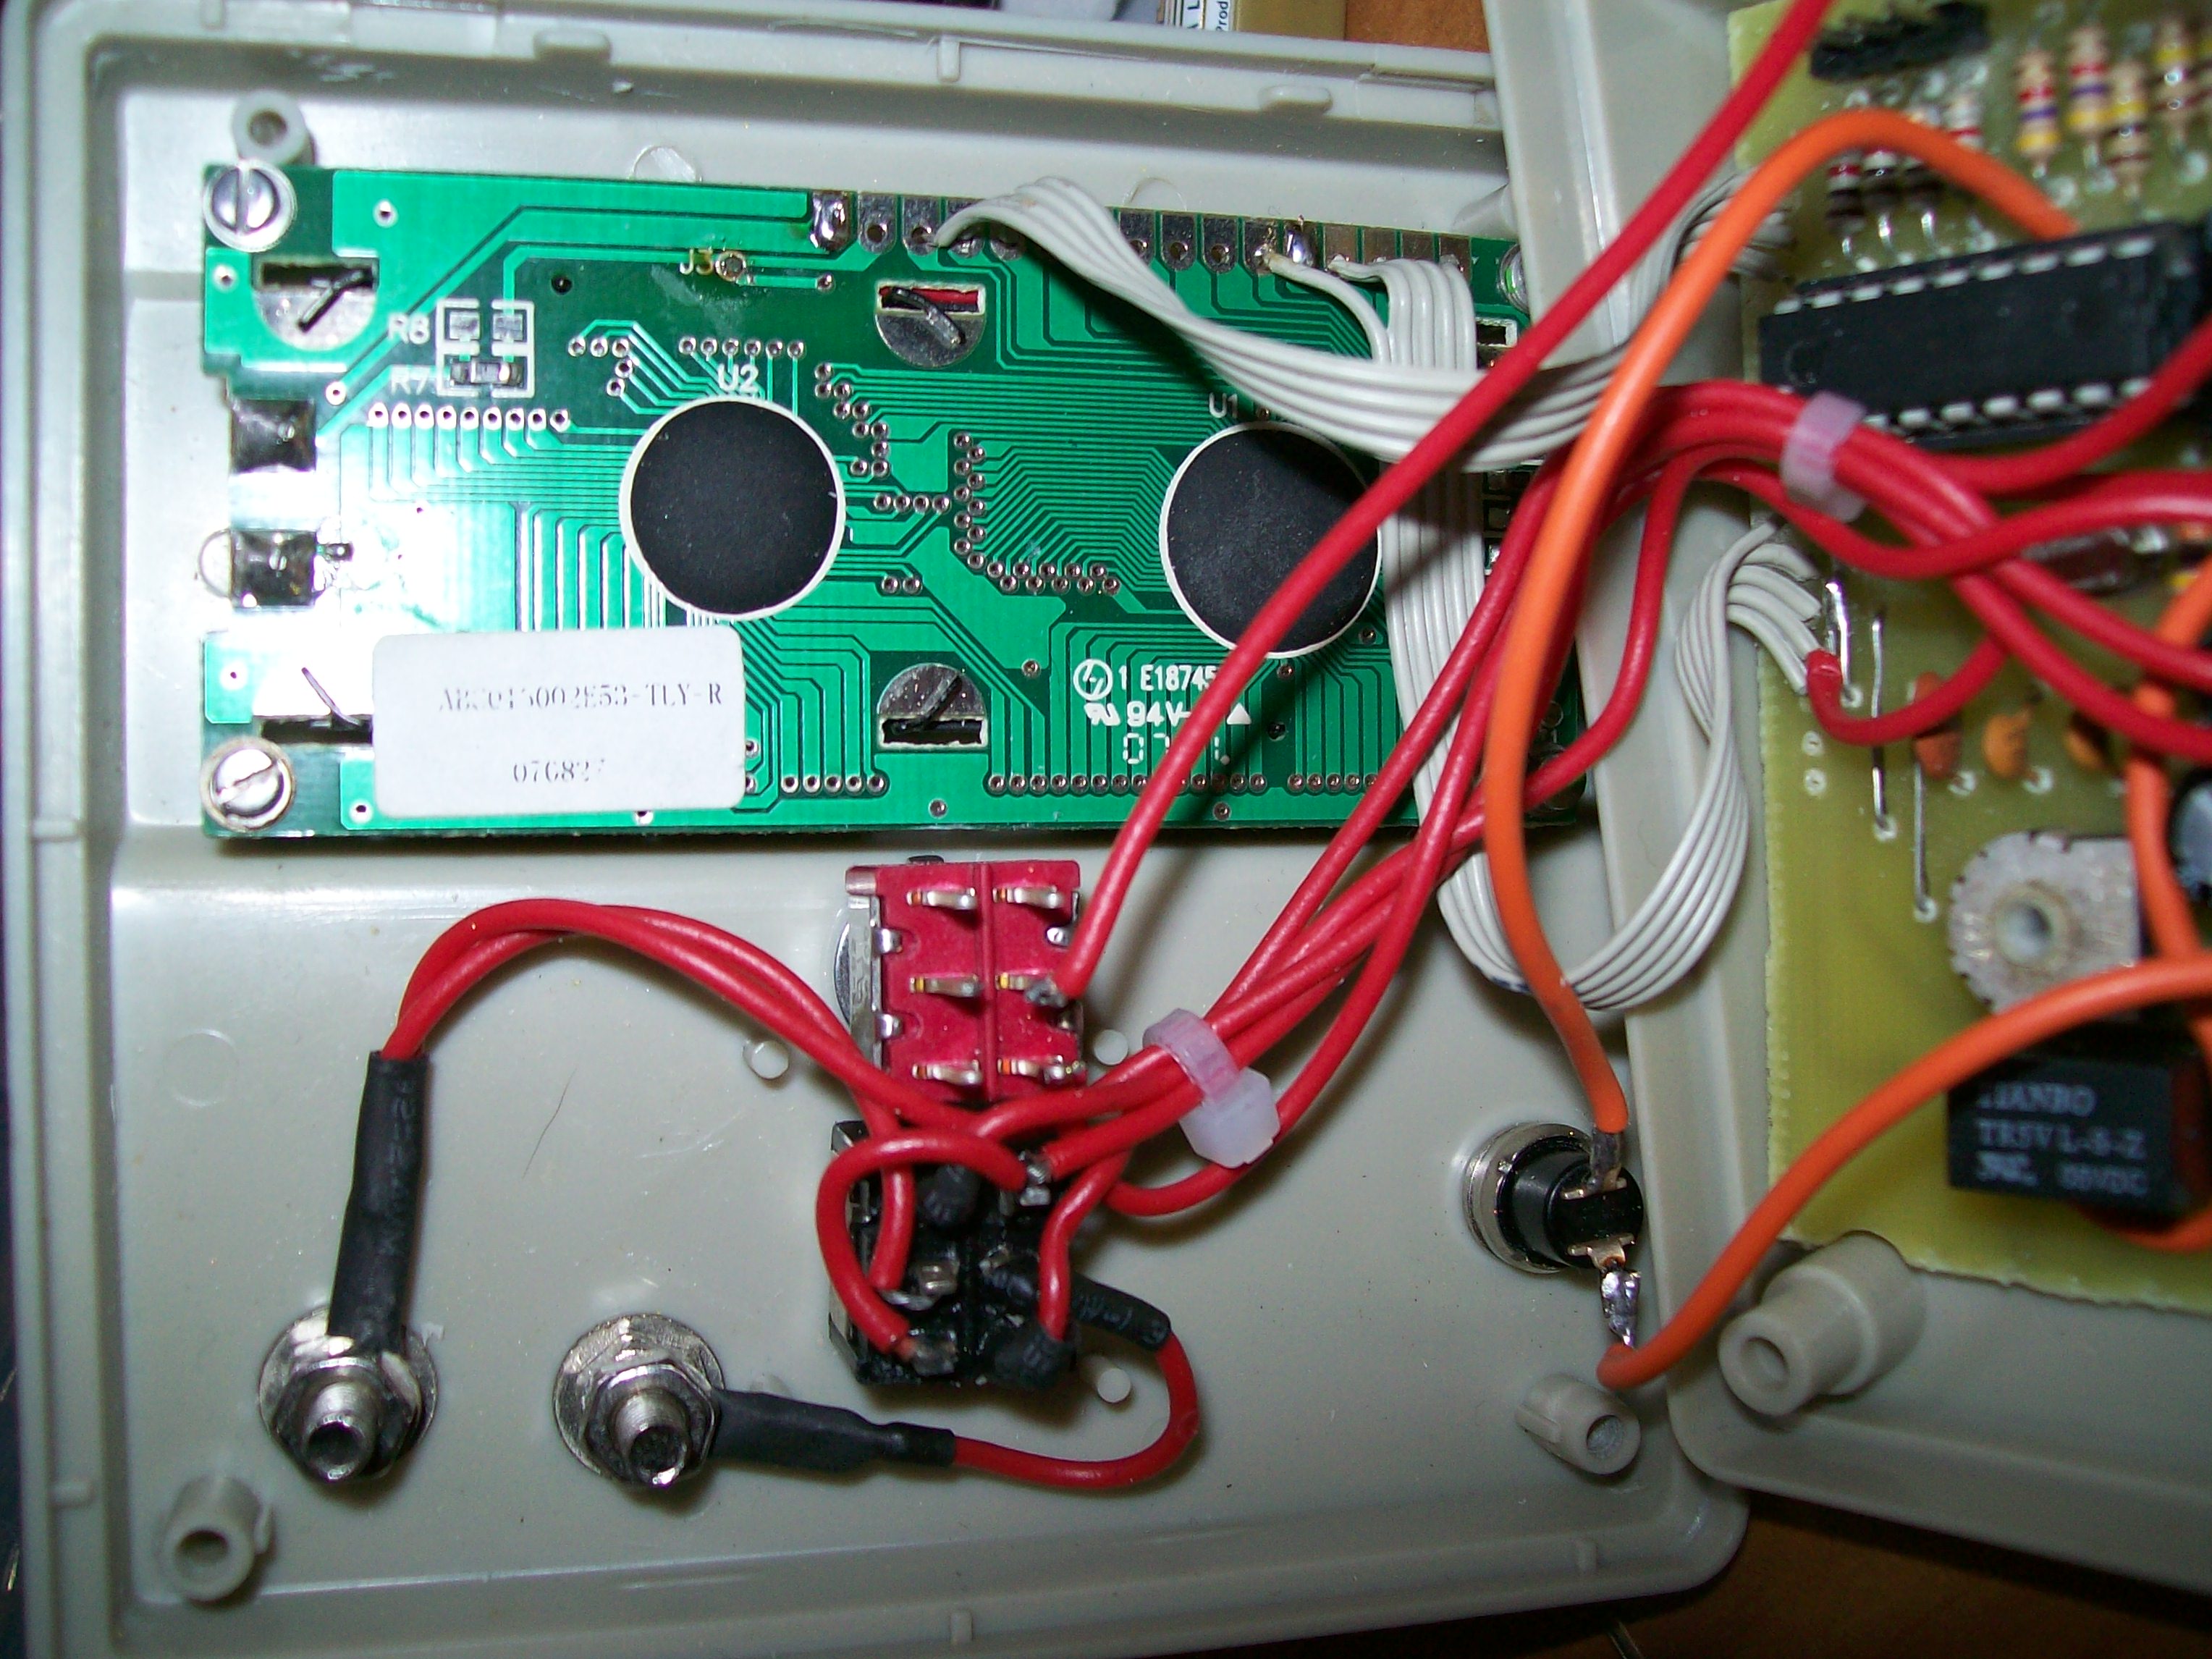
My lcd has internal solder jumpers for backlight and there is no need for lower part of pcb. I drilled new holes and insert 5v spdt relay here.
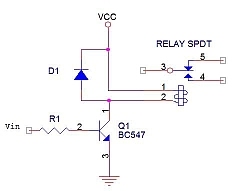
This relay needs at least 30-35mA's for opening.In order to protect pic's output, i decided to use a small npn transistor and picked up BC547, because it is easy to find and cheap.
Resistor value is not so important. I used 2k2, between 1k and 4k7 is ok. Diode is 1N4148.
If you are not going to use backlight, you can use 78L05(100mA), otherwise you should use 7805(1A).
When you turn on your circuit first time, you need to set contrast and calibrate it.
Firstly, turn on and look at lcd display, if it is too dark or there is nothing on the lcd, use trimpot on the pcb and set contrast level.
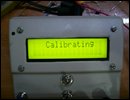
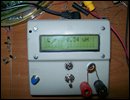
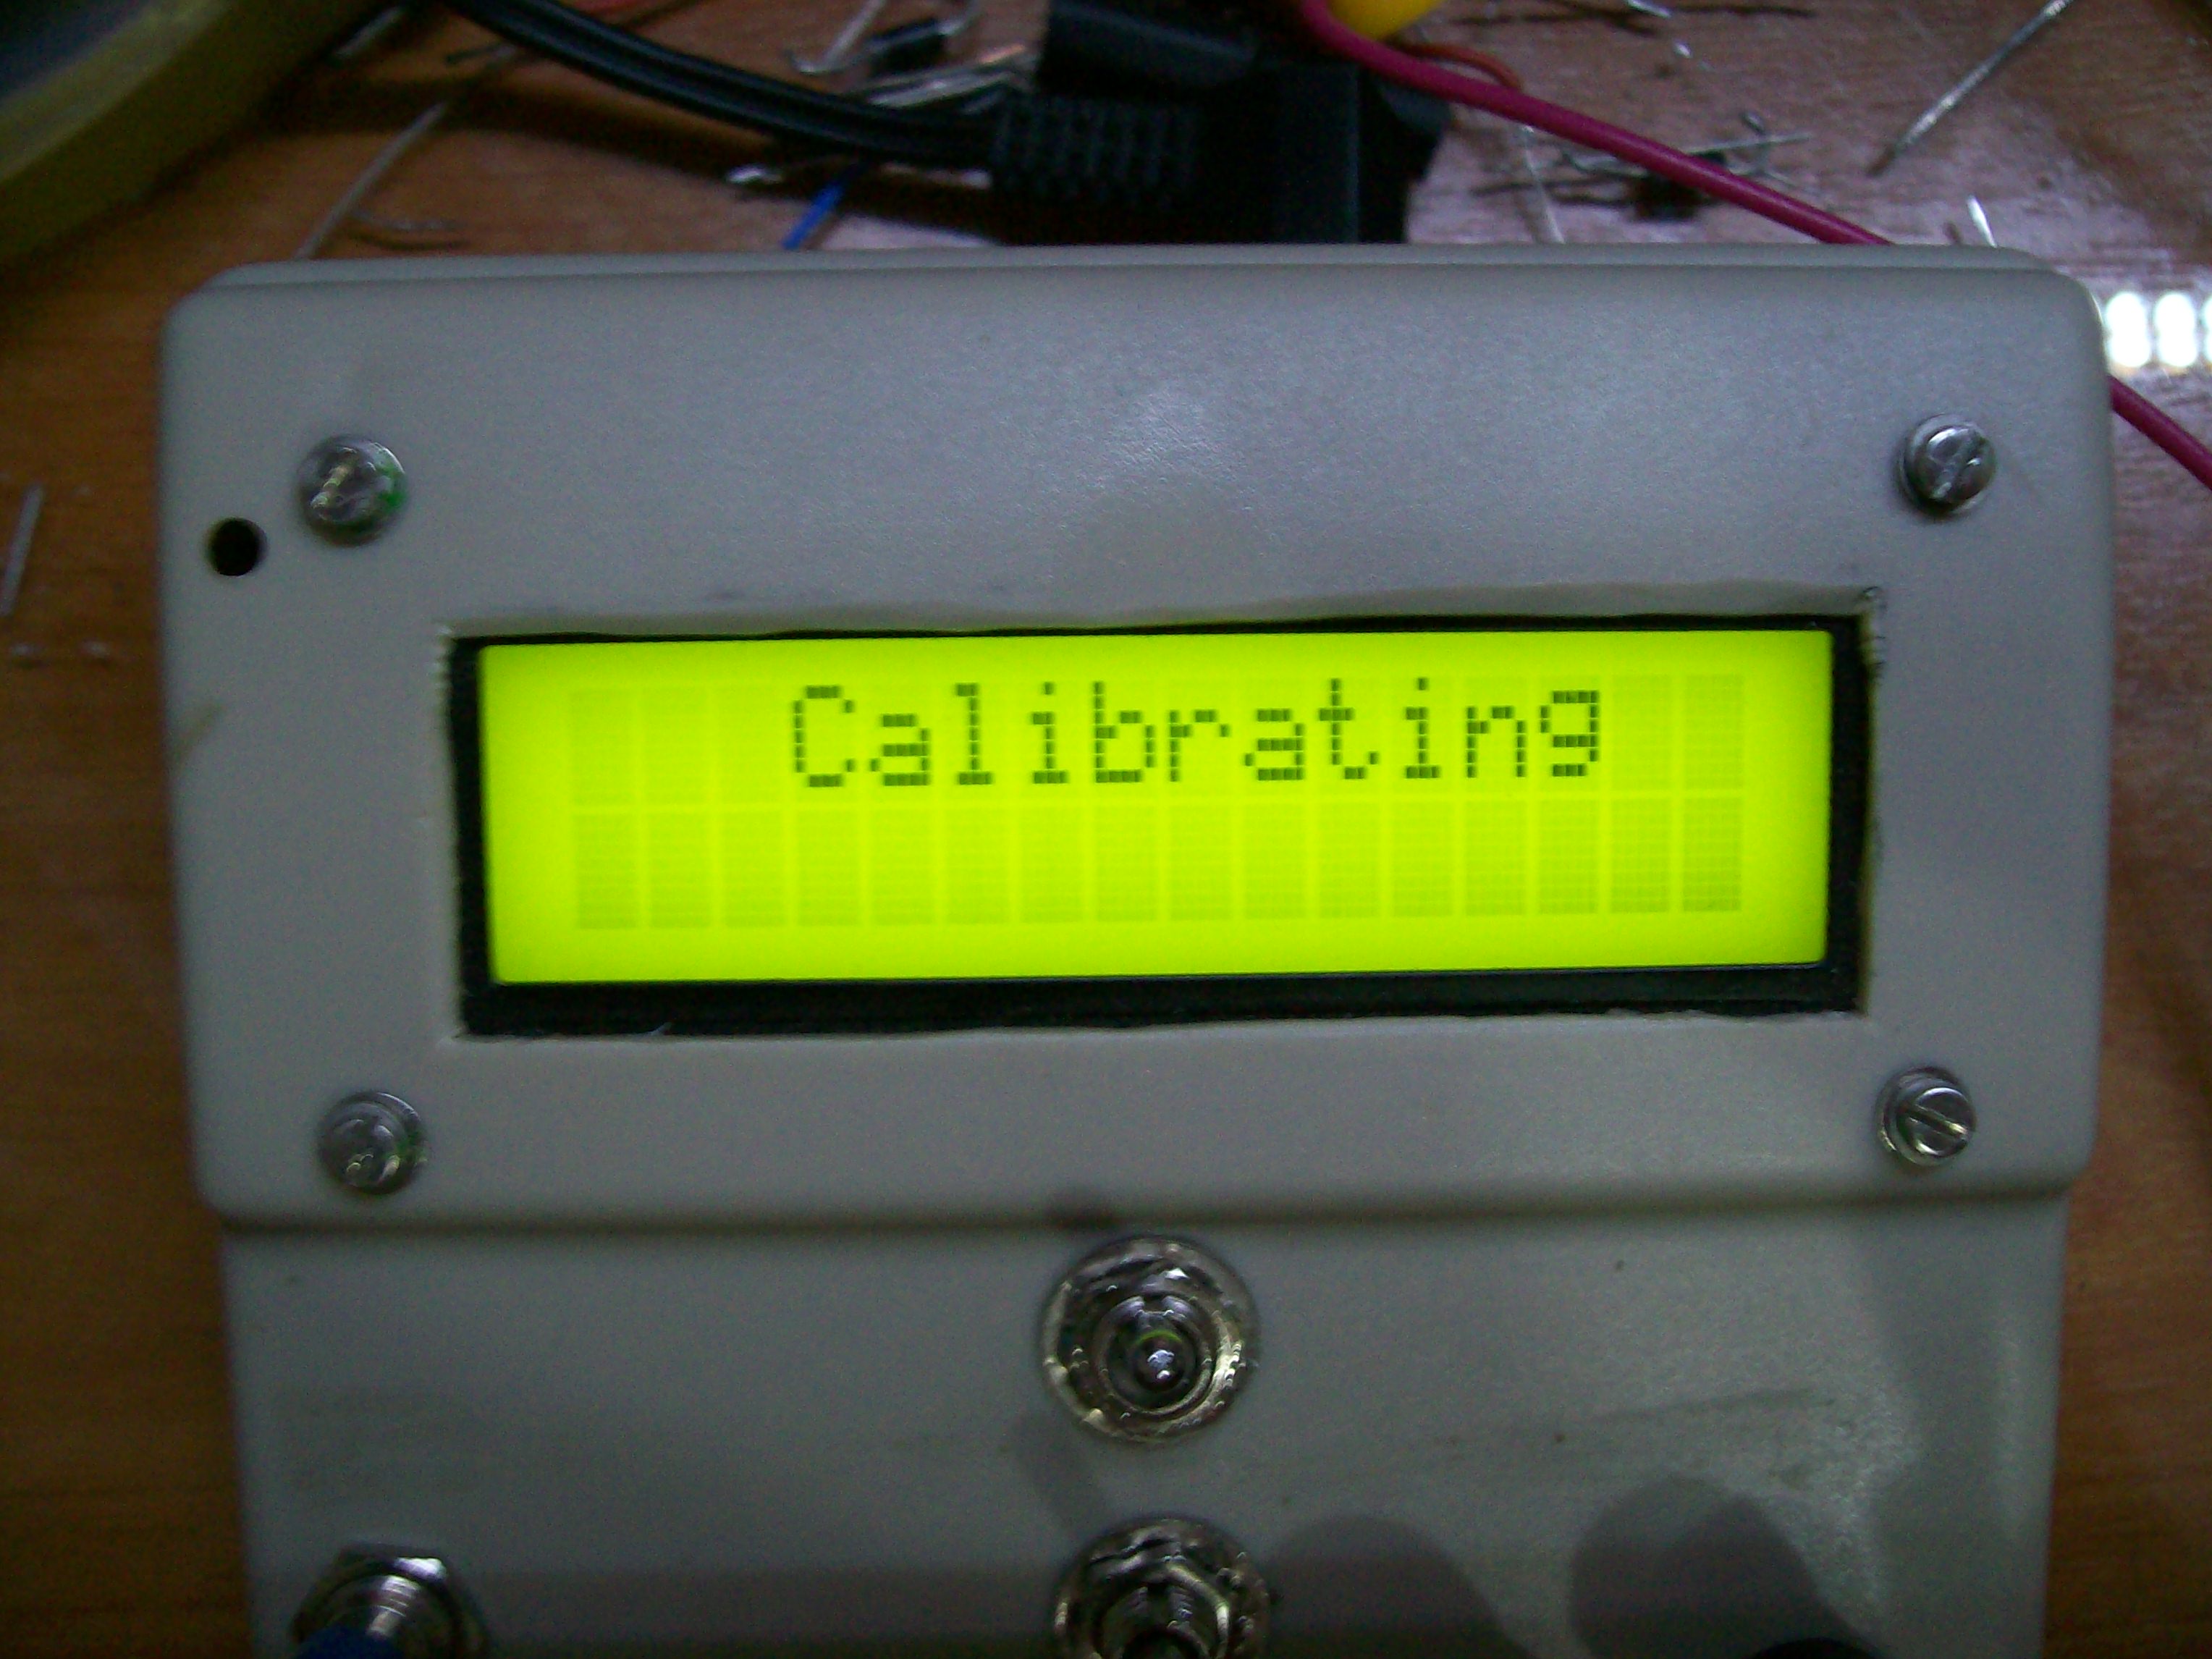
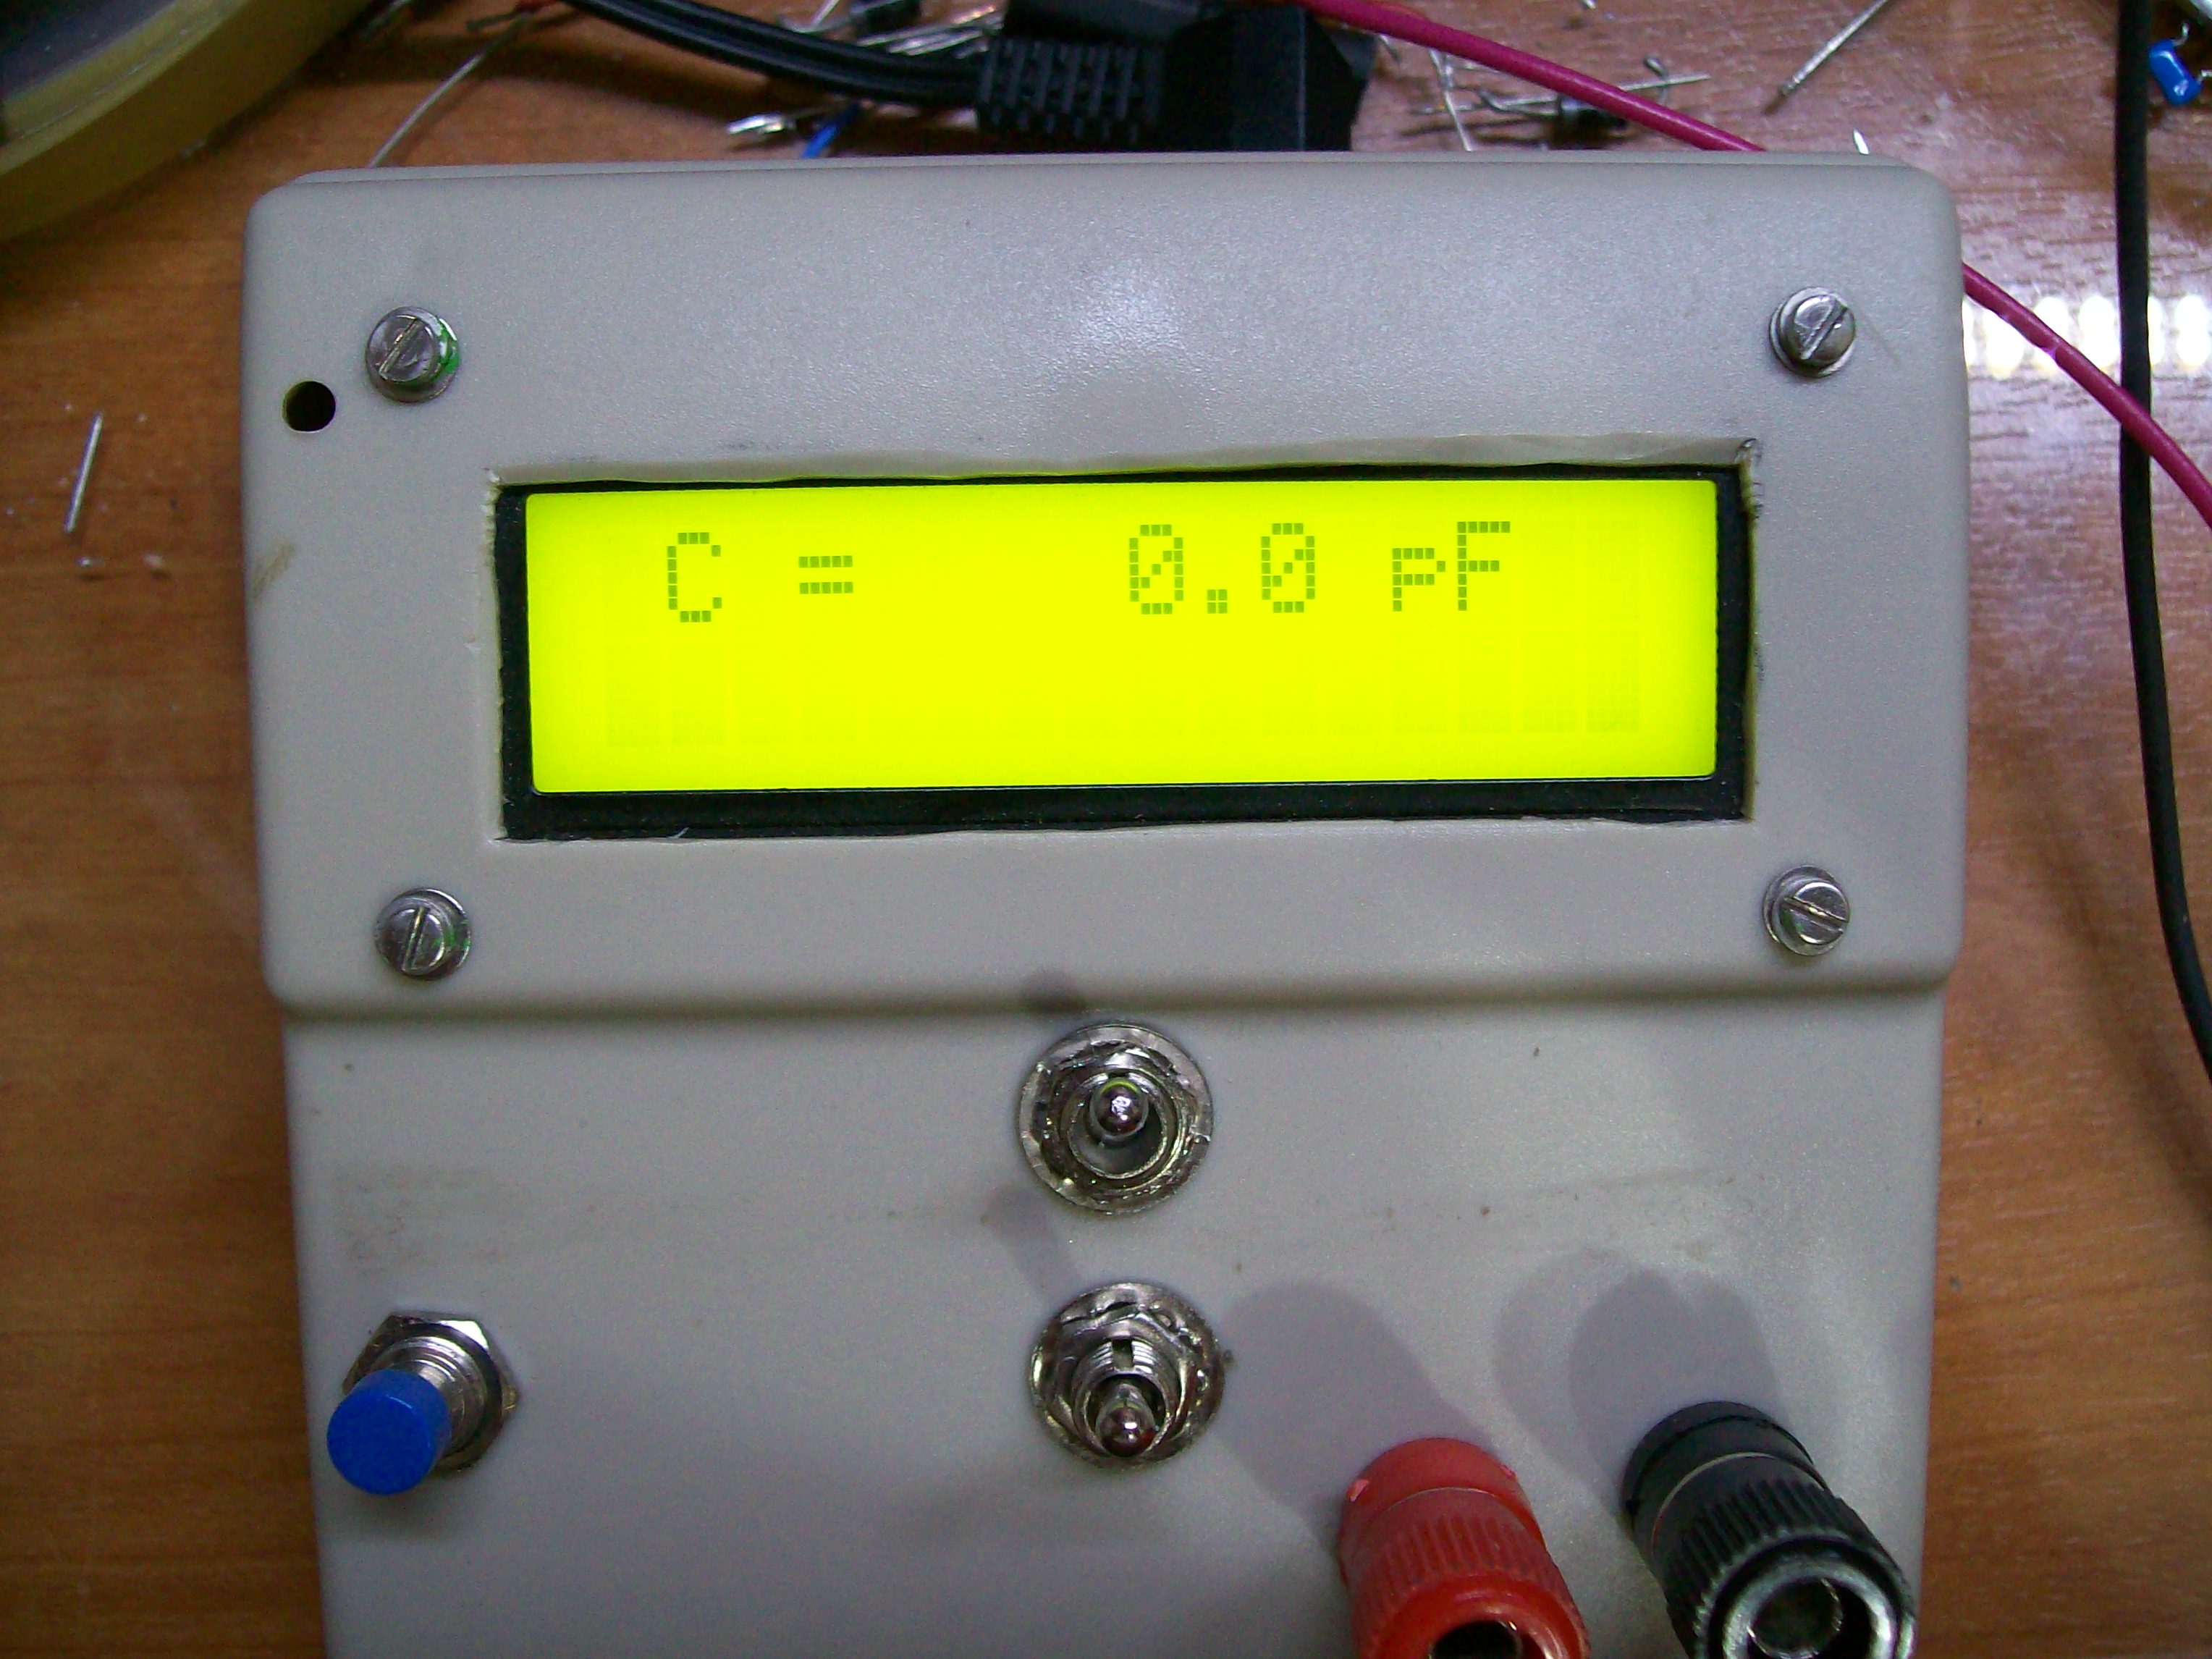
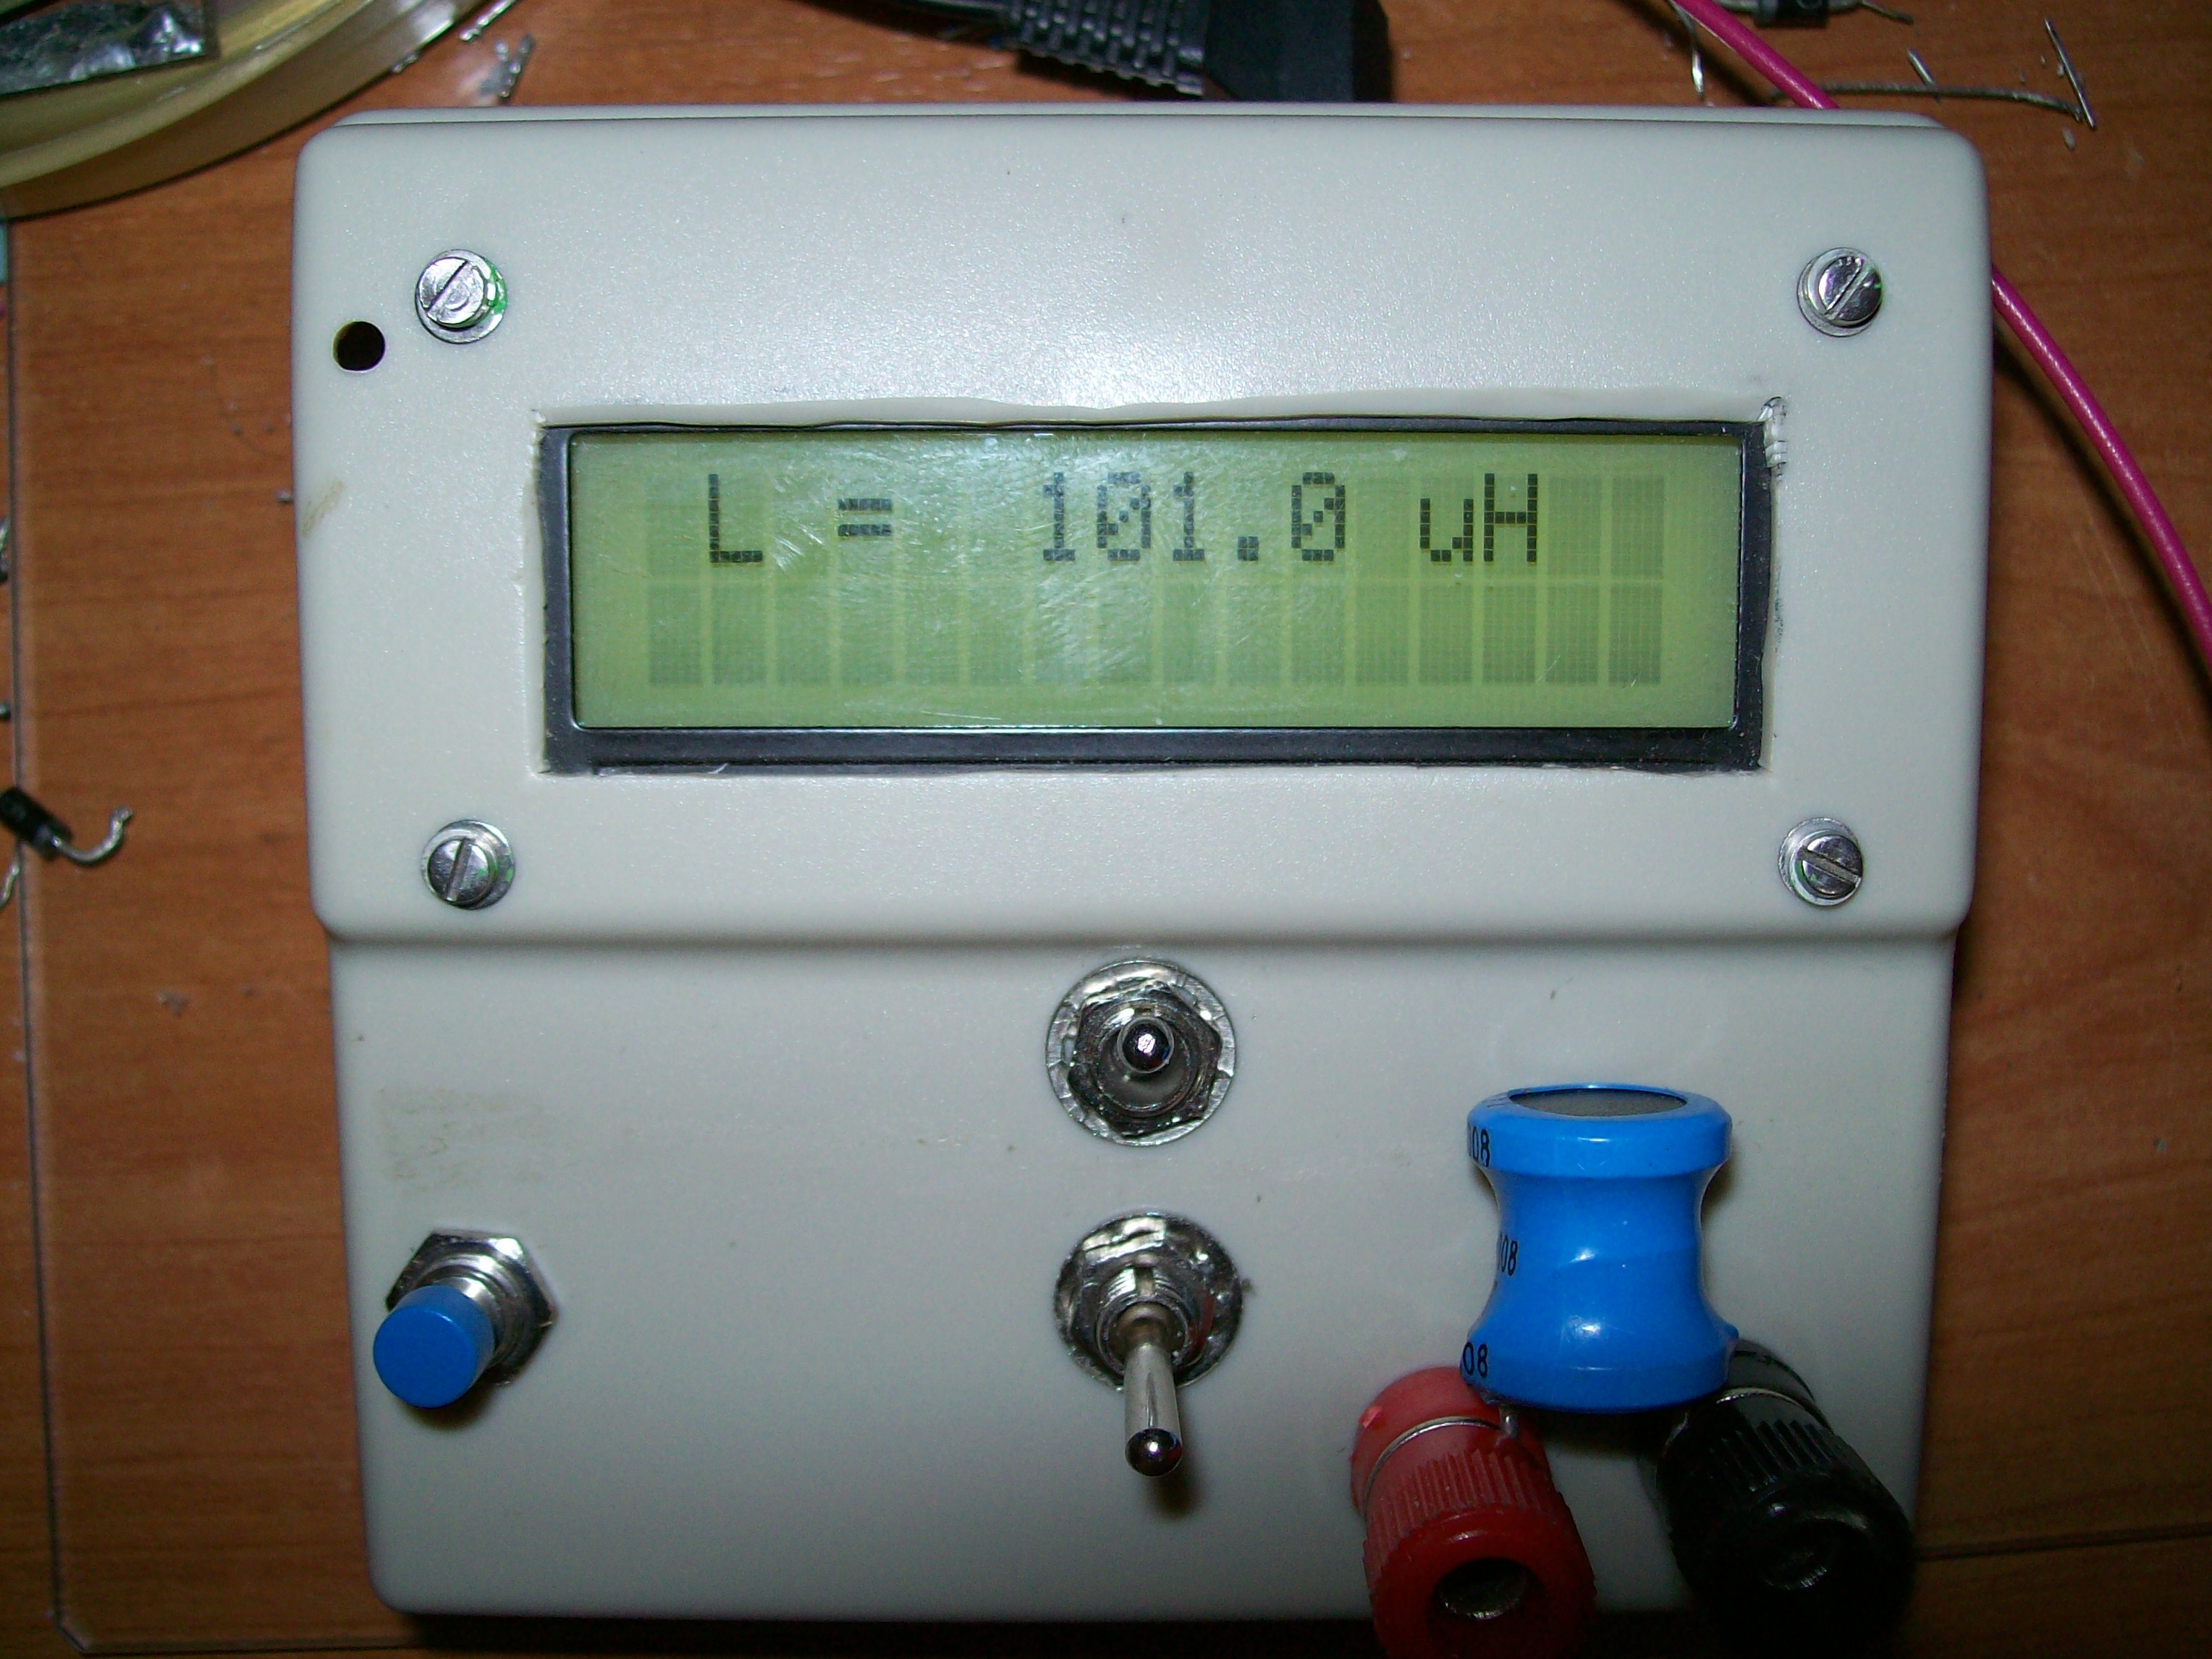
Turn on lc meter. It should display "Calibrating" then "C = 0.0pF".
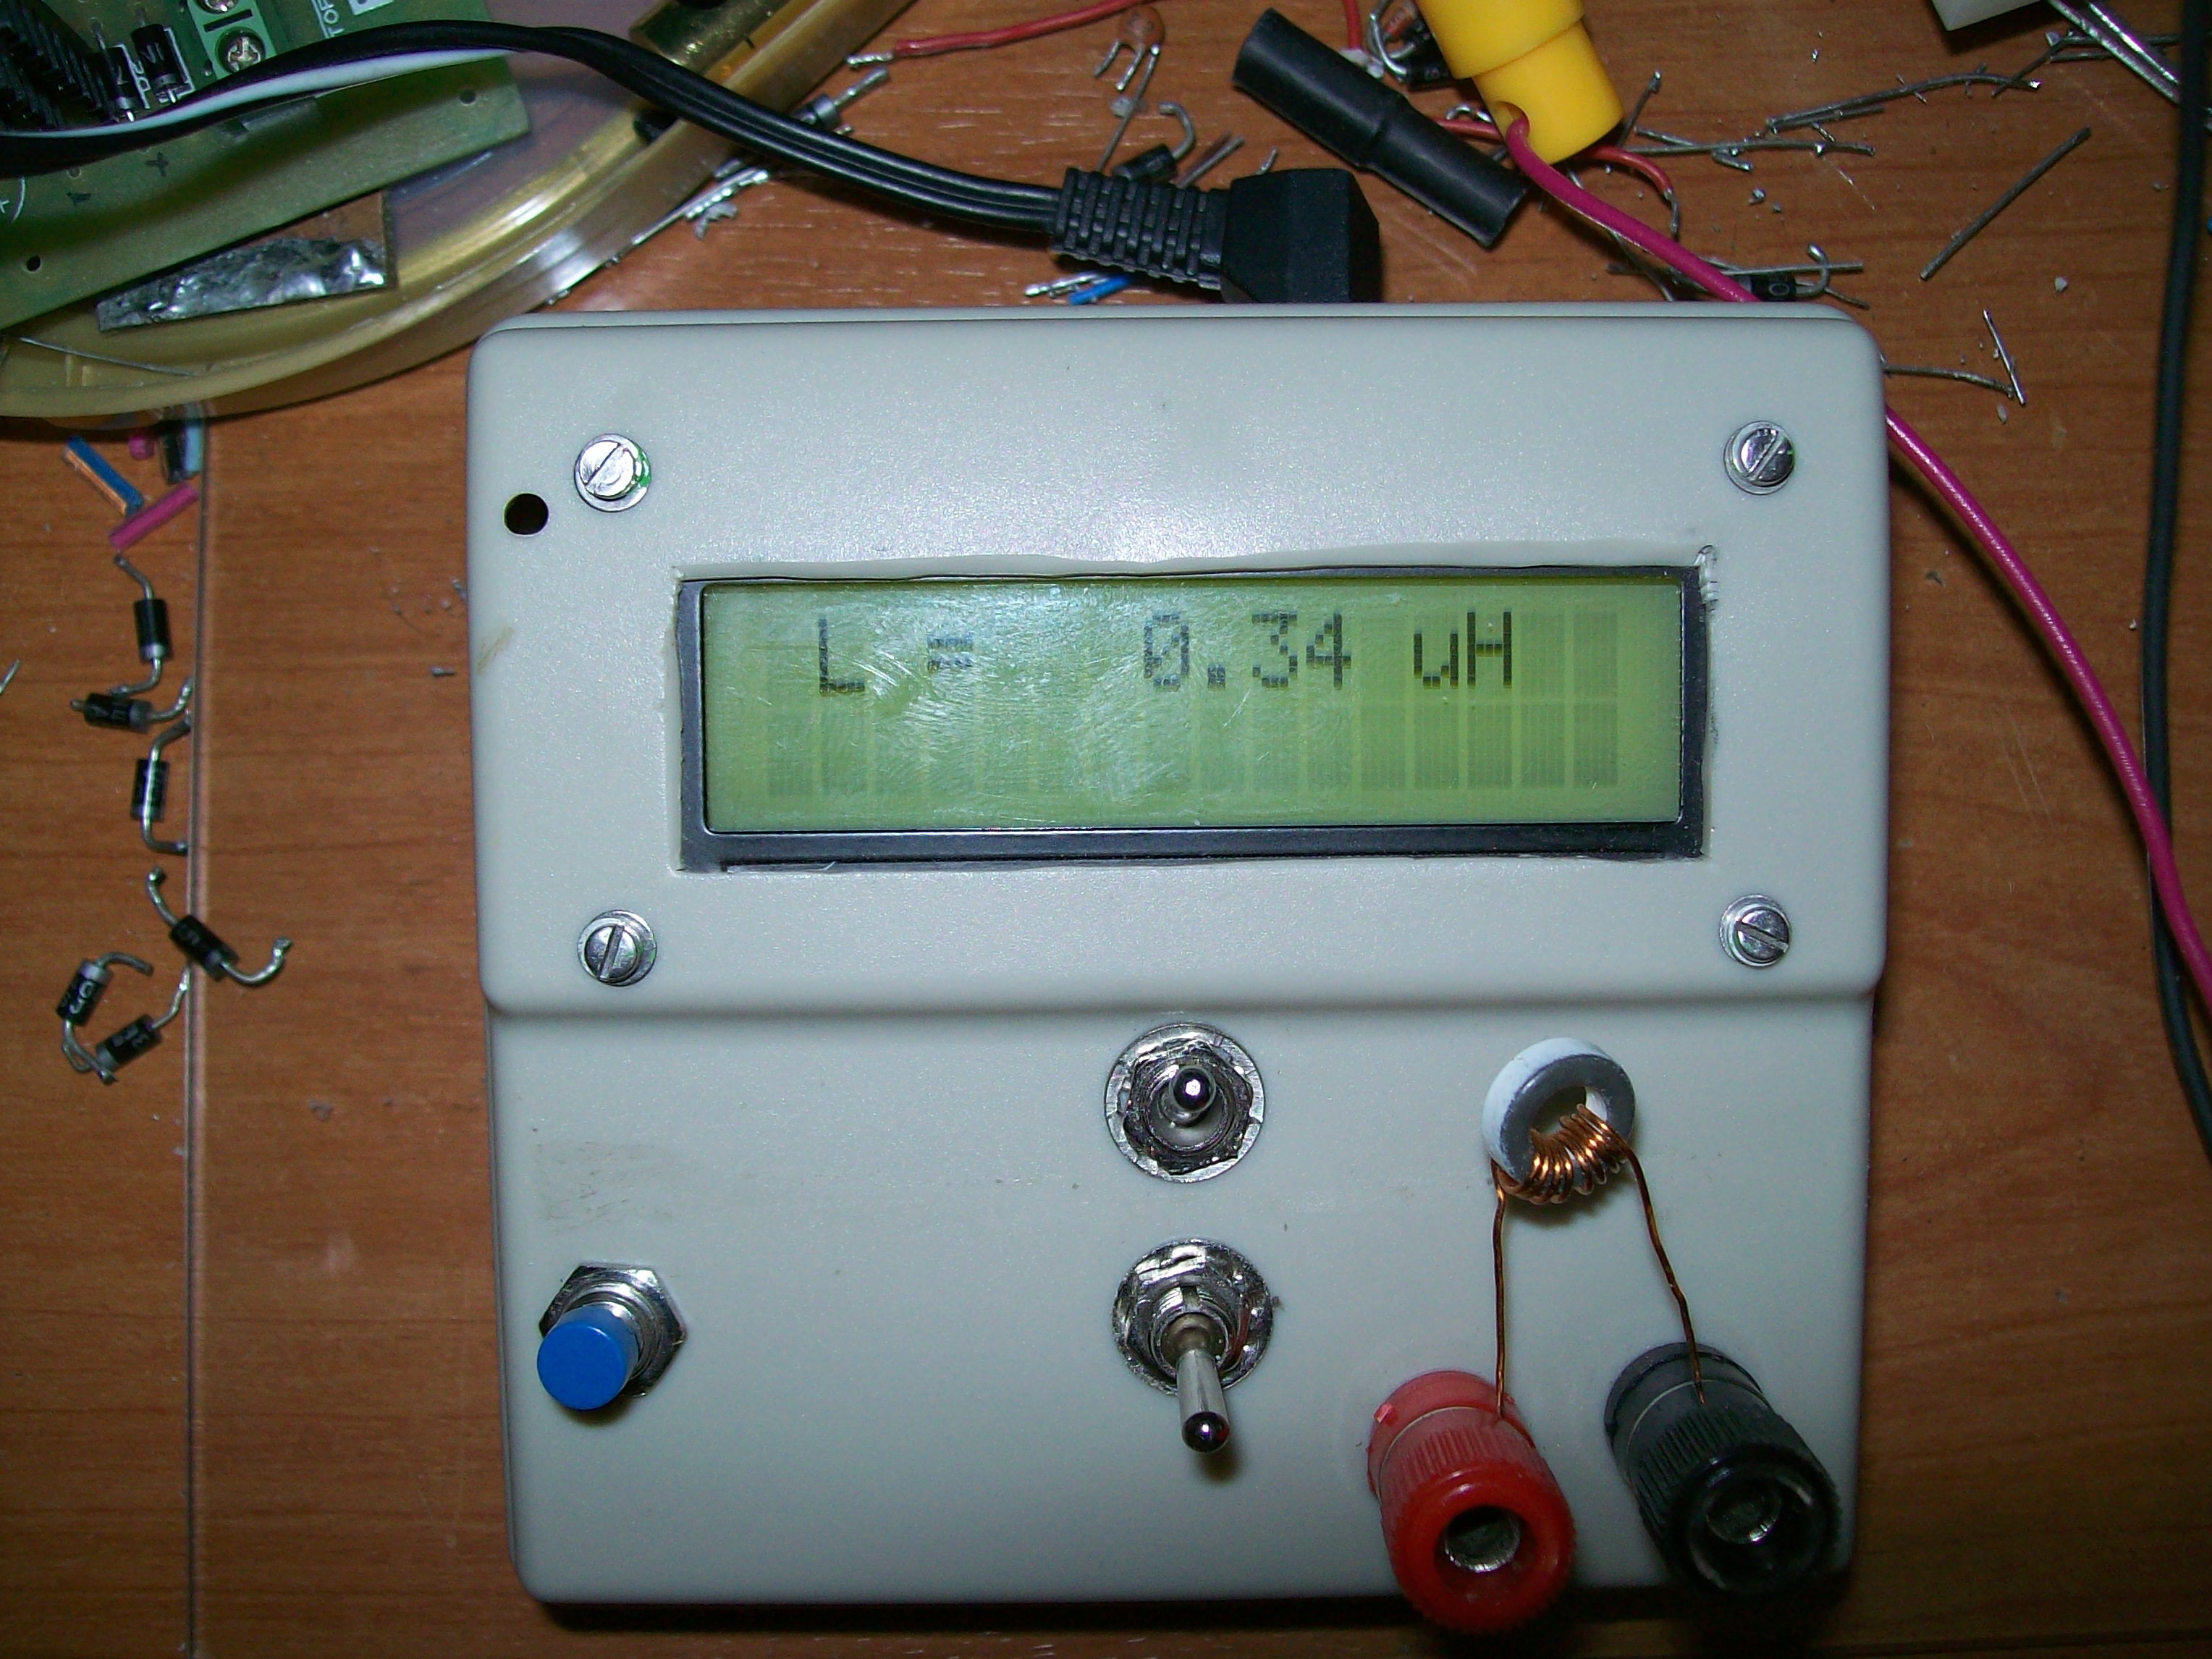
If it displays "Over Range" change position of L/C switch and press reset button again.
Wait for several minutes to warm-up and press reset button again.

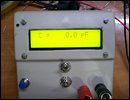
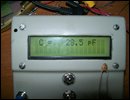
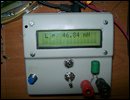
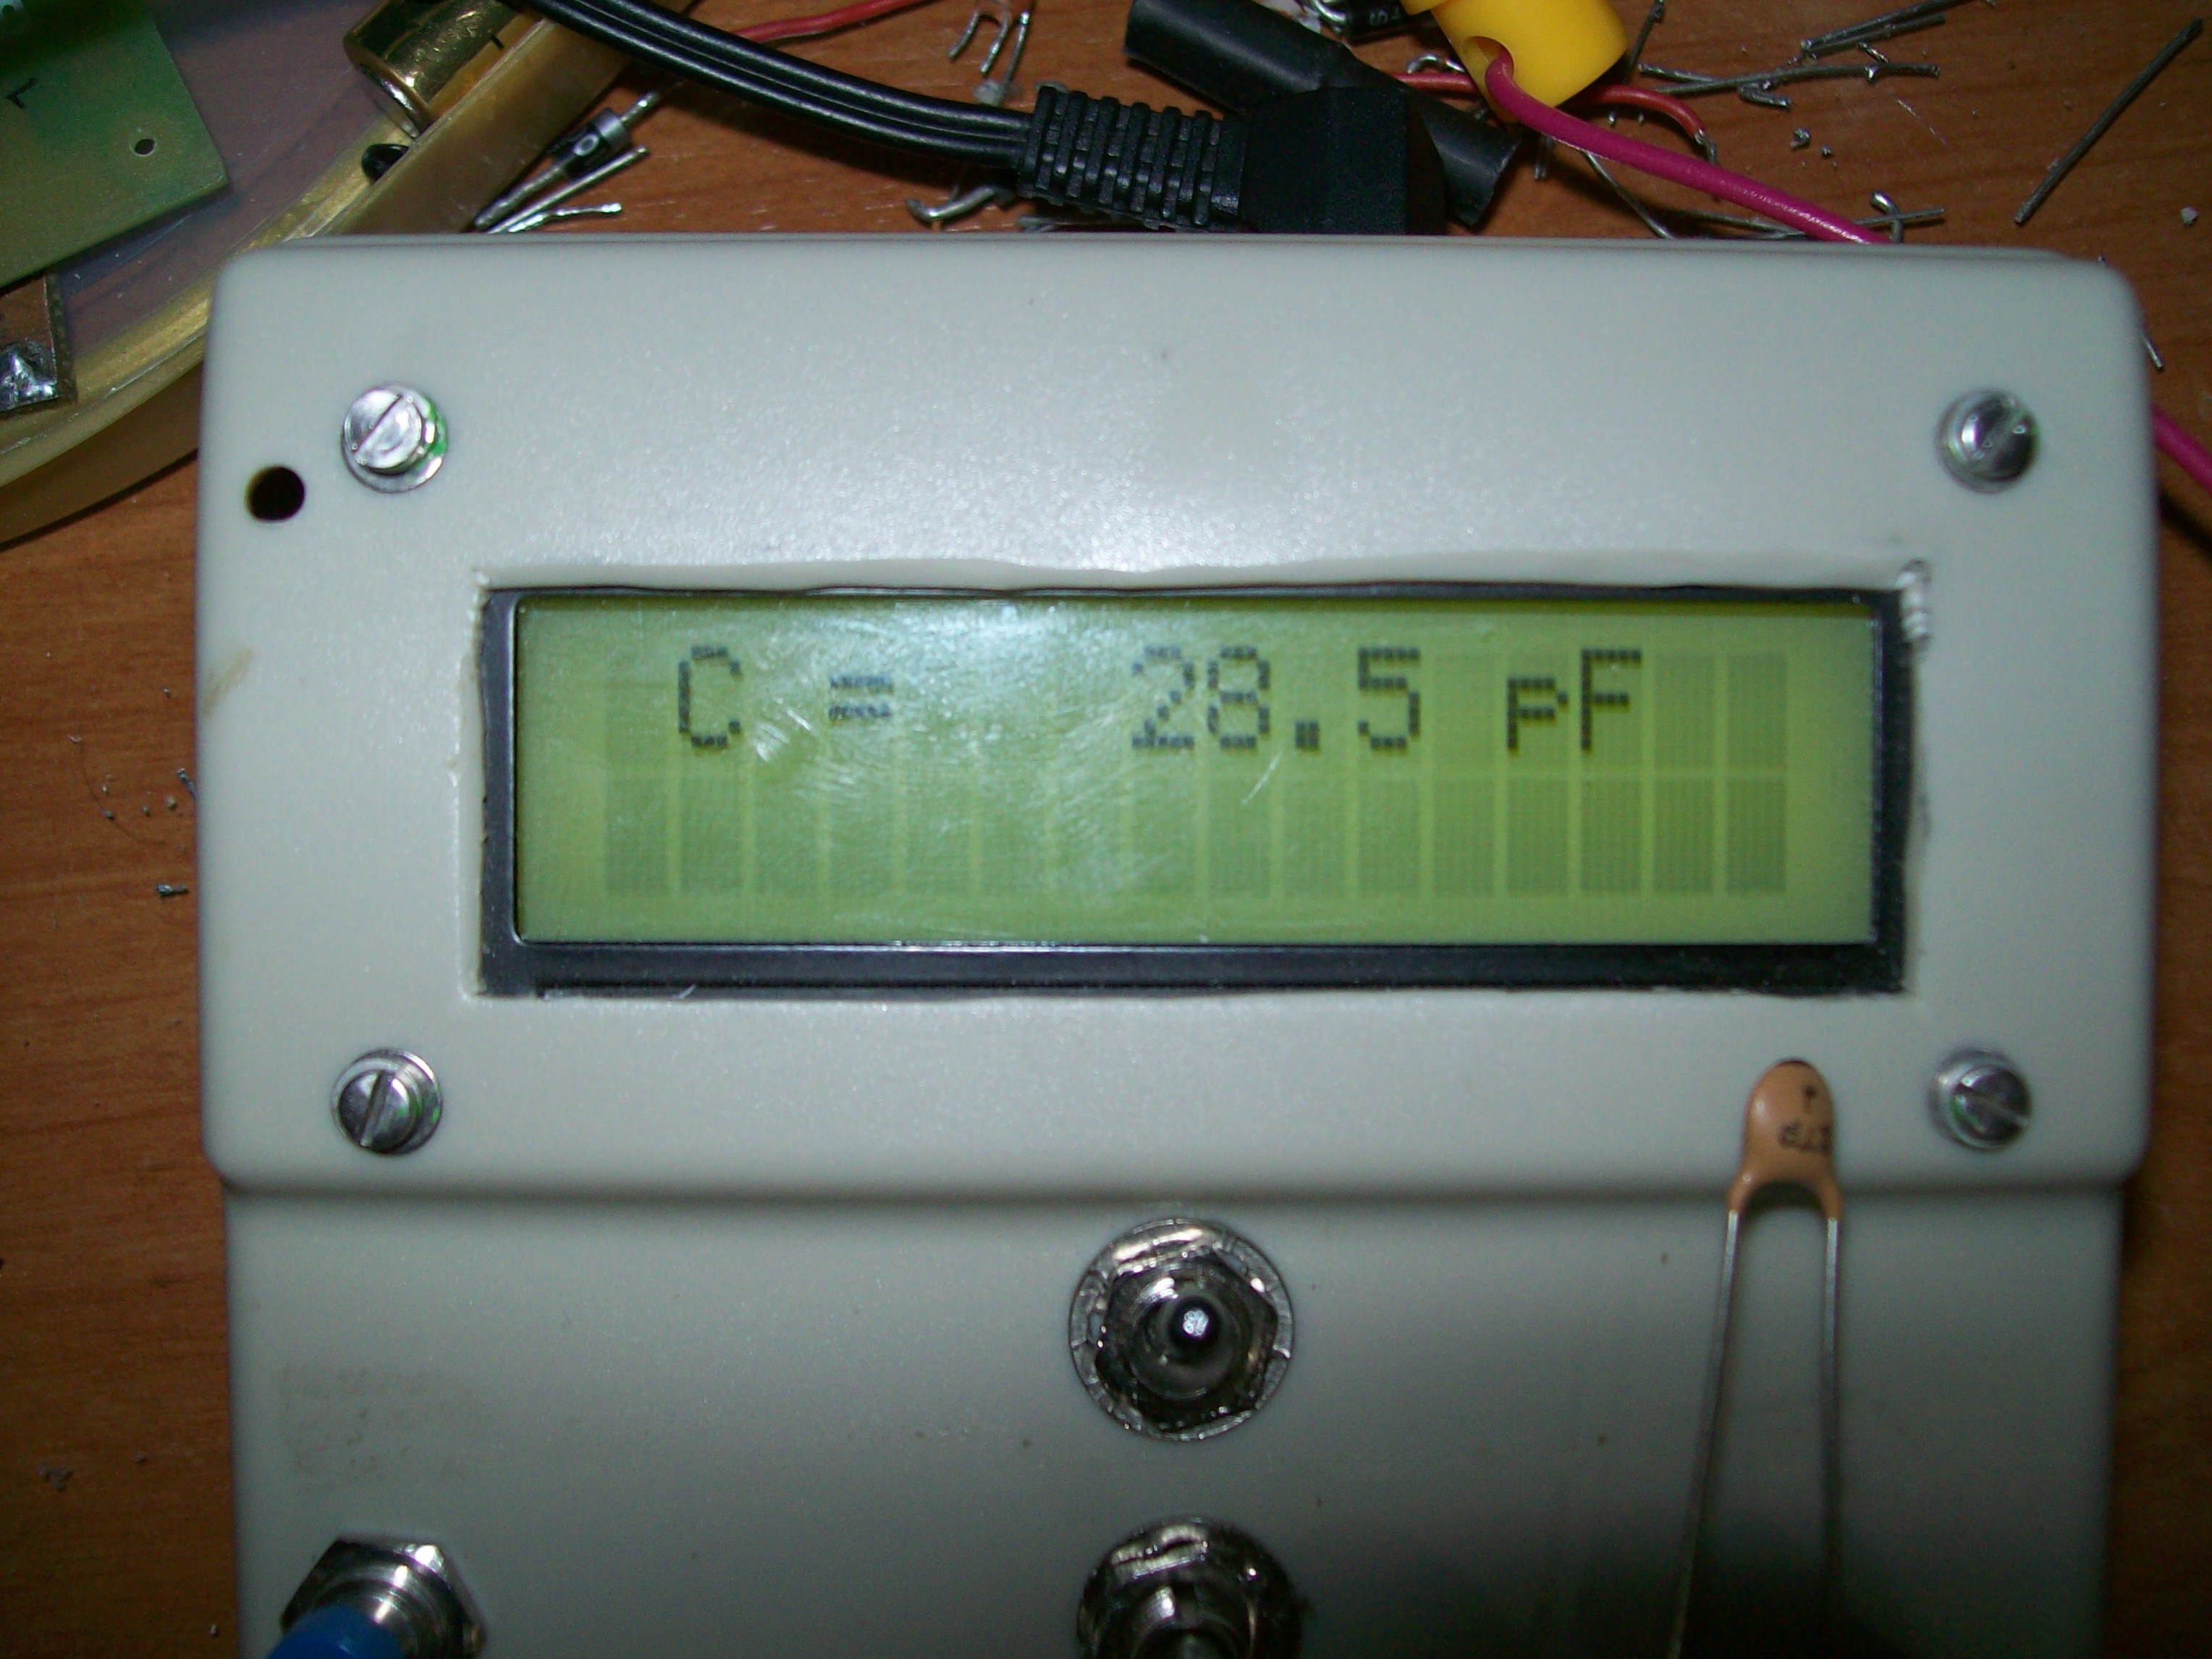
Connect a low tolerance, known value capacitor. Using jumpers 3&4 set displayed value to capacitors value.
Connect another capacitor and test the results. If it is ok, you can close the box.
Don't Forget: Pic is not programmed when you purchase. You have to program it before you use.