PRM-80 Programming (1st Draft)
Step 1
Plug lead into radio mic socket and ensure the unit is switched on.
Step 2
Fire up the software and the first screen will appear as below…

Press enter….


F1 for help while on a particular field.
Page up and Page down to change menu’s.
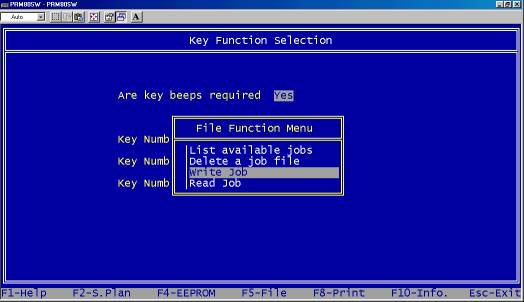
It is a good idea to save your existing config before going on..
i)Use F5 and select Write Job

ii) Name your file.
Step 2
Set your required options and frequencies.

Not many of the key function are available on the PRM-8010

SELCALL Send options

SELCALL Received options

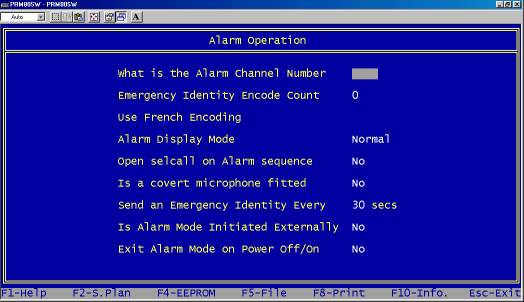
Don’t touch this Froggy stuff !
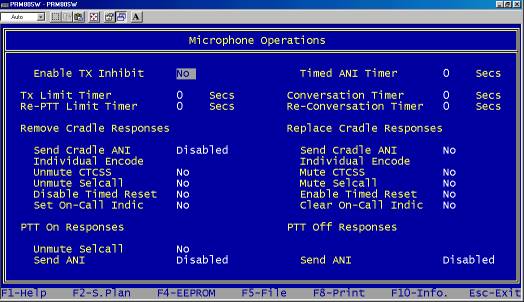
Mic options (Most require the Mic holder to be earthed)

Frequencies (0-9)

You can add the above channels to a scan group
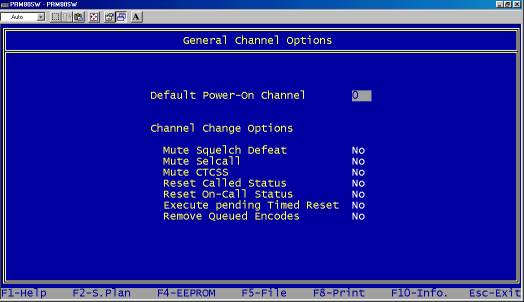
Default Power-On Channel is the only field of interest here.
This is used in conjunction with a SELCALL sequence and the rear connector.
(This is the last filed and the software will cycle back to the beginning)