The editor can be used for regular image editing and for the creation and editing of template images. Template images are used as overlays. They will be dynamically adapted when you select the template in the TX-window. While in edit mode, you can change all the attributes (such as size, position, colours etc ...). If you save the canvas as an image, the scene will be rendered (i.e. flattened) and become a single image object. If you save the canvas as a template, all objects will be accessible again when loaded.
- File Menu
- New: Create a new file
- Open: Open an existing file. If the canvas already contains items, new items will be added to the existing ones this allows combining templates. You can use the Clear All function from the Edit Menu to clear the canvas first.
- Save file: Save the file under the same name
- Save as Image: Create an normal image file. All items will be rendered (flattened) to create one single image.
- Save as Template: Create template file. All items will be editable when the file is loaded again.
- Quit Exit the editor
- Edit Menu
- Delete: Delete the selected items
- Copy: Copy the selected items
- Paste: Paste the copied items.
- Clear all: Clear the canvas completely
To create an object, click on the left menu to select the type of object (e.g circle) and then click on the canvas where you want the object positioned. Just click on an item to select it. A outline of the item will be shown by highlighting the item. If you hoover over the object you will see the cursor change to an arrow_forbidden icon if the item is locked;
A selected item will be highlighted and resizing handles and rotate handle are shown. Text items only have the rotate handle. Resizing of text is only done through the font settings.
- resize

- rotate


- rotate text

The attributes (line colour, fill colour, gradients etc ..) that are active in the top menu will be used to create the item. Object have also a z-component, i.e they can be in front our behind another object. This can be changed by right clicking on the item and use the Arrange selection.
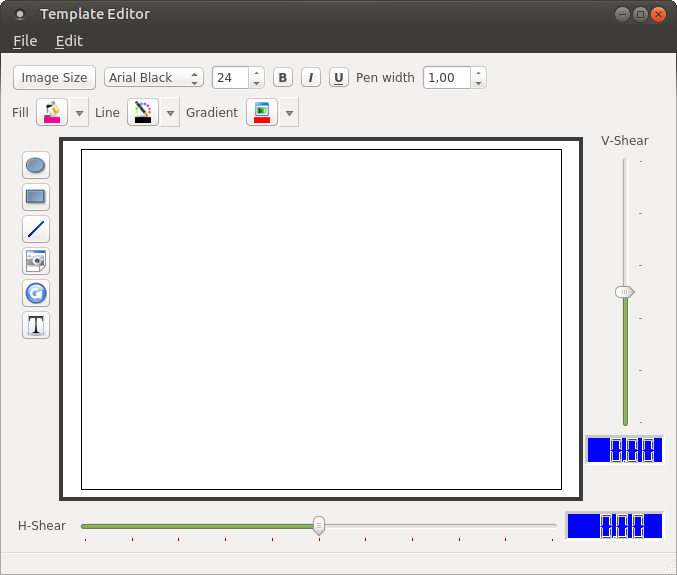
- Top menu 1
- Image Size: Select the size of the image: the outline of the image will be shown on the canvas.

- Font: drop down box where you can select the text font
- Font size: text size
- Bold : bold text
- Italic: italic text
- Underline: underlined text
- Pen width: width of lines in number of pixels (used with borders and text outline)
- Image Size: Select the size of the image: the outline of the image will be shown on the canvas.
- Top menu 2
- Fill: Fill colour drop down menu
- Line: Line colour drop down menu
- Gradient: Gradient selection menu
- Left menu
- create filled circle/ellipse

- create filled rectangle -
 create line -
 insert image -
 insert replay image place-holder. When the template will be loaded in the TX-window, this place-holder will replaced by the last received image -
 create text. When you select this option a window will pop-up to enter text.
-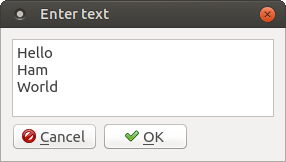
You can enter multiple lines of text. Click OK, the window will be hidden and you can click on the canvas to position the text. The text will appear on the canvas. -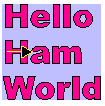
- Bottom menu
- Horizontal Shear: shear selected object horizontally
- Right menu
- Vertical Shear: shear selected object vertically
If you right click on an object then the following pop-up menu will be shown:
- Arrange
- Forward - one level forward
- Backward - one level backward
- Bring to Front - all the way to the front
- Sent to Back - all the way to the back
- Change text - change the text of a text object
- Delete - remove selected object from the canvas
- Expand - object will expand horizontally and vertically to fill the complete canvas
- Lock - lock items so that they can not be moved or resized
- Unlock - unlock selected items
We need some sort of macro's to enable variable text when transmitting images. The editor uses predefined strings that will be replaced by the "actual content" when the template is processed just before transmission.
Here's an example of the editor using macros and the result in the transmitter.
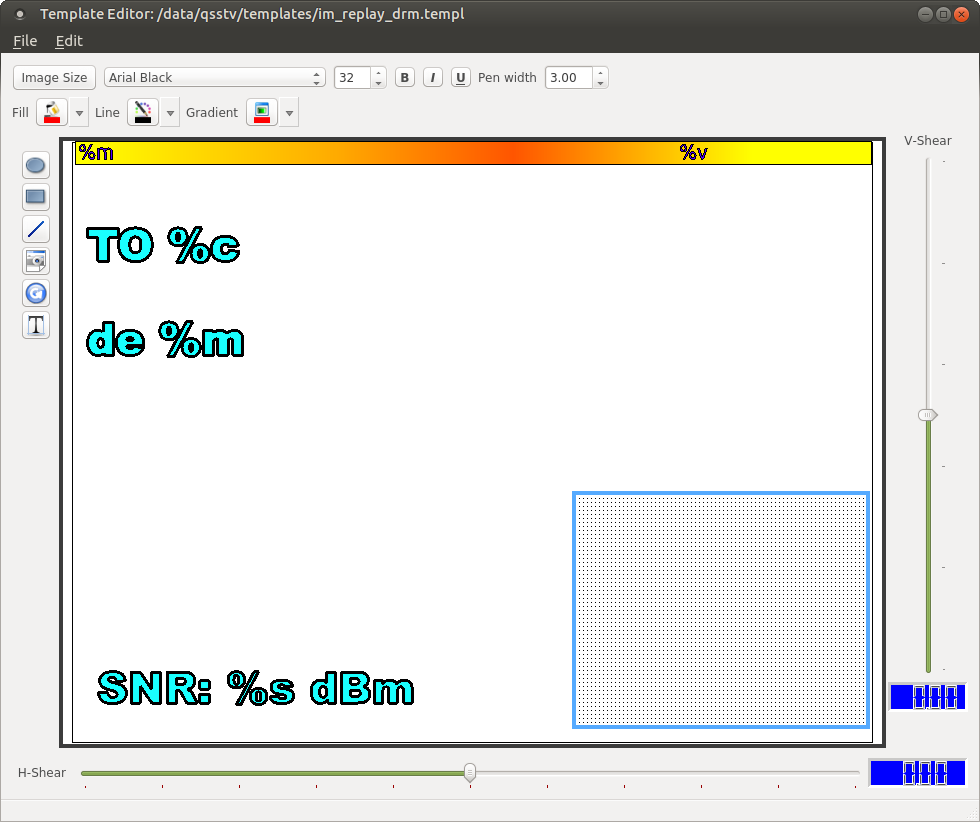
For the use of macro's see Macro Text