If you want to see how it turned out, look at the pics in the next two lists from the bottom up. If you want to see the 'story' of how it went together in sequence, start at the top and work down. Make sense? Hope so!
Upping the Antenna - some highlights
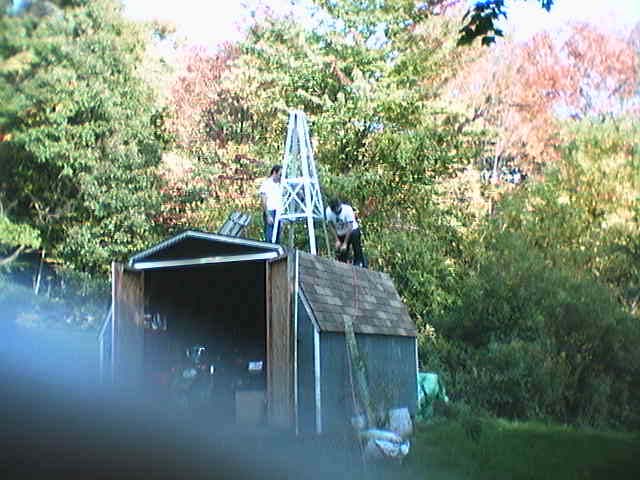
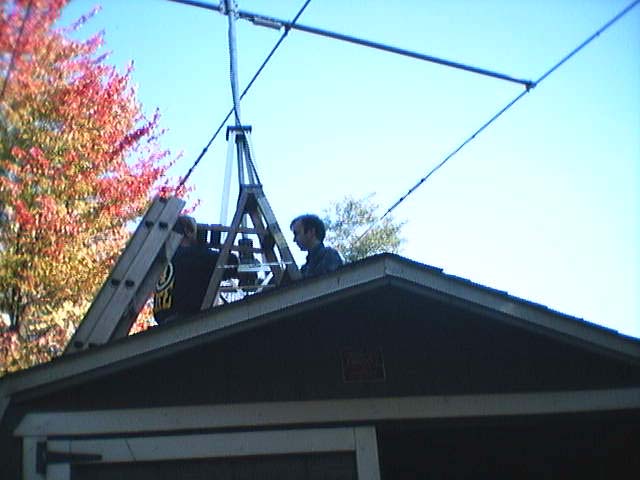
Dale and Mike installing the tower on the shed. Some reinforcing 2x4's inside,
some long bolts through the roof and we're in business. (Sorry, I didn't get any pics of us assembling the tower itself.
That part at least was very uneventful.)
Southern view of a northern-drilling Mike.
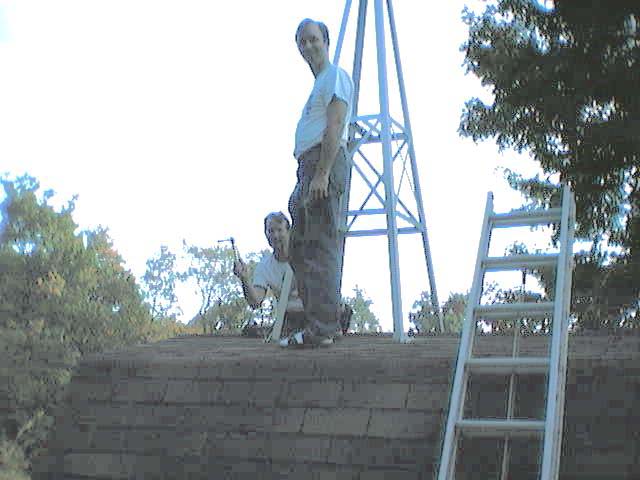
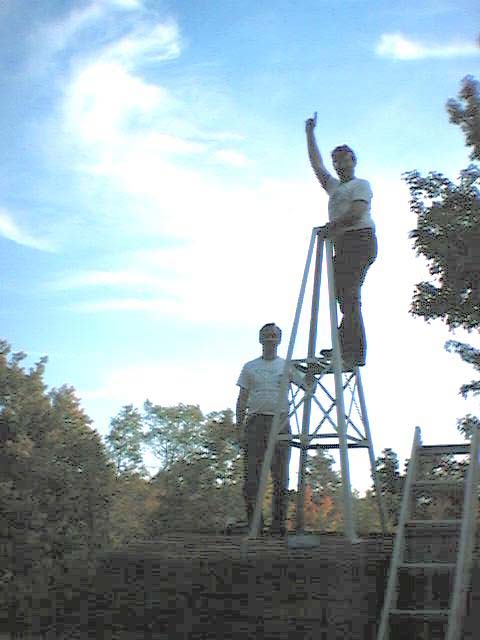
Dale showing that you use wrenches to tighten bolts. duuuuh... Mike demonstrates the relaxed, Ithacan-in-sandals look.
Dale showing (1) how high the sky is, and (2) it's real sturdy once all the
bolts are in!
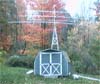
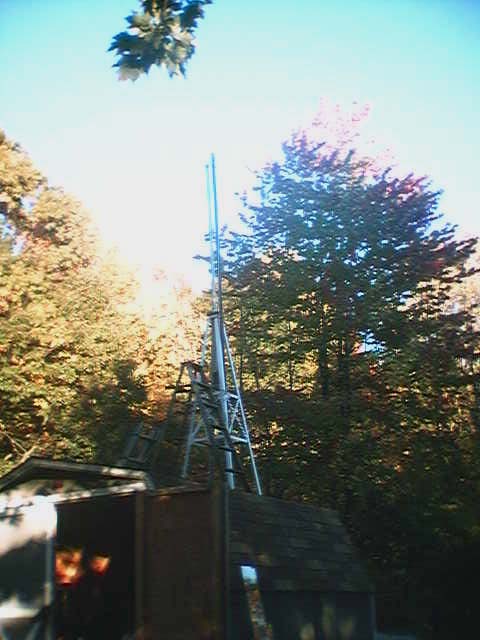
Shed, tower and ladders so you can get some perspective. The tower itself is 8 feet tall.
Now we really start to assemble. Here's 15 feet of gin pole (sticking way up) hoisting 10
feet of mast. No help on this next part, did it all by myself with some creative engineering.
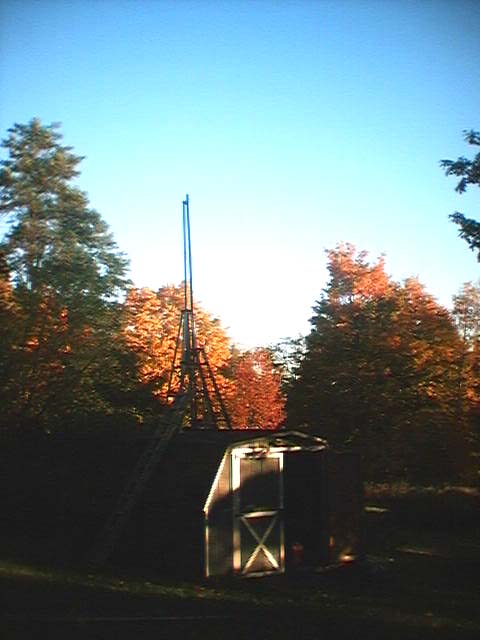
Mast being lowered into homemade wooden mast bearing. WOODEN???!!! Don't
ask, it's very custom-made to tight tolerances and will definately hold for the winter at least.
Same view from another angle. Love the blue blue sky.
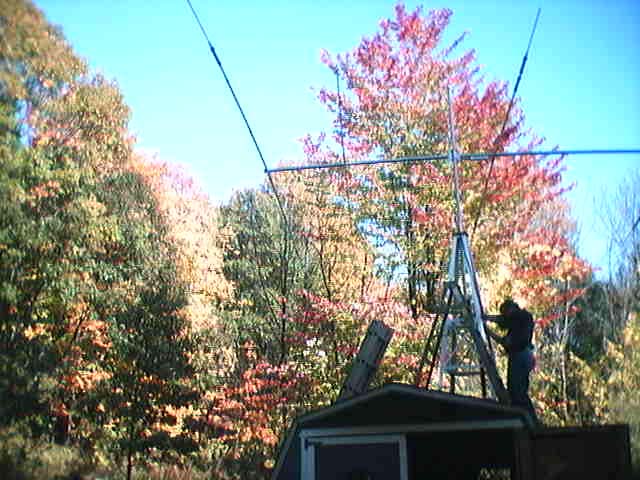
A4S arrives on the tower. (did this by myself too) Then, simply assemble A4S and feed system, waterproof
and carry it up first ladder. Balance precariously on one knee while roping to gin pulley. Balance and
hoist away while climbing second ladder. Hold rope holding A4S while assembling U-bolts, clamps and keepers with one hand.
Pray for less wind...
View from front of tower. Love that fat helicopter look.
Norm W2AD checking rotor cable. Norm arrived just in time, so we hoisted the mast a bit,
bolted the A4S on for good, hooked up feedline, hoisted the mast some more, installed rotor cable and tied everything down. Of course we ended up one
connector short but had a great time, and the rotor worked first try!
Removing gin pole. Three sections of Army mast and a surplus pulley worked great as a gin pole.
Aligning antenna. Which way is north? After three tries we found it. This attempt shows the antenna facing due south. mmmmm... Good shot of Mike's head.
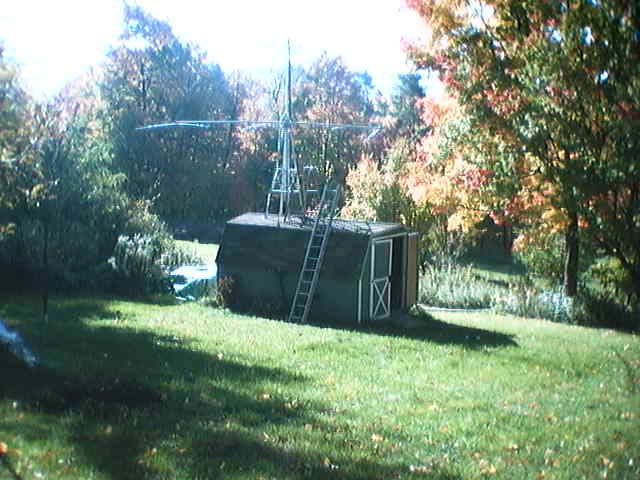
All done! The famous 'helicopter on steroids' look. This pic doesn't do justice
to the scale of it though. For an idea of scale, look at this pic of the back of the shed. That's a 12
foot long ladder on the ground! Actual altitude is around 20 feet in the center of the antenna. I love this stuff.
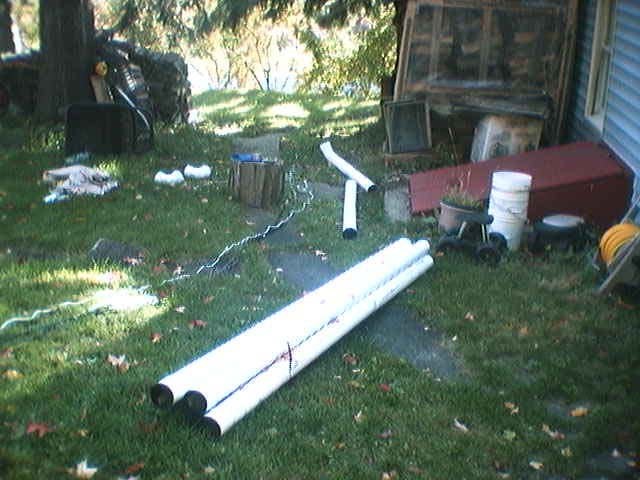
The Pipeline
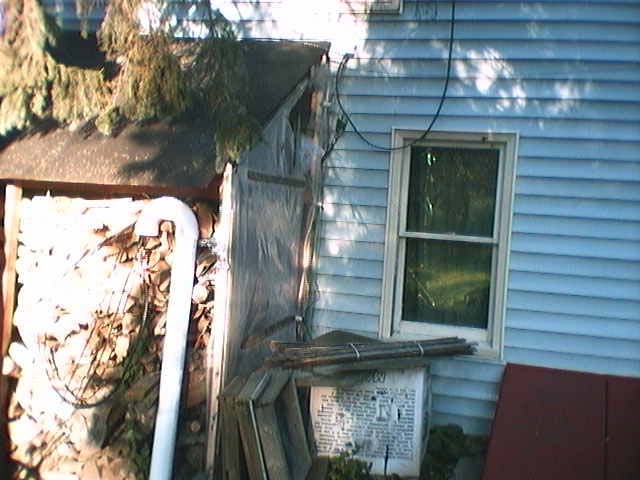
Shack end of 140 feet of drainpipe, in 10 foot sections. Two radio cables, one rotor cable and
one rope had to be protected from the critter's attention. This is one way to do it, as long as the
pipe isn't on the ground where they want to cross! Burying it would be ideal, but many tree roots make that
impossible for now. So prop it up in the middle parts, build a small bridge for the snowblower to cross (coming soon...) and we're all set.
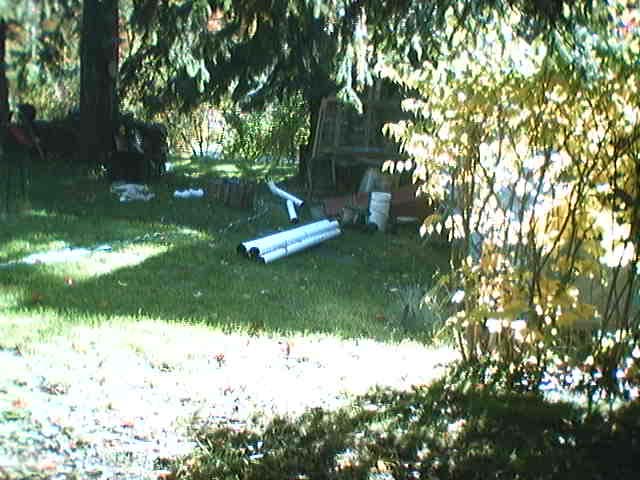
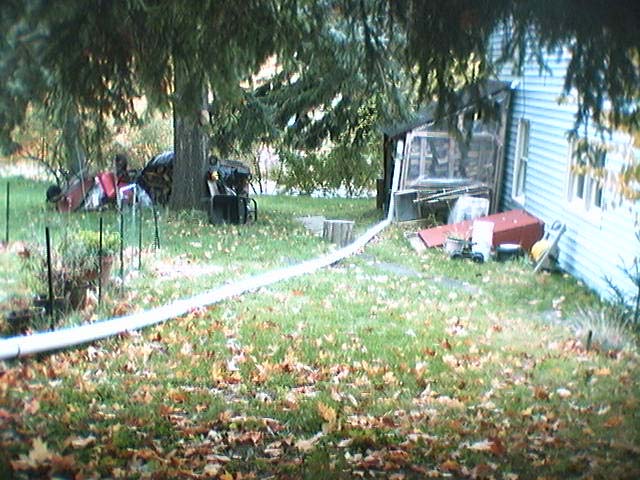
View from a bit up the hill. So you can see some scale.
Coming along. The cables had to be threaded through each section of pipe. So the first 50 feet of pipe
was put on from the bottom and another 70 feet of pipe from the top. There's 10 feet in the verticals on each end and about 10 feet of misc pieces
left over from cutting up big pieces to make the ends work out right.
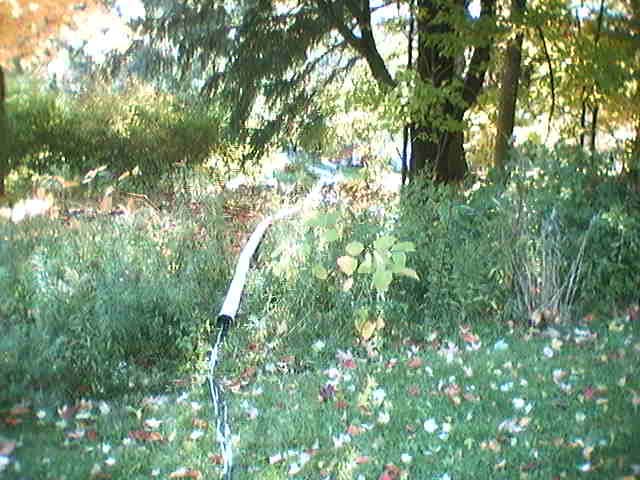
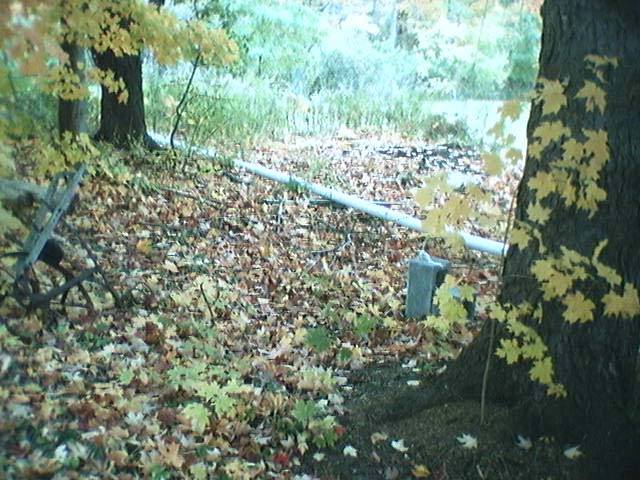
Through the forest... This thin-wall drainpipe is somewhat flexible, which helped during assembly.
Shack end completed. Except for being secured to the woodshed.
Note the second floor shack -- thru-wall pipe gives it away. Oh well, you do what you can!
First section completed: shack to woodshed to trees.
Second section completed: through the trees.
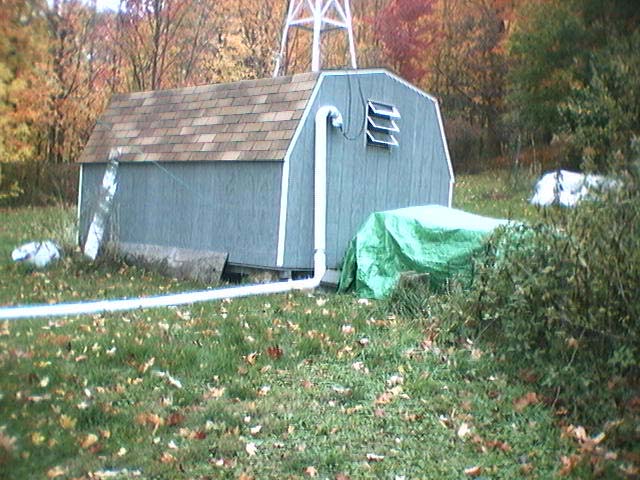
Shed end vertical section completed.
Shed end completed. A voila! Mowing is of course more complicated now, what with having effectively
split two of the lawns in two. But it's do-able.
You might be happy to know this setup works as well as can be expected. Or you might not care...
I'm still learning how to use a low directional antenna properly; it seems to want different tactics than a dipole or a properly-high-mounted directional antenna. This antenna, for instance, won't really operate properly until it's about 40 feet off the ground, and best results are somewhere around the 70 foot level. I have to admit to a certain kick out of telling people on the 20 meter band that I'm running a "3 element beam at 6 meters." One guy thought I was running a 6m beam on the 20m band. HA! But on second thought, hmmmm.... ;)))