KG6MVB's Mobile Installation
WARNING!
This page describes installing an amateur radio transceiver in a motor vehicle. In any vehicle installation, care must be taken that no part of the radio or its peripherals will interfere with driving, visibility or safety in any way. All items must be secured as to not become a projectile in a collision. Additionally, you must be aware that installing any radio transmitting device in a motor vehicle may interfere with the operation of the vehicle, and may void your manufacturer's warranty. When operating your rig while driving, always make driving your first priority, and radio last. Do this at your own risk! It's your choice to do this. I'm not forcing it on you. If you don't, hey, no hard feelings, but if you do and mess something up, don't blame me.
Ham radio doesn't have to be ugly! If you take a little time and planning, you can have a professional looking installation that will even pass the Xyl's judgment. For best results, the planning stage should begin when shopping for your car and your rig. If you are not comfortable doing this type of work, you probably can find a car audio shop near you that will do the work. Far too many hams are not active because they don't want to have an ugly radio in their expensive car. Again, with a little bit of work and planning, it doesn't have to be this way.
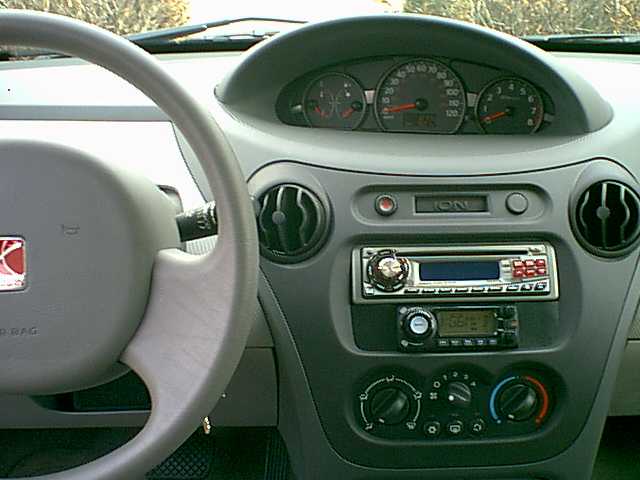
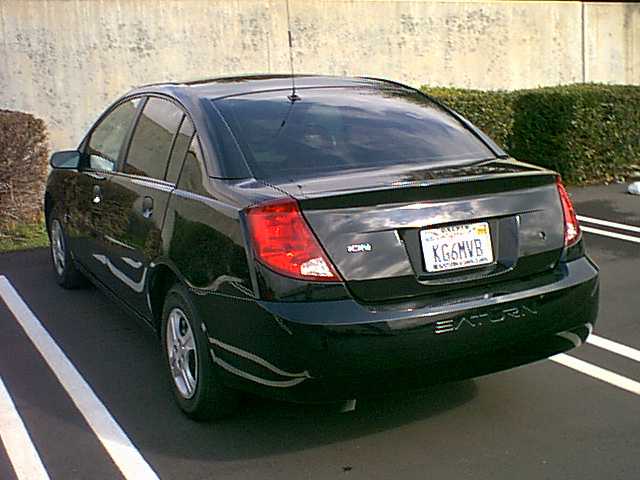
When I purchased the car (2003 Saturn Ion), I knew I would be putting in a rig. To the dealer's surprise, I told them I didn't want the super duper whiz bang Saturn audio system. Although it is convenient to get the high end factory audio system, they are overpriced and usually lower quality than aftermarket systems. It also would have taken up the whole opening, leaving no room for the control head of my ham rig! I requested the AM/FM radio (no tape, no CD) on delivery, which had a "sunglass holder" filler cubby below it. This cubby would become the home of the control head.
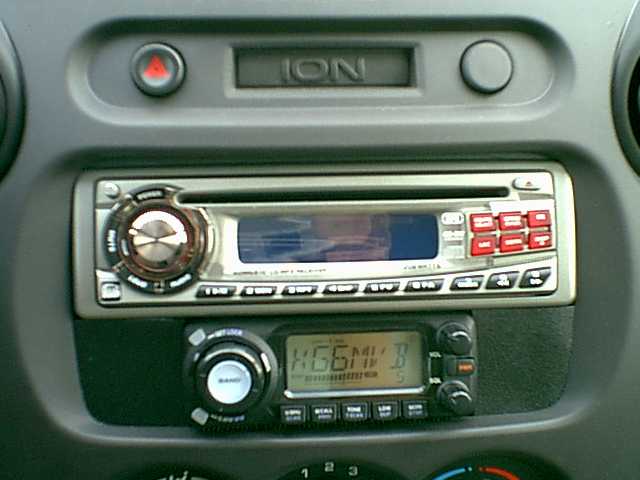
I purchased the new audio system with my ham rig in mind. It is a Dual XDM-6810, which has rear auxiliary inputs, which I use to feed the rig's audio through. If you are a music person, it also will play MP3 CDs (and regular ones too), and of course standard broadcast radio. It is a single din unit, leaving the lower part of the opening available for the control head.
The ham rig I purchased is the Icom IC-208h. It is a 2m/70cm rig with wide band receive. It has a detachable, remote mountable control head (cable included). There is a connection for a remote speaker and it uses an RJ-45 connector for the microphone. I measured the size of the opening, and found that the control head would fit in the opening. Yeasu had a competing rig that would have fit, however the microphone connected directly to the control head, which would have put it at an awkward position. I did not want to run HF from the car, as I play with the dials too much and it would have been too distracting. Remember, put driving first!
I installed both the audio system and the ham rig at the same time. The cubby was milled out slightly, to make recessed mounting of the control head possible. I milled it just enough so the control head (with mounting Velcro) and the audio system are at the same level. The control head is held in place with Velcro (on rear, where you can't see it). Originally I cut The filler material from a floppy disk. The heat of summer was too much, and it deformed. I later recut the filler from the cover of a plastic notebook, with the inside portion of the notebook facing out (flat matte finish). So far it has held up to the summer heat. Here are some pictures...
Next is the speaker. I used a MFJ-281 speaker. I found a useless cubby below the steering wheel. I checked the clearance with the wheel tilted in the lowest position, and found that I was able to mount the speaker with room to spare. I replaced the short unshielded cable MFJ provided with shielded cable, and added a 100 ohm resistor along with a 1:1 transformer to feed the audio system aux input. If I want to listen to the audio system, I can still hear the ham rig over the MFJ speaker. If I am in a QSO, I will put the audio system on Aux, turn up the volume, and play the ham rig through the audio system (hi-fi ham). It sounds real good! The transformer is to keep the ham rig and the audio system isolated. I also put ferrite cores at both ends of the cable to avoid picking up and feeding rf into the audio. The speaker is the black box under the steering wheel. In this picture you will also notice that Saturn was kind enough to make a cubby for my GPS, where it picks up real good. Thanks Saturn.
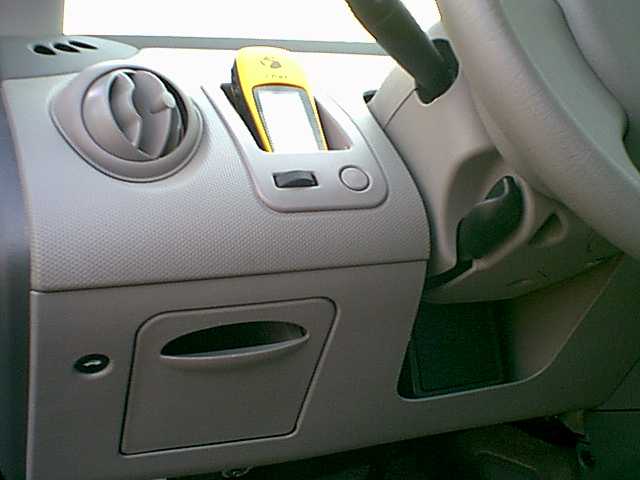
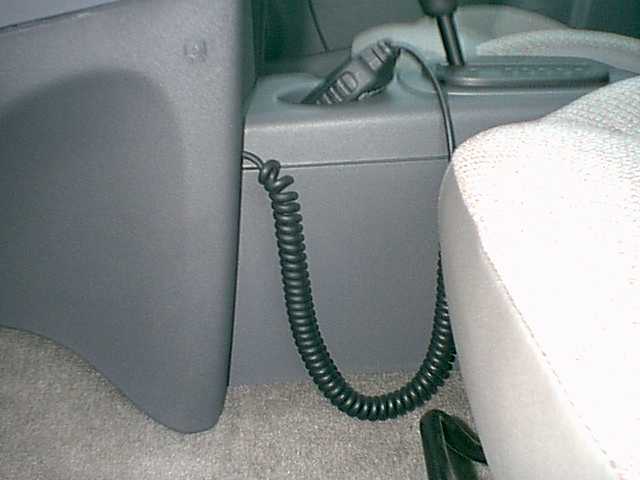
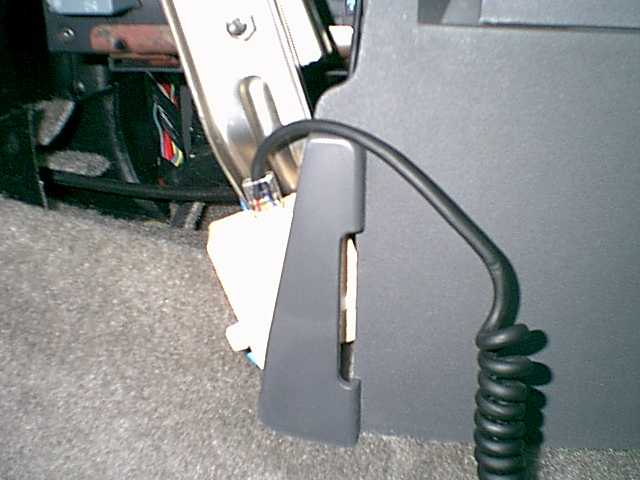
I wanted the microphone mounted so the cable was out of the way, and wouldn't tangle with anything during operation. Obviously this is designed with driver operation in mind. I decided that I could give up a cup holder instead of using a microphone hanger. Icom wants $55.00 for an 8-1/2 foot microphone extension. HELLO!!! It's an RJ-45!!! I used cat5 cable and made my own for practically nothing. If you need to buy an RJ45 crimper (I already had one), they only cost about $10.00, and you now have one more tool for your collection. I put the jack behind the fuse panel cover, and cut a small notch for the cable to run through. Here are pictures.
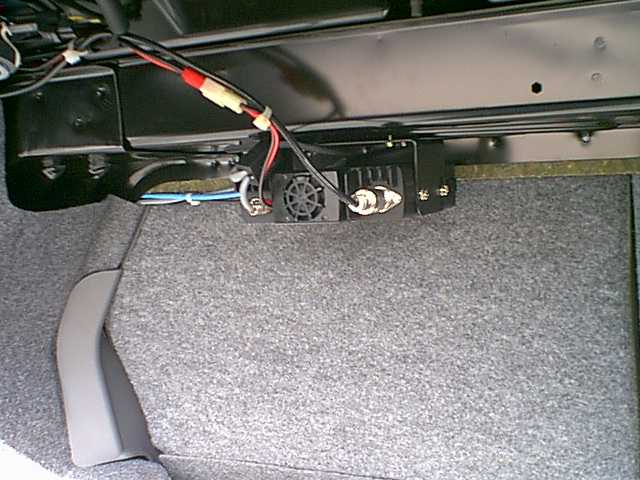
The radio is mounted to the roof of the trunk. You want to avoid the trunk lid springs, but other than that, this part was very easy. It has plenty of air circulation, and mounting it here keeps the antenna coax short. Remember that at VHF and UHF, coax losses add up fast. Power is run directly from the battery, with fuses on BOTH the negative and positive lines at the battery. This is very important! If car's negative battery cable becomes disconnected from the battery, you could route all the battery current through the rig. Repeat after me...fuses are our friends.
The antenna. I'm using a glass mount 2m / 70cm antenna. It is just low enough that I can get into my garage without hitting. This design does not require a ground plane on 2m, and has a small counterpoise for 70cm. To the uninformed, it just looks like a large cell phone antenna. You can see it at the top of the back window.
Last but not least, this all needs to be wired together. I used cable ties in the trunk area, to keep the wiring neat and out of the way. Inside the cabin area, I ran all the wiring from the trunk to the front of the vehicle under the door sills and behind kick panels. In most cars, they are easy to remove and replace. Make sure you do not interfere with any safety equipment when you run the wires! Under the dash, I am using cable ties to keep the wiring secure, and so it can not interfere with anything.
I realize that all cars and rigs are different. Obviously you can't copy my install, unless you have the same car, same rig, and same audio system. Hopefully, I have inspired you to find your own neat solution.
73 de KG6MVB
Tom
Back to my main page
This page was updated on June 9, 2005