KF6WHK - PROJECTS
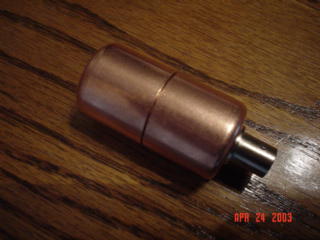 |
This is a work in progress. I recently went on a Transmitter Hunt and realized that my Near-Field Direction Finding techniques were not up to par. So, I am toying with this antenna design (actually the sent generation since the first design did not work) I will keep this updated as my testing continues. |
|
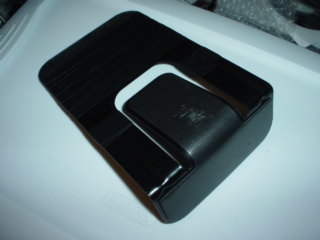
Not much of a project, but a welcomes edition to the HAM Shack. The FT-817 is a great radio, but it lacks the common flip out stand. So, I simply purchased a set of metal book-ends from a local office supply store and with a little bending and some electrical tape (to protect the FT-817 from the metal book-end) I now have a nice stand for the FT-817 and can easily see the display while sitting at my desk. |
|
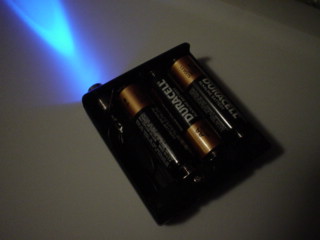
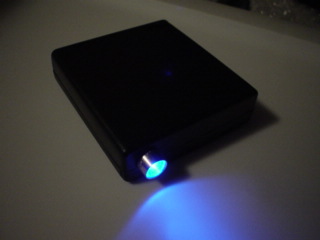
This LED light came out of a competition that I had with a fellow HAM. We wanted to see who could build a small light out of Radio Shack parts fro under $10.00. Well, we never finished the competition until now. My solution was to use a 4 AA cell battery case that has a switch on it and power leads. I removed one of the cells that holds the forth battery and installed a blue LED (Blue because it was the highest Candle Power LED they carry) Using the existing wiring and switch built into the battery case, I was able to build this project very easily and for under $8.00. The most expensive item was the LED Bulb |
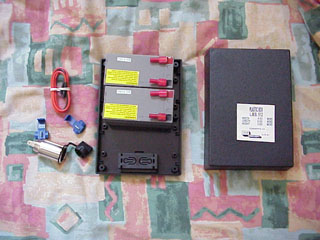
Battery Pack (12 Volt - 2.4 Amp Hour)
|
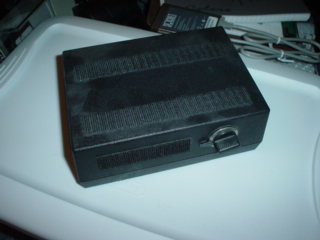
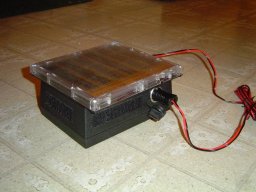
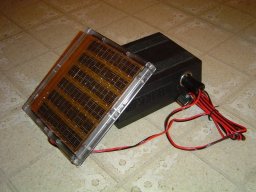
This project worked out so well that I have built 2 of these battery packs. The total cost of this project was about $28.00. The most expensive part was the black project box. I use a small solar panel to charge the battery pack and it works well for my HAM equipment and any other item that plugs into a cigarette lighter plug. I frequently use one of these battery packs to power my GPS. Notice that I put Velcro strips on the top and the sides of the completed battery pack in order to mount a solar panel for charging that has Velcro on the back of it.
The two batteries are secured to the bottom of the project encloser with some double sided tape. This prevents the batteries from sliding around during transport. (Yes, all of the wiring is red, I used the only wire I had available when I built this project. You should use different color wires to easily tell if it is a positive or negative connection) The batteries are run in parallel and connected to a DC auto power outlet I picked up at the local Walmart. It is nice because it comes with a cover for the outlet when it is not in use. If you have any questions or would like to share you plans for a portable power pack, feel free to email me.
|