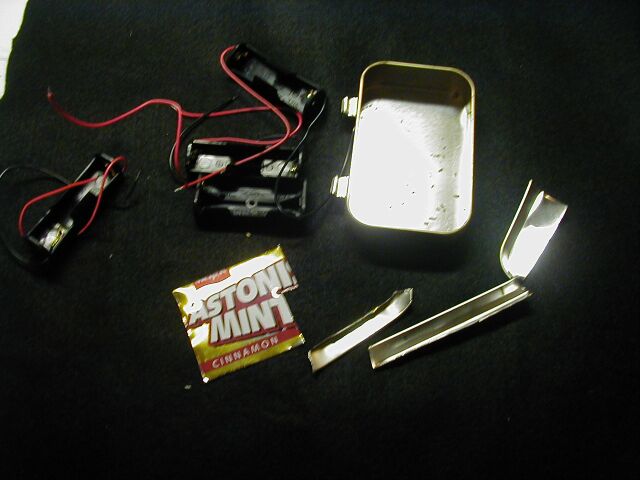
Here's some things I destroyed to make this work. I cut up a mint tin, and took the springs out of some battery holders....
A pop can might work well too. The key is to have THIN metal.
Then, I cut some VERY THIN cardstock, so it fits like so:

I cut and folded some heavier cardboard, so it fit the gap shown.
So, I ended up with these parts. I had to sand the metal strips because they had a thin coating from the mint tin. This also allowed the metal to take solder better.
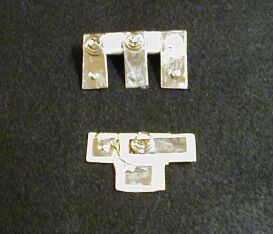
Then, I used a phillips screwdriver and hammer to put dimples in them.
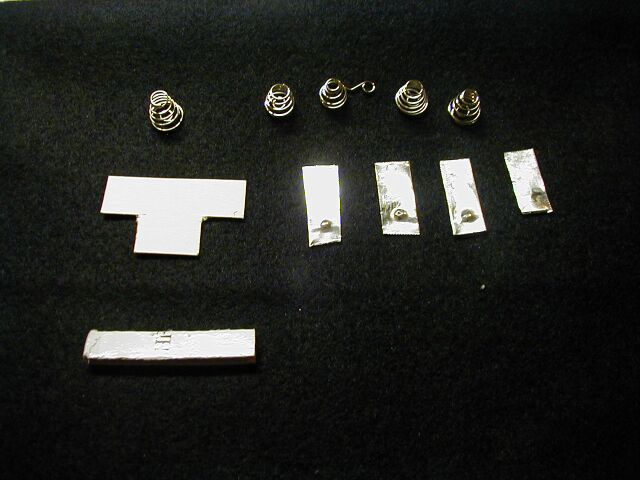
I ended up having to cut some smaller pieces of metal too.
For this insert, I soldered the spring to the metal, and also soldered the metal pieces together as shown. I cut the srings a little to make them smaller. There is not a lot of space, so the key here is to use the THINNEST stuff you can find.
The metal is super-glued to the cardstock.
Be careful not to short anything out!
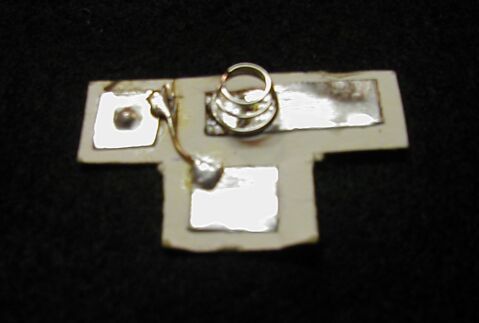
Same thing here, springs are soldered to metal. Metal is super-glued to the cardboard.

The other side...

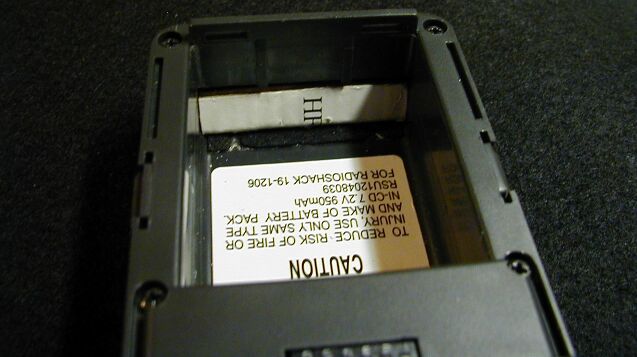
Inserts in the radio...

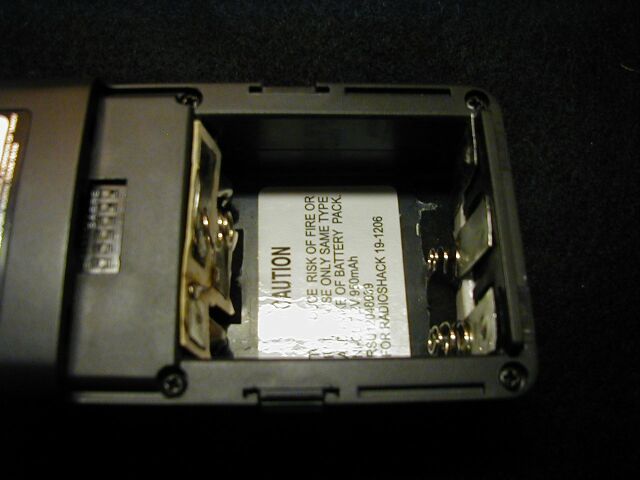
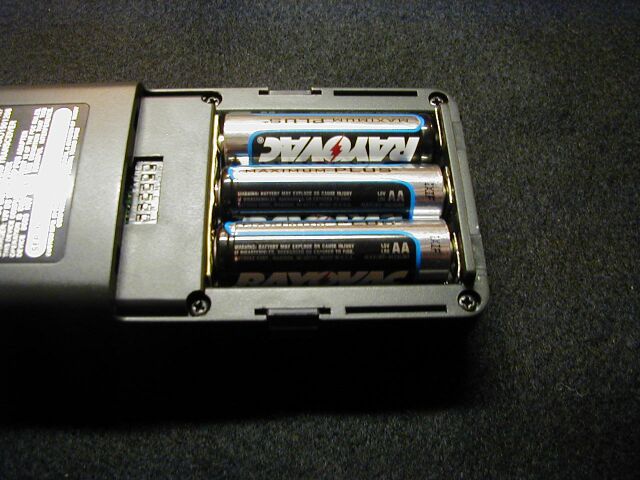
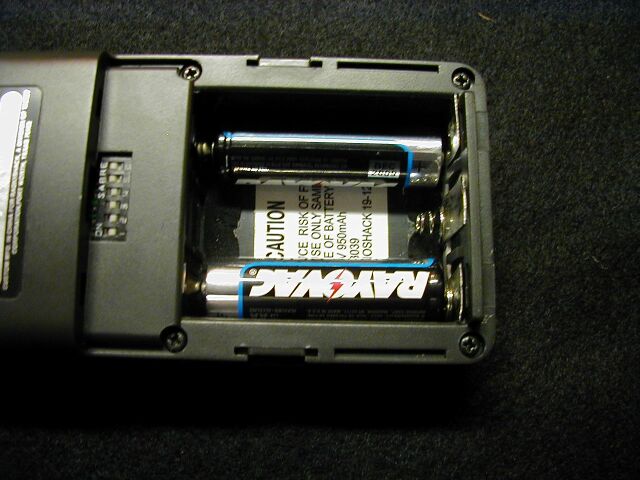
Batteries in radio...
Pay VERY CLOSE attention to the battery polarity as you insert them! Don't put any in backwards! If you look hard, you will see a + and - in the battery compartment for you to follow. You should be sure to understand how the batteries are connected in this configuration, to be sure they are inserted correctly.
I found it easiest to insert the two bottom batteries on the end first, and then insert the middle battery along with the insert as shown.
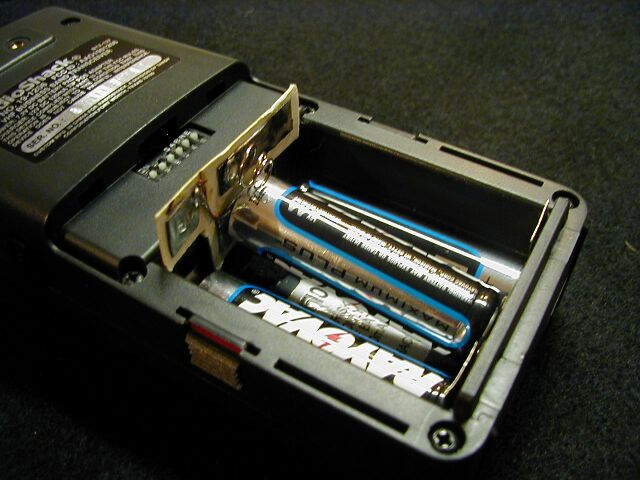
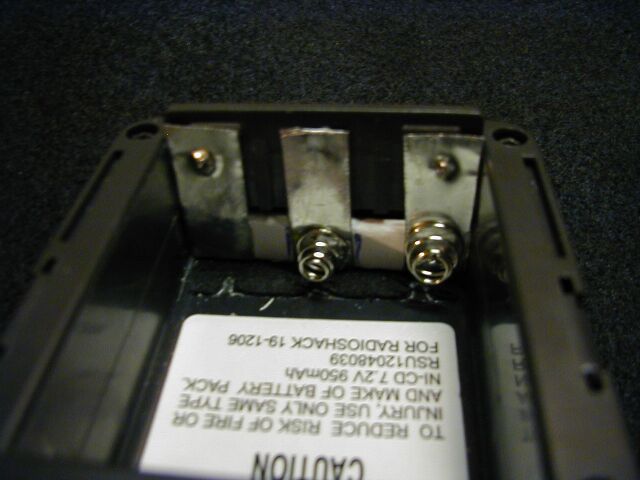
Batteries in radio...

The end batteries on the top were the most difficult to make fit correctly, as there really was not enough space for springs. But, with the dimples in the metal, it made a tight enough fit for a reliable connection.
Again, pay VERY CLOSE attention to the battery polarity as you insert them! Don't put any in backwards!