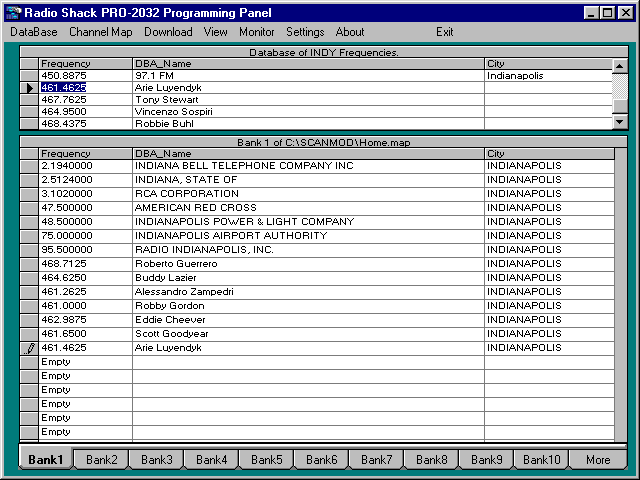
Figure 9 shows the program's main screen. Your frequency database is displayed in the upper table. The lower table displays one bank of frequencies at a time as they would be programmed into your radio along with the station's owner and city. I refer to the upper grid as the "Frequency Database" and the lower grid as the Channel Map. You can open existing Frequency Databases and Channel Maps, or create new ones from the "Database" and "Channel Maps" pull-down menu items. To program a frequency from the Frequency Database into the opened Channel Map, you simply drag it from one to the other. To get more information about a station in either grid, select the station and then right click anywhere in that grid. When you right click on the Channel Map grid, you will also be able to clear a channel or set its "Priority, Lockout, and Delay options if these are supported by your radio (Figure 10). When you have all the channels programmed the way you want them , you can choose to download one channel at a time, one bank at a time, or all of the banks at once. You can save as many custom Channel Maps setups as you want and recall them later to reprogram the scanner. From the menu bar, you can also quickly program the scanner to monitor a range of frequencies that covers aircraft, weather, 2M or 440 amateur radio.
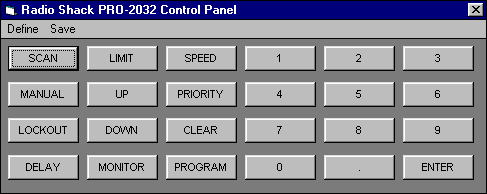
Selecting the "Manual" menu option brings up a customizable control panel for your scanner from which you can manually operate the scanner (Figure 11).