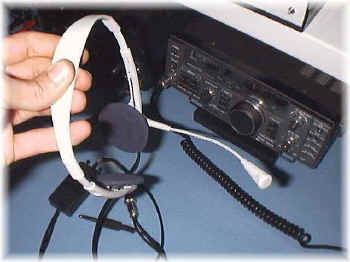
EARPHONE + MICROPHONE FOR CONTEST
The idea to build this microphone
cames during a contest in which I took part in mix-class: you always need one hand for the
keyboard, one for VFO, one for the microphone/key and one needed to write partial calls:
yes..but we have only two handes!
I bought an earphones+microphone used within PC for internet-chatting ($7); I connected it
directly to my RTX but audio level was too low (anyway you need 6-9V);
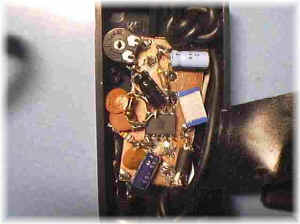
so I built a pre-amplifier using a simple chip (TL082) with about 10 db gain; than the
audio level was ok...in less than one hour the micro was ready!  I put the pre-amplifier in a small
plastic-box using the 8V accessory pin on my RTX instead of a 9V battery, but I started
having problems; vox was mad and audio distorted! I spent one day to solve this problem
and at the end..it was solved!
I put the pre-amplifier in a small
plastic-box using the 8V accessory pin on my RTX instead of a 9V battery, but I started
having problems; vox was mad and audio distorted! I spent one day to solve this problem
and at the end..it was solved!
I added also two push-button (frequency UP/DOWN, useful in RTTY operation).
Componentes used are few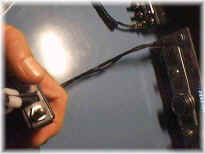 ; on the
microphone-socket (audio pin) l mounted a 200 Nf ceramic-capacitor; on the 8V pin there is
a few microhenry coil, connected to the capacitor and a ferrite bead: those help me to
solve the above RF problems.
; on the
microphone-socket (audio pin) l mounted a 200 Nf ceramic-capacitor; on the 8V pin there is
a few microhenry coil, connected to the capacitor and a ferrite bead: those help me to
solve the above RF problems.
If needed, you can use the same chip as a high-pass filter.
Electric diagram is very easy: gain changes with R6; with this value it's around 15, if
you make it lower gain will increase.
Mount the ferrite bead nearest to the chip input;
Test the microphone in the following way:
connect the micro to your RTX; feed the micro with an external 9V battery; audio level
should be low (if not way to build a pre-amplifier?) but clear; switch on the preamplifier
(fed always with 9V battery); tune trimmer VR1 for a good ALC value; test your vox system;
if all is ok, use the 8V pin on your RTX instead of 9V battery: problems?? I hope not!
That all! Easy and useful.
ELECTRIC DIAGRAM
VARIOUS MICROPHONE TYPES
73 de iz7ath, Talino