|
G4USP |
Page last updated:
02/12/2014 |
Raspberry Pi
|
 |
The ubiquitous Raspberry Pi, which has now attained
almost cult status amongst those of us who's hobby includes all but the
most tenuous of links to any form of electronics or computing.
Then to think that this little package no bigger than a credit card, far
more powerful than my first PC ever was, includes a USB port, Ethernet
port, HDMI video port, Audio output port, GPIO port, and all that with
power consumption of less than five watts.
Is it's destiny maybe that of a multi media device, a command and
control device, a process control device? - it's limitation, only that
of our imagination...
|
Some of my projects, and I have no
doubt many more to come now include as an integral component a Raspberry Pi at
there core. With an all but unbeatable power to cost ratio, and proving to be a
most reliable hardware package, that and with several reliable well documented
Linux derived OS packages available, projects which once would have required a
bulky and power hungry embedded PC now have the Raspberry Pi.
Hardware & components
As well as the Raspberry Pi, we will also
require a 5v regulated power supply rated at a minimum of 1A. Although the Pi
requires a little under 1A, a little more headroom is advisable with the power
supply to allow for USB device loading too. Many of my projects are run from a
13.8v DC supply, where 13.8v DC is available I use a small switch mode voltage
regulator module to generate the 5v required for the Raspberry Pi. Another point
of interest on the subject of power, although the Raspberry Pi is usually
powered via micro USB connector S1, it can also be powered via the GPIO port
connector P1.
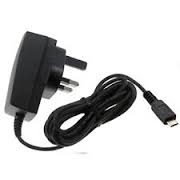 |
Example of the standard mains derived 5v
regulated power supply as supplied in most Raspberry Pi packaged kits.
Also available separately from most electronic parts suppliers, as well
as the likes of EBAY and Amazon. |
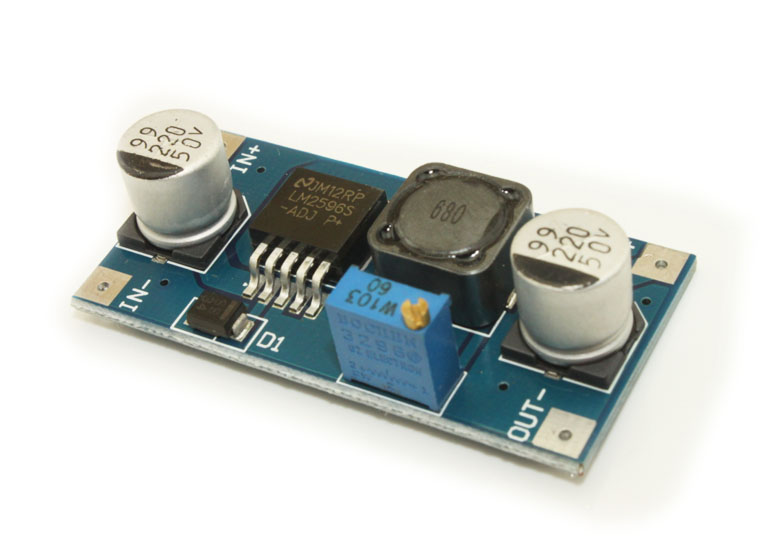 |
Example of the type 5v voltage regulator I
often use, based around the LM2956 switching regulator integrated
circuit. Available as a pre built modules on both EBAY and Amazon
amongst others. BUT make sure the output voltage is
correctly adjusted to 5v before connecting it to the Raspberry Pi,
adjustments are made to the blue component VR1. |
In addition to a power supply, we also
require a memory card. 4Gb as a minimum, though I rarely run anything less than
8Gb. Another consideration is the speed rating of the memory card, class 10
cards is recommended allowing a data transfer rate of at least 10Mb/s. Whilst I
have successfully used class class 4 devices, we have been warned they can prove
problematic, also there is a noticeable performance improvement when compared to
class 10 devices. Whilst were on the subject of memory cards, the original model
A and B Raspberry Pi's use the standard SD form factor card, while the later
model A+ and B+ use micro SD form factor cards.
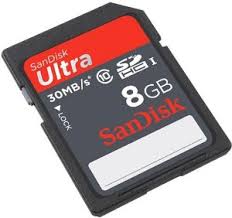 |
Example standard SD form factor memory
cards as used in the original Raspberry Pi model A and B. This type of
memory card can often be found in DSLR camera's. Available separately
from most electronic parts suppliers, as well as the likes of EBAY and
Amazon. |
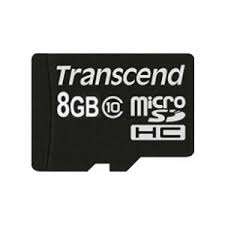 |
Example micro SD form factor memory cards
as used in the latest Raspberry Pi model A+ and B+. This type of memory
card can also often be found in modern smart phones. Available from
most electronic parts suppliers, as well as the likes of EBAY and
Amazon.
|
A USB to SD converter and micro SD to standard SD
converter will be found invaluable to pre configure the memory cards on a laptop
prior to fitting to the Raspberry Pi.
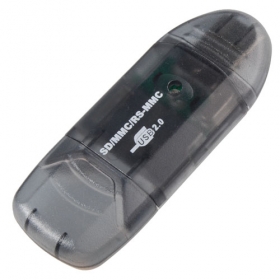 |
Example USB to SD converter Available
separately from most electronic parts suppliers, as well as the likes of
EBAY and Amazon. |
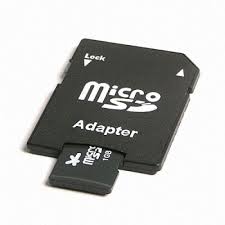 |
Micro SD to standard SD converter
Available separately from most electronic parts suppliers, as well as
the likes of EBAY and Amazon. |
GPIO considerations - when connecting anything from the
outside world to the GPIO great care must be taken to ensure that any of the IO
pins are not driven with excessive voltage, or for that matter excessive current
flows. Remember that anything connected to GPIO pins is in reality connected
directly to the heart of the Raspberry Pi, it's SOC system on chip, damage here
will render the Pi good for nothing more than the rubbish bin. With this in mind
I developed a simple GPIO
buffer, built with readily obtainable components. I have included details of
a suitable PCB for the
GPIO buffer, though the prototype was easily constructed on Veroboard.
Keyboard and mouse
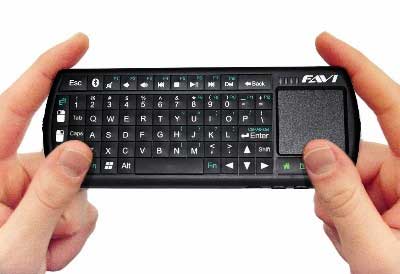 |
Connected via the USB port, the best option here by far is a
wireless USB keyboard and mouse and or touch pad.
The wireless option is particularly useful when A or B model models
are being used since this at least leaves a USB port available for
other USB peripheral devices. |
Whilst on the subject of the USB port and peripheral
devices, care must be taken not to overload the USB port since there is limited
supply capacity. One option here is to use an externally powered USB hub, this
of course having the added advantage of increasing the number of ports
available.
Software components
The Raspberry Pi requires an operating system in
much the same way as your laptop, tablet, or even your smart phone. There are
several systems available for the raspberry Pi ranging from Linux systems, pre
built media centre systems, a RISC OS system to mention but a few available from
raspberrypi.org let alone many more speciality systems that can be found on the
internet.
Installing the
operating system - RASPBIAN
Improving the performance - over clocking the Raspberry Pi
Monitoring the CPU
status - clock speed, voltage, and temperature
HOME