Field Day 2001
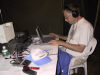
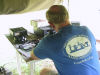
Photographed by: Steve AA1IZ
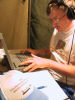
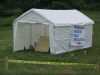
Photographed by: Steve AA1IZ
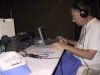
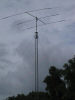
Photographed by: Steve AA1IZ
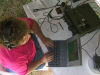
Photographed by: Steve AA1IZ
Photographed by: Steve AA1IZ
Photographed by: Steve AA1IZ
Photographed by: Steve AA1IZ
Photographed by: Steve AA1IZ
Photographed by: Steve AA1IZ
Photographed by: Steve AA1IZ
Photographed by: Steve AA1IZ
Photographed by: Steve AA1IZ
Back to FARA home page
This page last updated on 7/3/01 7:56:09 PM.