Build a Single-Lever CW Paddle
As I was finishing up going through CW Academy’s Beginner course, I decided I wanted to try out sending on something other than the straight key I built in December 2020. Taking inspiration from homebrew keys like this one, I realized I had the scrap parts laying around to make a single-lever paddle with a hacksaw blade. Here are the parts I used:
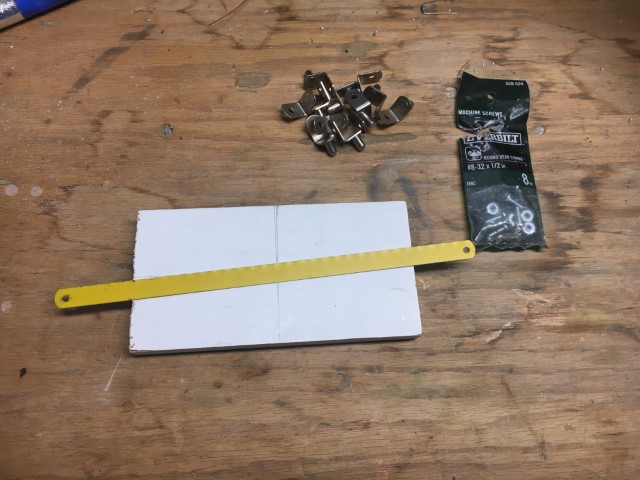
(The picture doesn’t show the all the parts described- it isn’t crucial you use the same parts I did)
- A 3 1/2" x 3 1/2" x 1/4" block of painted scrap wood
- 6 metal shelf pegs that I got from an old bookshelf
- 2 x 12mm M4 machine screws
- 2 x 8mm M4 machine screws
- 4 x M4 nuts
- 10 in hacksaw blade, cut in half (5 in)
- Stereo audio jack (3 pins out)
- 22 gauge jumper wire + ring terminal crimp connectors
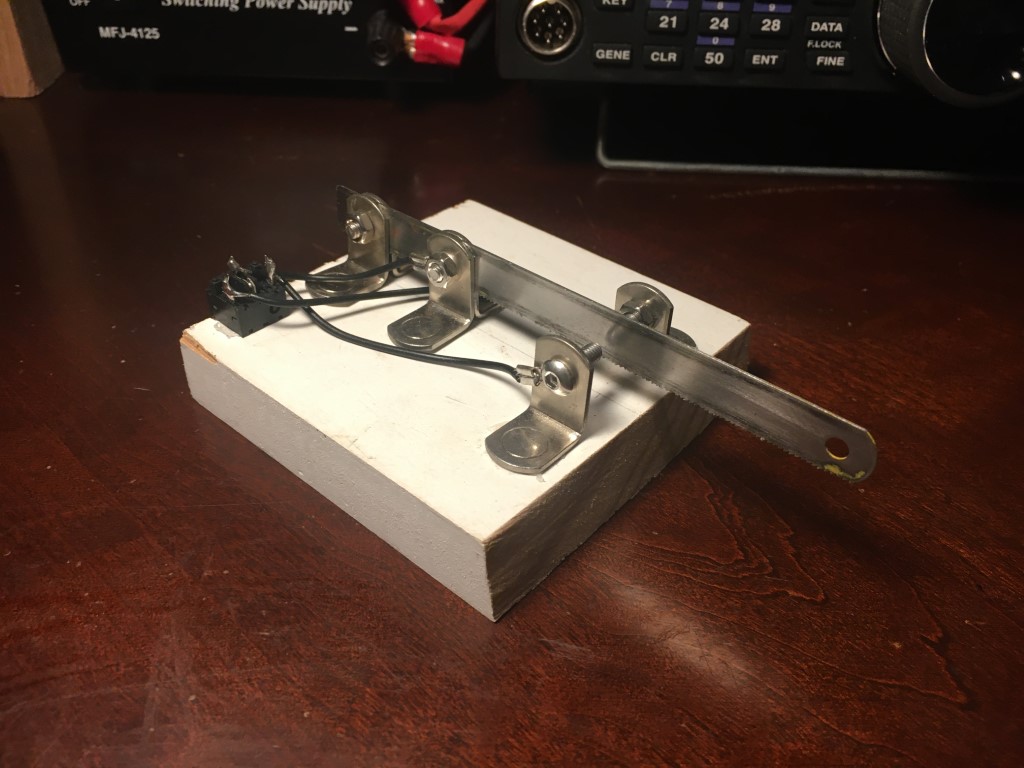
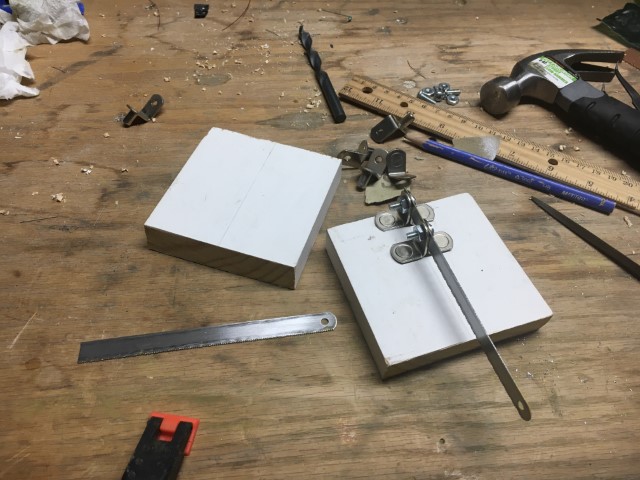
I first used a 1/4" drill bit to drill holes in the wood where the shelf pegs will go. I kind of just eyeballed the right places I needed to drill. Then the hacksaw blade was cut in half using tin snips and sanded to remove the yellow coating, exposing the conductive metal. I drilled two additional holes in the hacksaw blade, matching where the 2 pairs of shelf pegs that hold them up are. Then I put the shelf pegs into their holes, and placed the blade in the right place between them, then used the M4 screws (which go through blade and pegs) to clamp the blade between the pegs. The two pegs at the front, each having a M4 screw pointing inwards, serve as the 2 contacts for the key. Verify the pegs and the blade are in the right position, then you can permanently glue the pegs down into their holes.
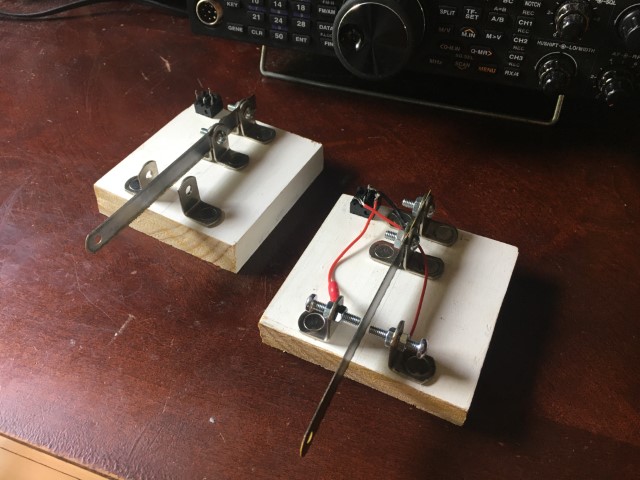
I then took the audio jack and glued it upside down onto the back of the block of the wood, exposing its 3 pins. Cut 3 jumper wires; crimp a ring connector onto one end of each, and solder the other end a pin on the audio jack. Then connect the ring connectors to the right places: the ground pin connects to the hacksaw blade, left audio connects to the left contact, right audio connects to the right contact. At this point you can connect the key to your radio with an 3.5mm aux cable, and verify tapping the blade to the left contact makes dits and tapping the blade to the right makes dahs. If this is reversed, just switch the wiring for the two contacts.
The key is now (hopefully) good to go. I find it easy to get used to, although it is a little inconvenient to have to use my left hand to hold the key in place while I send. Maybe adding rubber feet and weights on the base would help. I had enough material to make another one of these, so I built a second one and gave it to my friend Omar, KI5KDF. Then, about a week after I made this key, I used it to get my first CW contact! :D