The Bird under construction
Steering

This is the path the new shaft needs to take.

This is the view from the bottom, from the rack to the support area.

View of the shaft route from the front.
Install

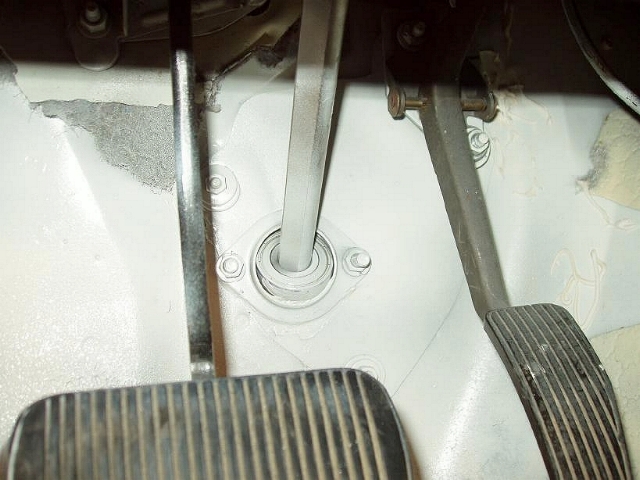
This is where the support bearing will be mounted.
This is the hole on the other side of the frame rail, and will need to
be made big enough to get the mounting nut and 1 1/8 socket in it.


The set screws on the center joint, all need to be replaced with shorter ones that have the heads
just clearing the jam nuts when tight. If not done, the set screws may bind on the headers during
acceleration, or deceleration.
Make sure that the shafts do not go past the inner edges of the joints on the center U Joint,
or it will cause binding.
The shaft and support mounted with a large washer for added strength.

View from the top

The shaft and joints from the bottom

This is the factory u joint from the top. and the end of a shaft from Flaming River.
If you use a dremal tool, you can grind out the inside bottom of the U joint, and use it at
the steering wheel end to save $65...
 From Summit:(Free Shipping)
Center U joint  FR1716DD 3/4DD X 3/4DD       1 @  65   65
Bottom u joint  FR1715DD 3/4-36 X 3/4DD      1 @  65   65
Shaft           FR1850 18in x 3/4DD shafting 2 @  19   38
Support bearing FR1810   Support             1 @  27   27
                                                      ---
                                                      195

This is done with 3/4 joints and shafts. The upper shaft
was cut to 17 inches, and the bottom shaft 3 1/4 inch.
This allows the shafts to fit in the joints, and still
move in and out some during the install to get them
fitted.
Same parts direct from Flaming River cost more, plus shipping.

For the firewall, I will use a piece of aluminum and a support bearing
from Scogin Enterprises, phone 1-800-745-4232, part number ALL52130
for $17. This will allow you to seal off the firewal hole, and give it a
finished look. As you can see above, the shaft comes through the firewall
much closer to the left side when the support is used on the frame rail.
The factory seal will not fit properly after moving the shaft.

After the aluminum piece is fitted to the fire wall, and the fire wall support
bearing is installed to seal it off, and checked, you can tighten the set screws
on the support to shaft , then caulk the edges, and the small area on the sides
of the shaft at the support.
Here it is with the firewall completed

You can see the Motor Mount Anti Torque Chain here.
It was latter converted to a manual steering rack & pinion
to make room for the supercharger.
