Building the TNC-Pi
|
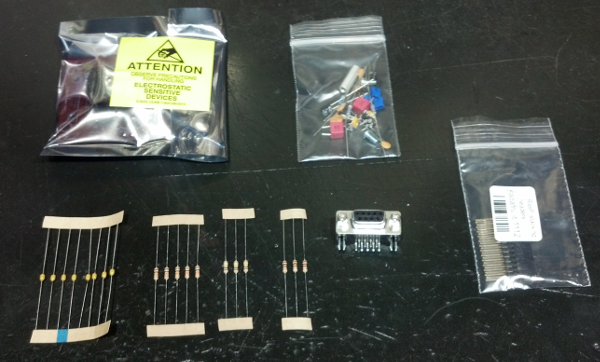
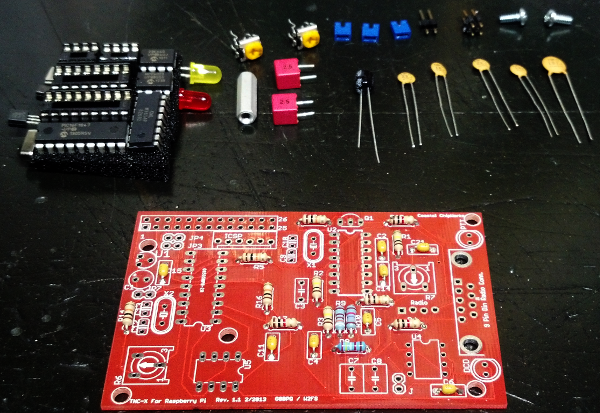
Parts for the TNC-Pi as they arrive in packages
|
|
|
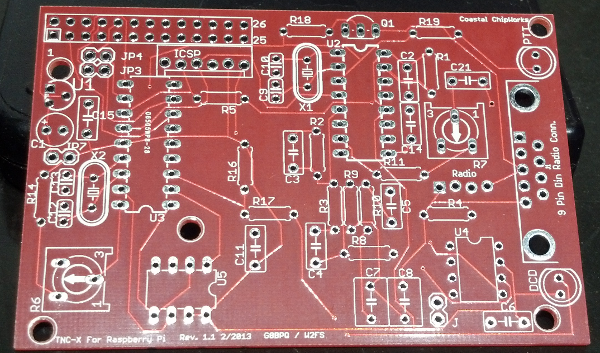
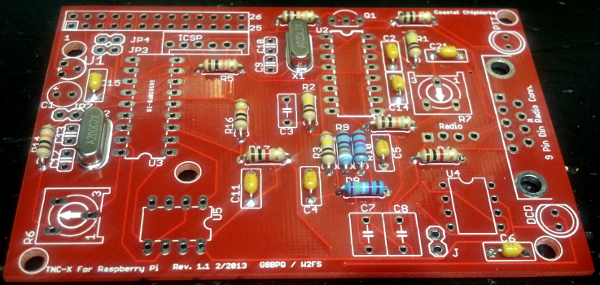
The unpopulated TNC-Pi circuit board
|
|
|
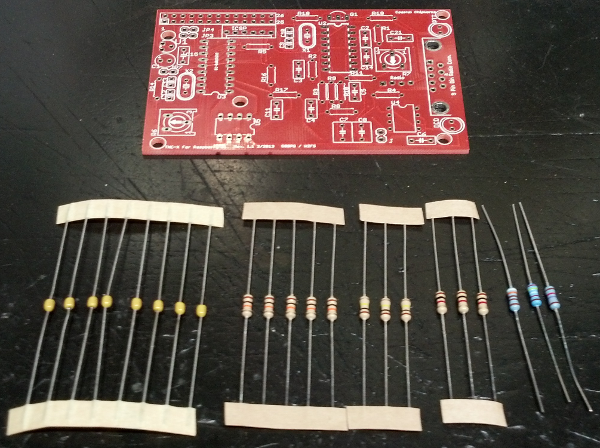
Collecting together the axial lead parts for the first steps
|
|
|
0.1u monolithic capacitors installed
|
|
|
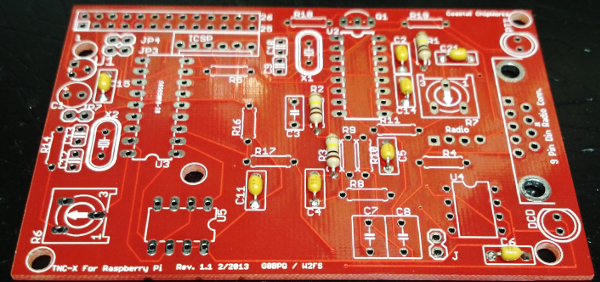
100K resistors installed
|
|
|
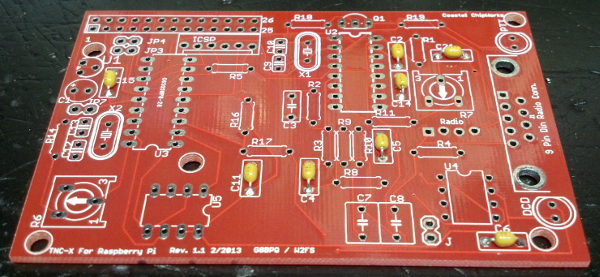
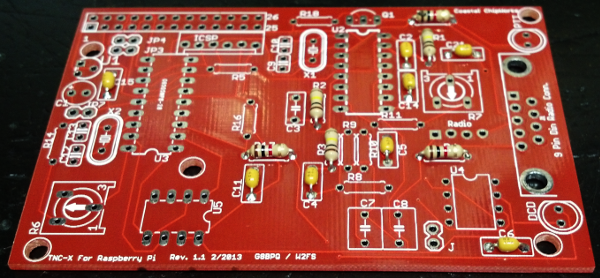
1K resistors installed
|
|
|
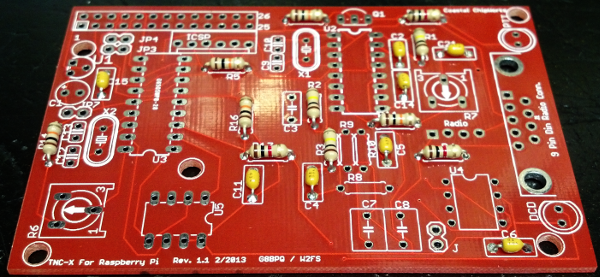
10K resistors installed
|
|
|
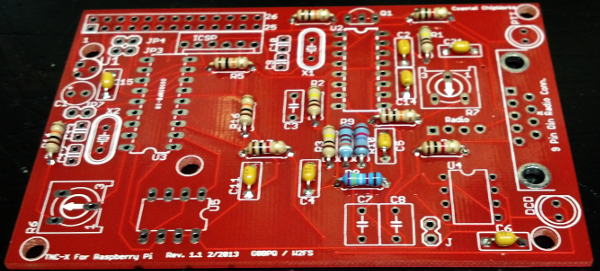
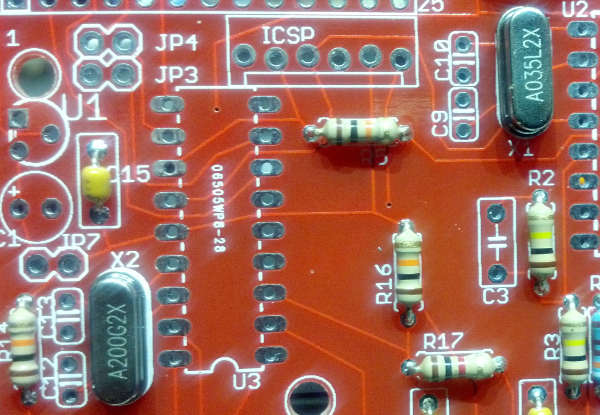
1% resistors installed
|
|
|
Remaining parts gathered for next steps
|
|
|
Crystals installed
|
|
|
Closer look at crystals - note markings
|
|
|
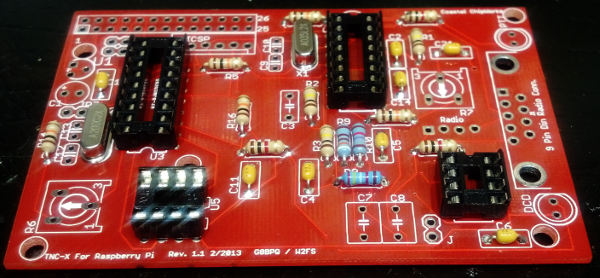
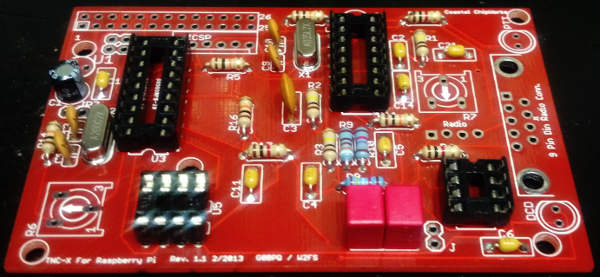
IC sockets installed - don't put ICs in until later
|
|
|
Install remaining capacitors
|
|
|
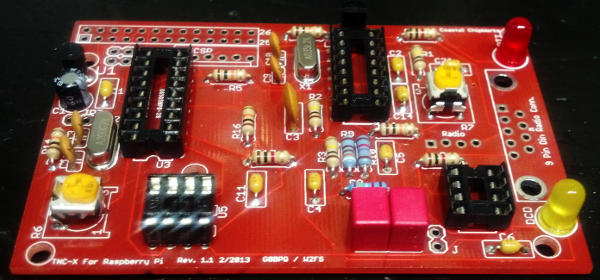
Installed transistors, voltage regulator, LEDs
|
|
|
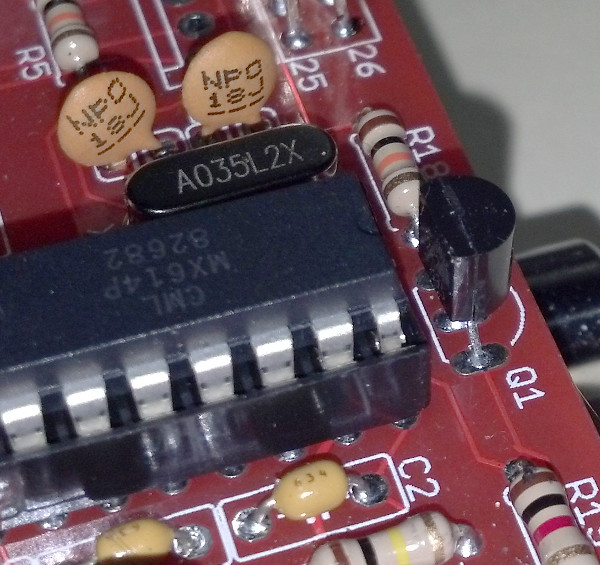
Be sure the flat side of the transistor is toward the inside of the
board
|
|
|
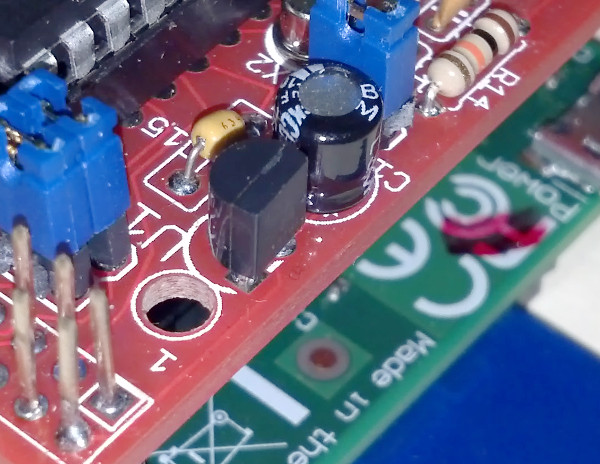
And the flat side of the voltage regulator is toward the outside of
the board
|
|
|
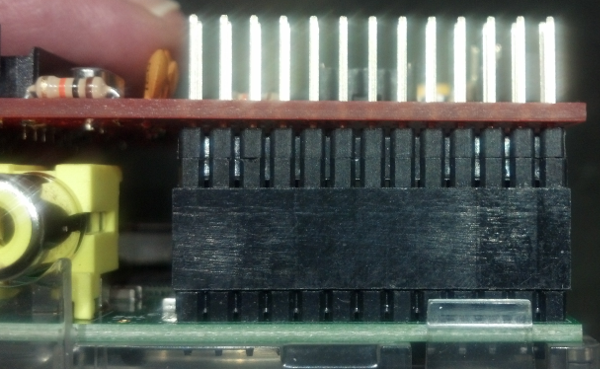
TNC-Pi mated to Raspberry Pi
|
|
|
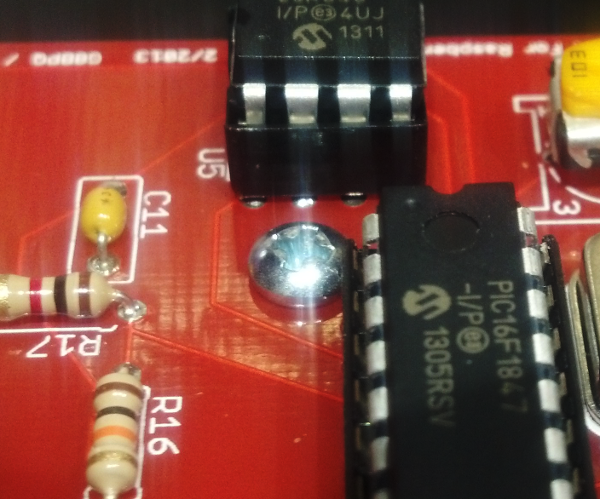
Final screw holding TNC-Pi to Raspberry Pi
|
|