| Part | Ordered From | Cost |
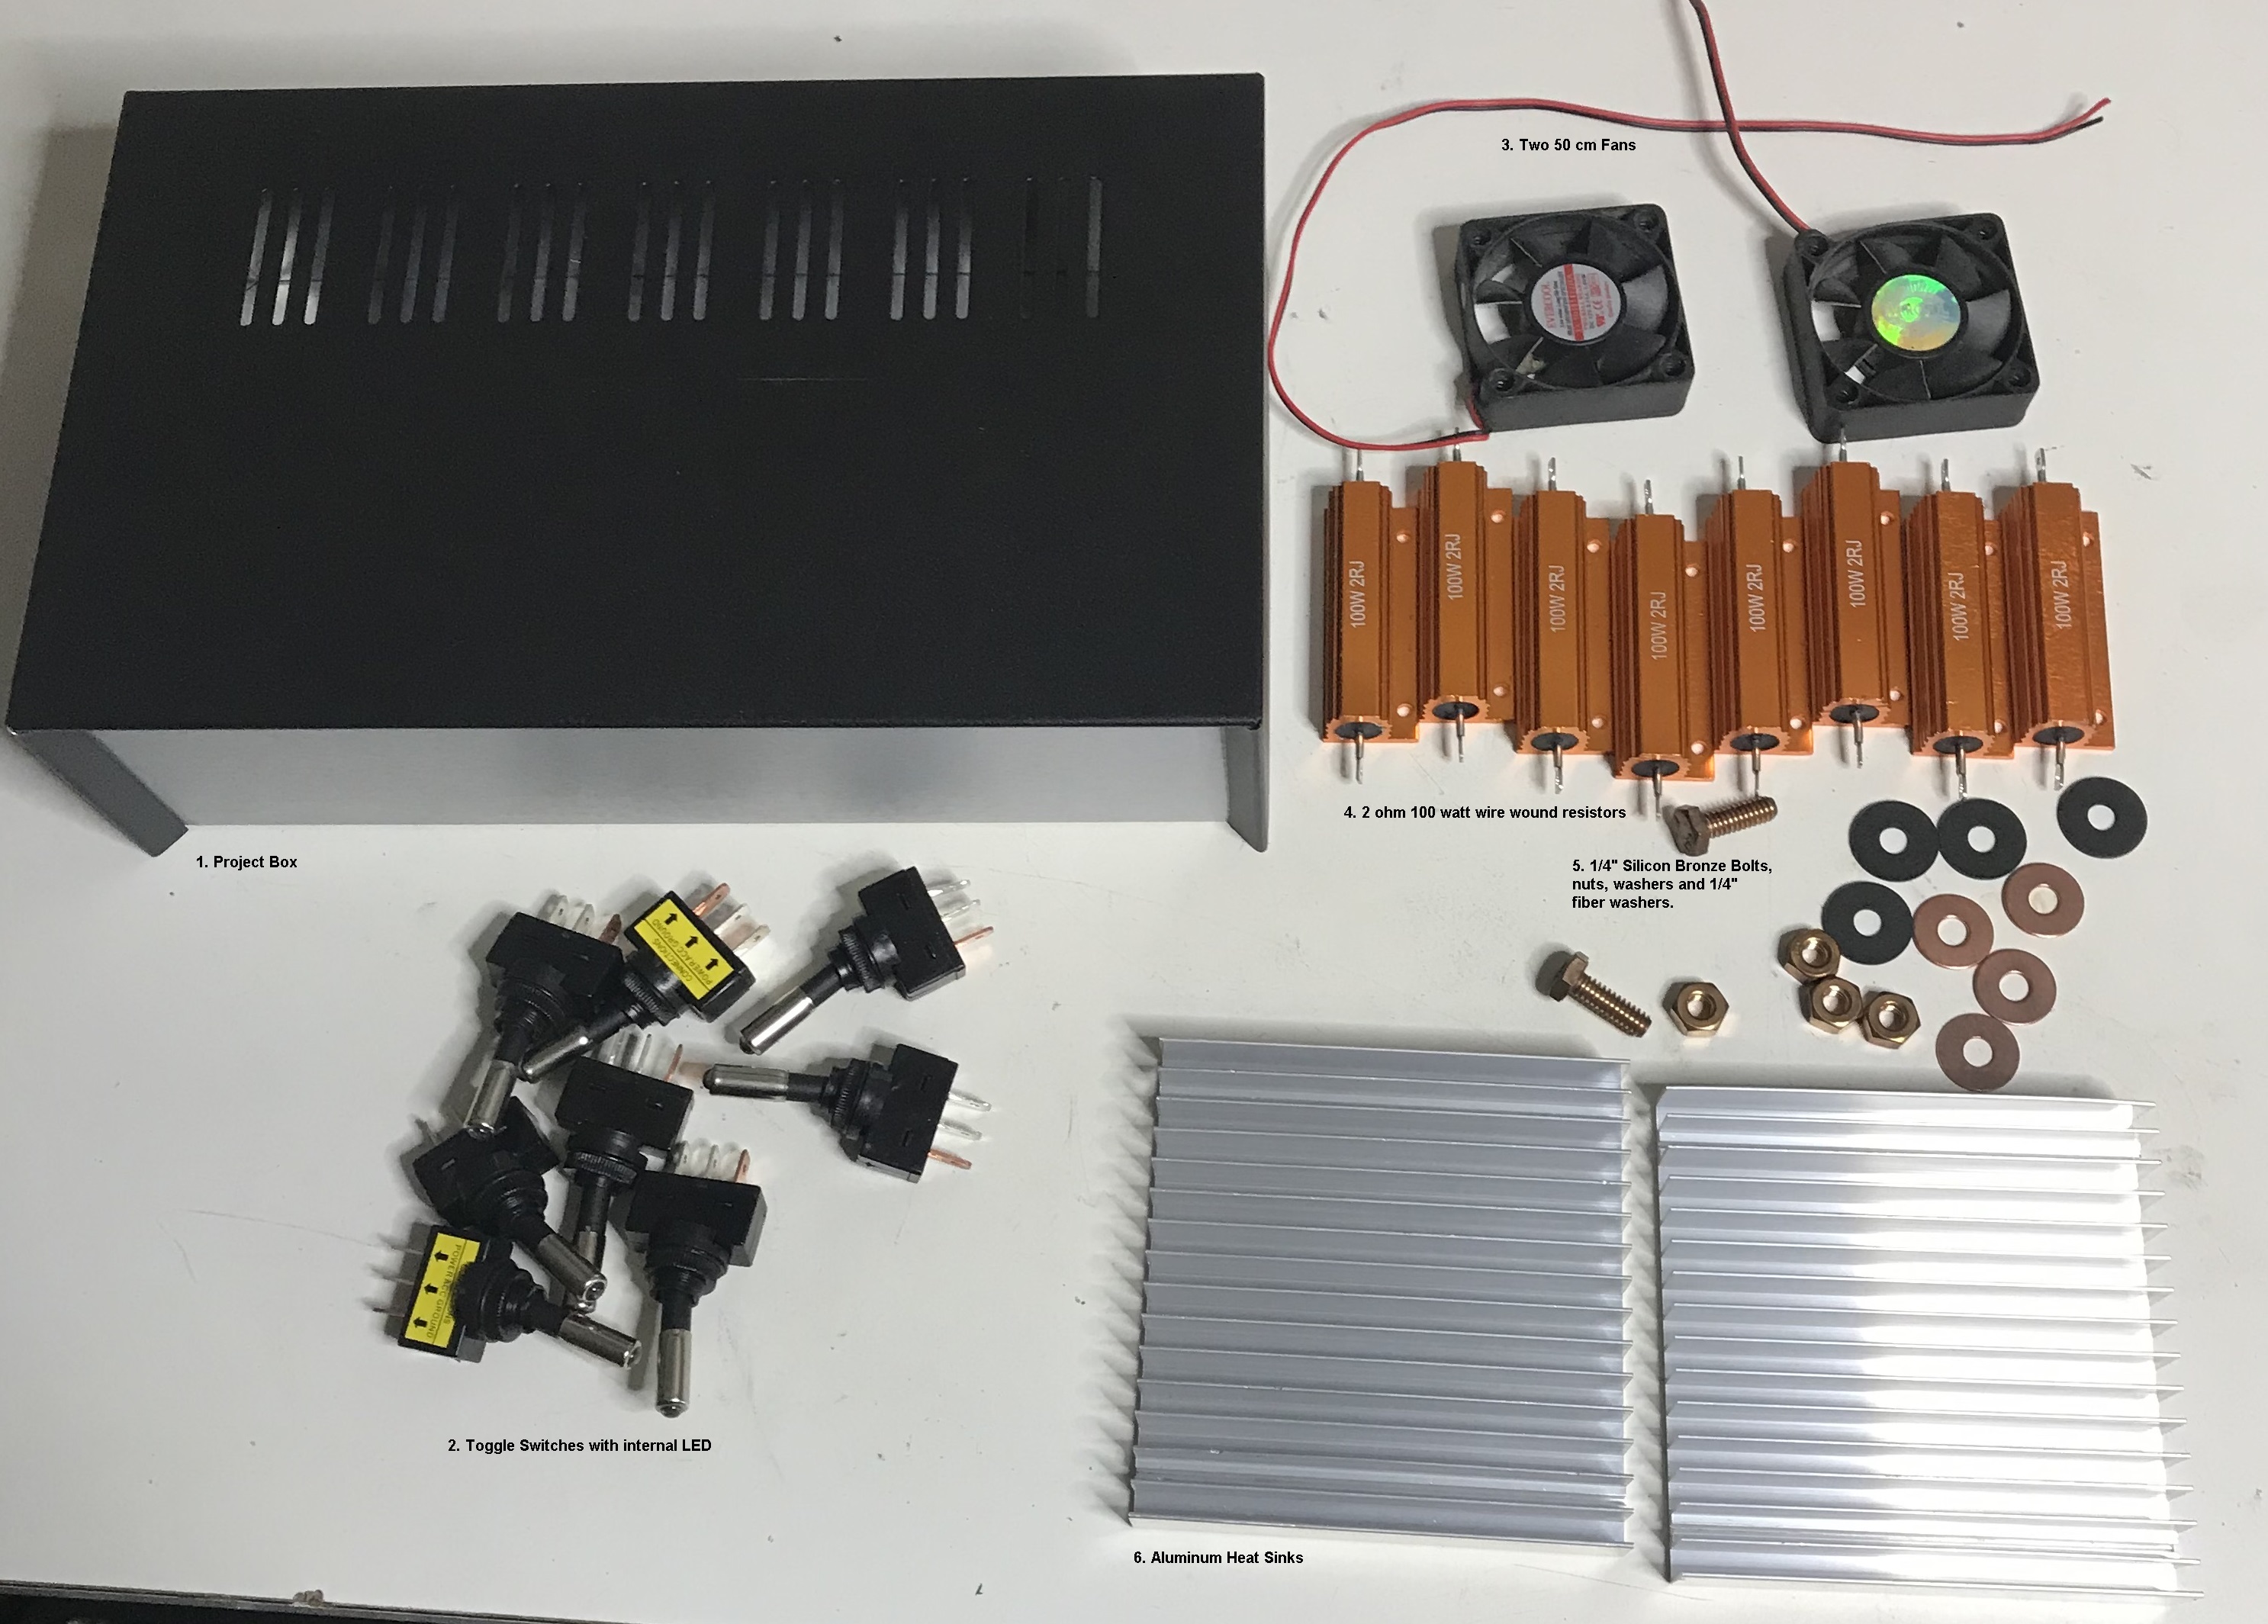
| 1 - 255mm X 74mm x 158mm Project
Box |
Ebay | $25.99 |
| 10 - Blue LED 12V DC
20A Toggle Sw | Ebay | $6.99
(8 used) |
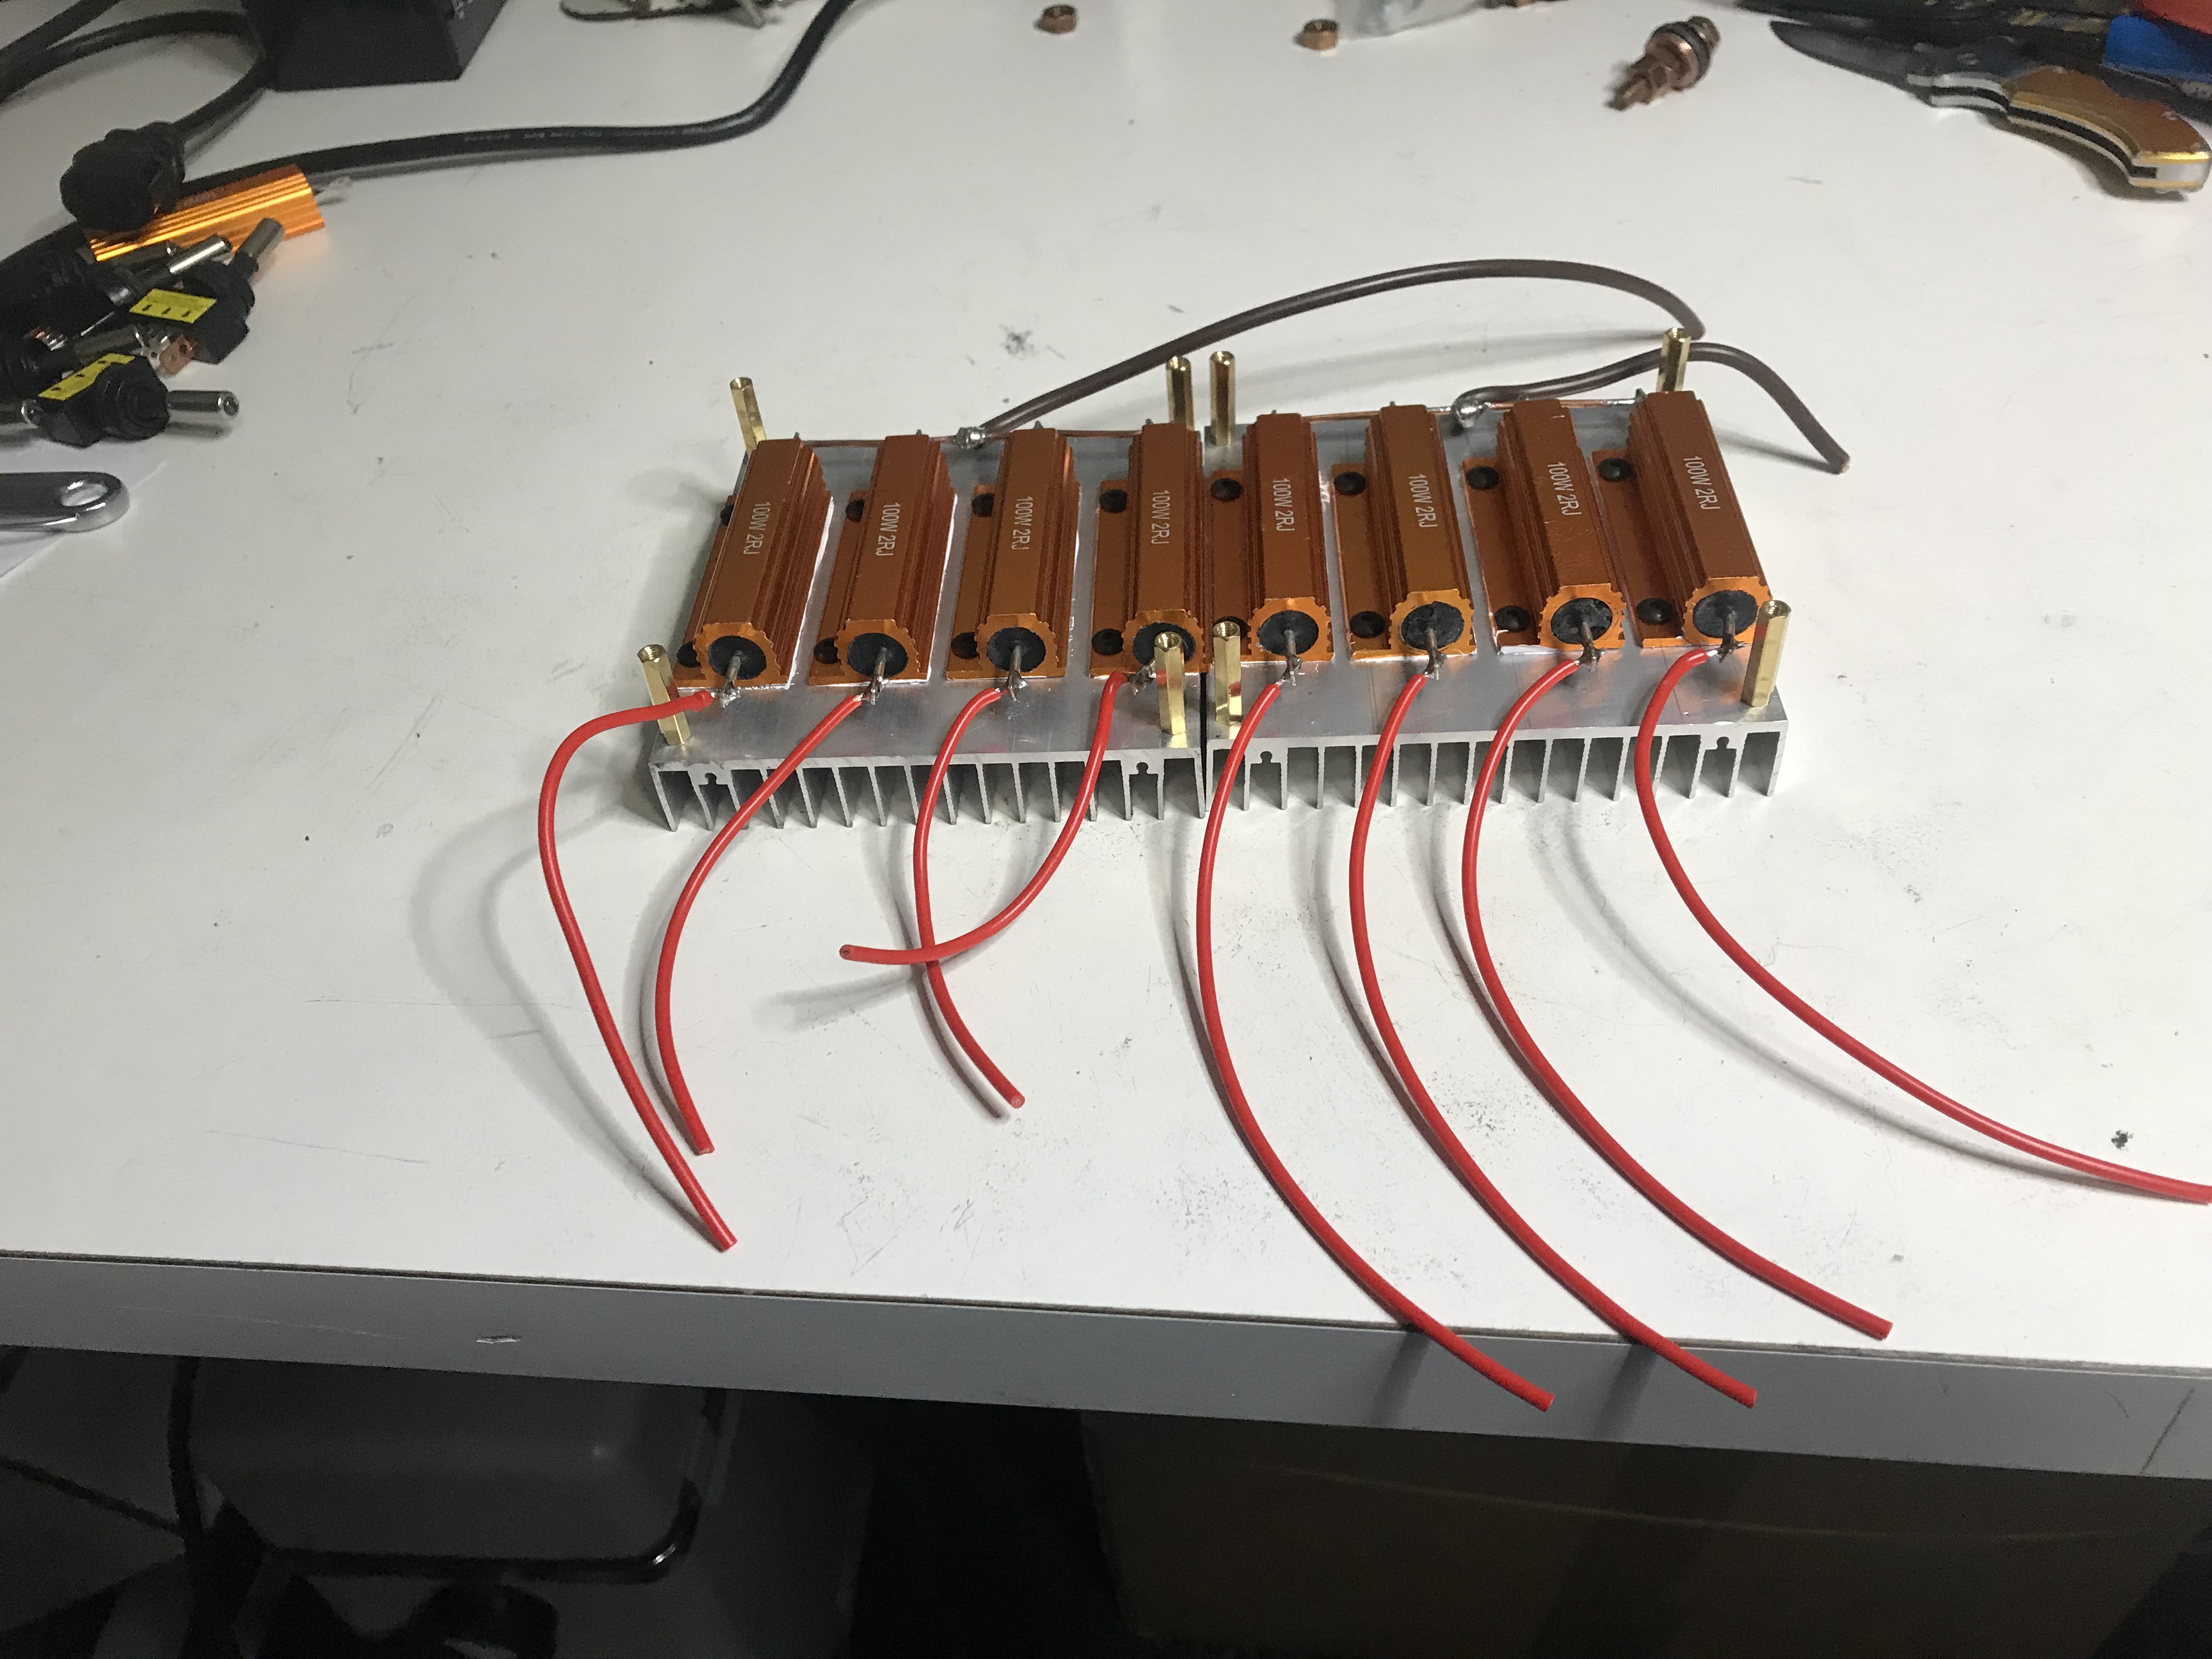
| 10 - 2 ohm 100 watt wirewound resistor | Ebay | $11.90 (8 used) |
| 50 - #6-32 Button head socket cap
screws | Ebay | $6.94 (16 used) |
| 1 -
Ammeter 0-75 amp with shunt | Ebay | $9.68 |
| 2 - Aluminum Heat Sink
100mmX100mm | Ebay | $14.18 |
| 2 - 50mmX50mm cooling fan | Had These Already | $8.00 (just ordered another for $4.00 from Ebay) |
| 2 -
50mmX50mm finger guard | Ebay | $1.86 |
| 2 - 1/4"-20 x 1-1/4"
Silicon Bronze Bolts | Bolt Depot | $1.76 |
| 8 - 1/4" Silicon Bronze Washers (0.267 x 0.687 x .040) | Albany County Fasteners | $2.80 |
| 6
- 1/4"-20 Silicon Bronze Nuts | Albany County Fasteners | $2.16 |
| 4 - 1/4" Fiber
Washers | Bolt
Depot | $0.64 |
| Misc.
Parts | | $2.10 (I love how "miscellaneous" always makes the total come out even)
|
| Total
Cost | $95.00 |