
Language
English
Espa�ol
Pages:
Introduction
Plans
Wood
Stitching
Epoxy
Parts
Closing
Fibreglass
Opening
->Extras
Water!
| Finishing and extras |
| Intro |
Epoxy is not resistant to sunlight. So a few coats of varnish or paint are necessary to protect it against UV light. Use a good varnish with UV filters.
Nearing the end of the project, and with the water in sight, I started worrying about paddles. After all the work on the boat itself, buying a a set of paddles seemed unforgivable.
I also added a loop at each ends of the kayak.
| Photos |
|
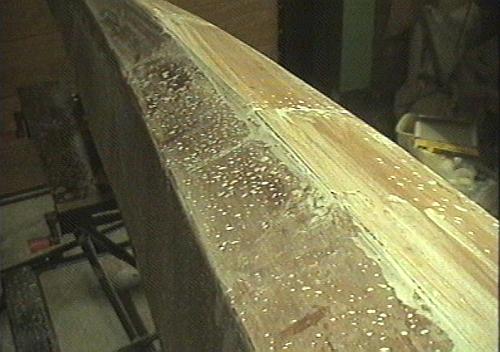
First sanding with 80 grain, then 100, then 120, etc., till the desired termination is obtained. I sanded with water to reduce dust. Use dust mask!
|
|
||
|
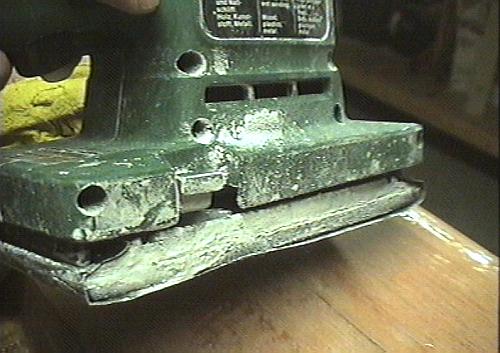
The power sander wasn't the same after the construction. In the midst of a session, a loud noise indicated a completely dried out bearing. |
||||

|
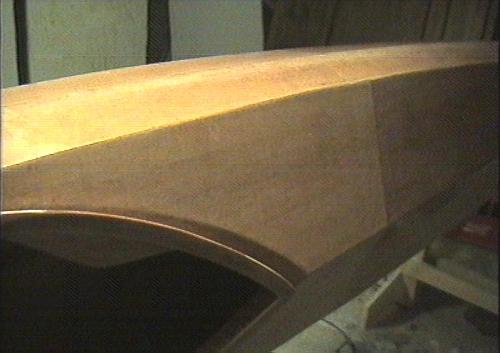
The surface doesn't shine after sanding, but the varnish will make it transparent again.
|
|
||
|
Wetting the sanded surface simulates the effect. Of course you can simply paint the boat, but the wood termination is too nice to hide! |
||||

|
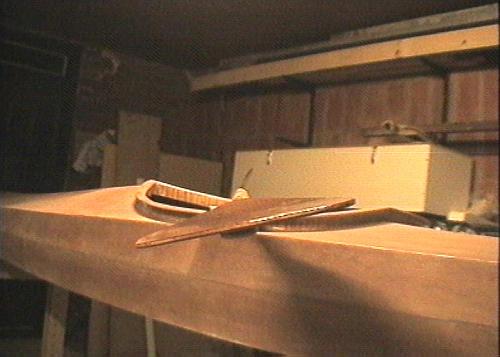
The paddles are yet another example of improvisation. Opinions and photos abound on the 'net, I estimate one design per user. I designed a paddle which seems a compromise between a lot of conflicting requirements.
|
|
||
|
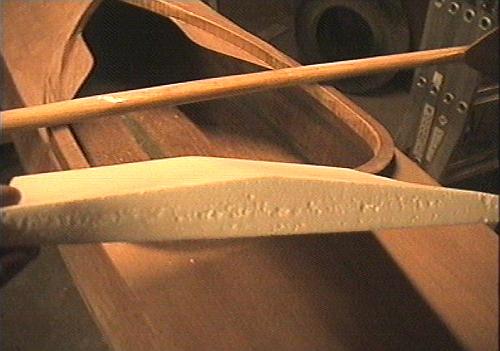
The surface is 650 cm2, and the angle (feather) is 60 degrees. |
||||
|
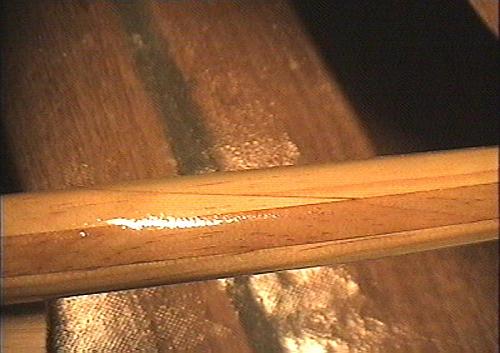
The shaft was made sandwiching 3 layers of pinewood. The center layer is drilled with largish holes to reduce weight. Later I made a second version using timbo wood - much lighter!
|

|
||
|
The back side. All improvisation, but I'm not unhappy with the result! |
||||
|
High density foam was used to make a temporary seat. I really should spend time to make a new one.
|
|
||
|
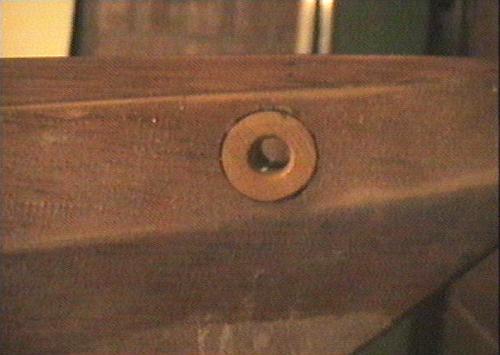
I drilled a hole in the bow and stern, and glued in a drilled, 25 mm diameter piece of wood. Painted completely with epoxy. |
||||
| (c) John Coppens ON6JC/LW3HAZ |