
To minimize the amount of gas that is likely to be spilled during this
operation, you can turn off the fuel petcock and run the engine until it
runs out of gas.
Here is my list of stuff to do the uncorking: (Thanks Brian, Eric,
Neil, Gene,
Dayle, Kevin, Peter, et al from the XR650R Yahoo List !)
A service manual would be a big help too.
First - work in a well ventilated area! If you have a lift for your bike,
put it on it!
To minimize the amount of gas that is likely to be spilled during this
operation, you can turn off the fuel petcock and run the engine until it
runs out of gas.
 |
 |
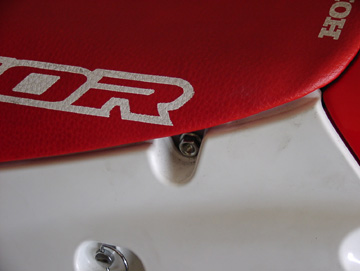
Remove the seat. There are two bolts, one on either side that
have to be removed. Note that the bolts are different. The longer
one goes in the right side of the seat. Lift the seat up and out towards the rear of the bike.
Then you have to remove the gas tank:
Remove the "wings" on the front sides of the gas tank by removing
two
Philips screws and one bolt on each side.
 |
 |
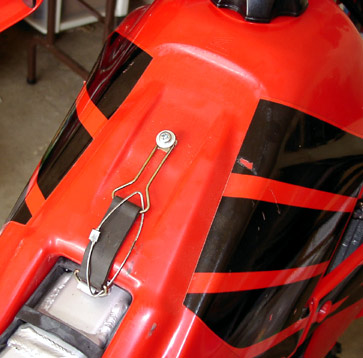
There is a Philips screw on the top of the tank that holds a metal loop/ rubber strap thing. Remove that screw and the loop/strap thing. Put the screw back in so you remember how it and the spacer are supposed to be positioned as this holds the seat on also.
There are two bolts under the tank that were hidden by the wings.
 |
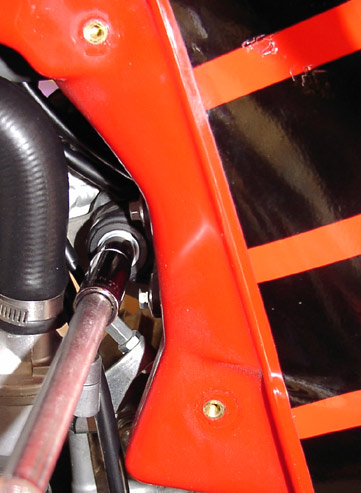 |
Remove those bolts.
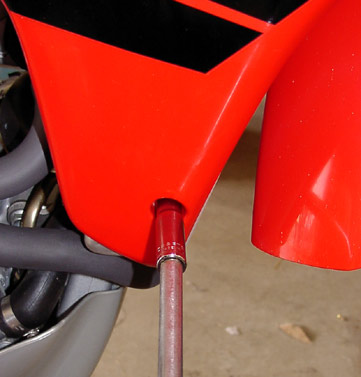
Loosen the clamp ring on the carb end of the hose from
the petcock to the carb.
(Need Photo Here)
Carefully lift the tank up and watch that the
hose
slides off of the carburetor. A small amount of gas may drip out.
Wipe up
any gas that may have spilled.
Drain the gas from the carburetor:
There are several vent/drain hoses attached to the carb. They all go
towards the rear shock/spring area. There is a large plastic twist clamp
holding them to other hoses & cable.
 |
 |
Remove that clamp and pull the hoses up from the spring area. One of
them is connected to the bottom of the
carburetor. Place the end of the small drain hose that comes from the
bottom of the carb into a gas can on the left side of the bike..
 |
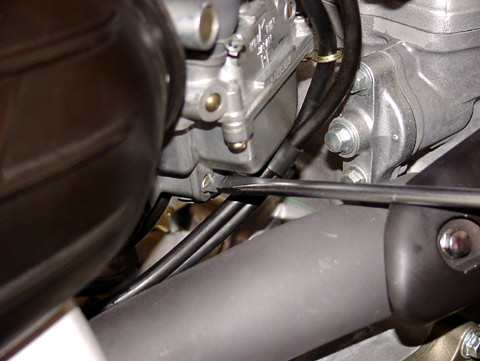 |
Open the drain valve on the bottom right side of the carburetor using a
straight blade screwdriver. Close the drain valve
by re-tightening the screw.
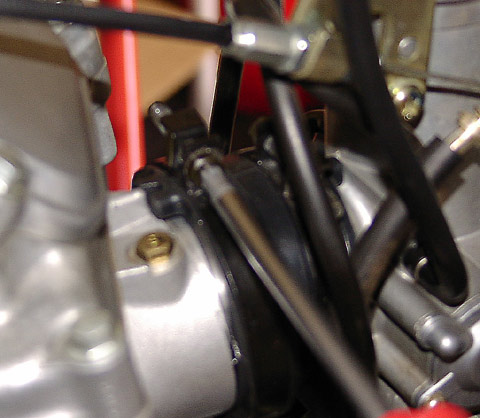
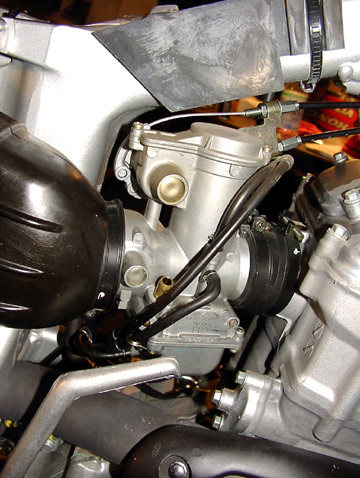
Remove the carburetor from the bike:
Begin by loosening the 3 clamps on the carburetor air inlet and outlets with a Philips
screwdriver.
 |
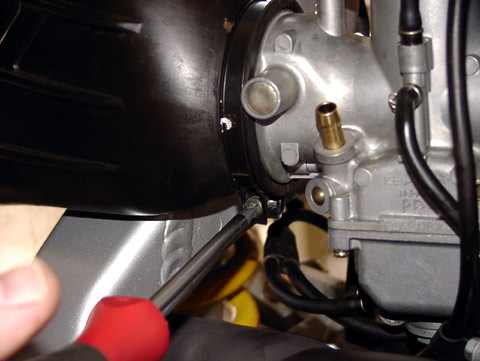 |
Move the choke lever to the fully closed position. This will position the choke plate to be completely inside the body of the carb. Then from the right side of the bike, pull back the rubber flange towards the rear of the bike while applying pressure to the carb from the left side of the bike.
You'll find that the rubber piece is much more flexible than it looked, and the back of the carb will begin to come out.
When it does come out, the front piece - the "carb insulator" -
will be coming off of the
cylinder. Pull the insulator off of the carburetor once it's loose.
Carefully maneuver the carburetor back through the frame to bring it out on
the other side. Now, you can more easily remove the throttle cables.
Take
note of which one is longer, and remember that it goes on the bottom.
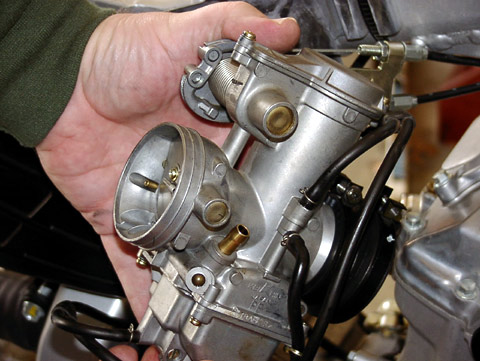
The carb will now be free from the bike.
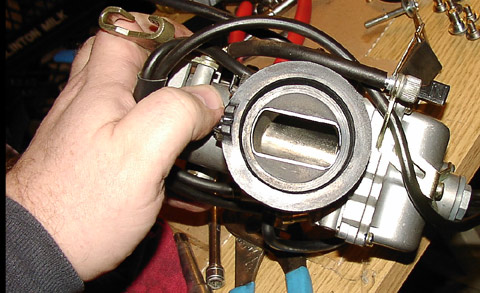
There is likely some more gas in it so be prepared for some to spill out.
Warning: The screws that hold the carburetor together are very soft and you can ruin them if you're not careful. Use a good quality #2 Philips screwdriver, and take your time in removing the screws.
Remove the top of the carb and 2) Replace the needle using the needle from
Part # 16012-MBN-641
(need more detail and photo here....)
Clean the slide with carb cleaner. Reassemble the top cover.
(photo)
Flip it over and remove the bottom cover which is the float chamber.
(photo)
2a)Replace the needle seat from Part # 16012-MBN-641 (B53E)
(photo)
3) Replace the main jet using part # 99101-357-1750 (#175)
(photo)
4) Replace the pilot jet using part # 99105-MBN-0680 (68s)
(More detail & photo needed here... )
Reassemble the bottom and do not over-tighten the screws. The carb is made
of soft metal too.
(photo)
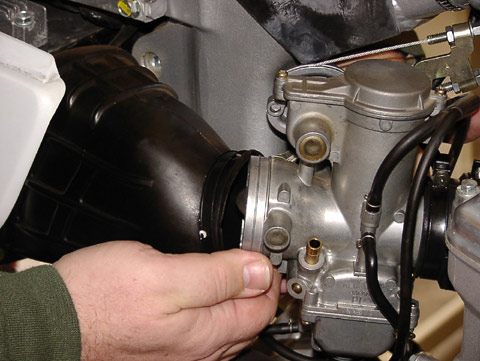
Take note of the positions of and Remove the 2 metal compression clamps from
the old carb insulator. Install them on the new one oriented the same
way.
Install the new carb insulator using part # 16211-MBN-640 ( an O shape
instead of 0 shape ) on the front of the carb and align the "fork" in
the
rubber. Reattach the throttle cables and check their operation. Push
the
carburetor through the frame out the right side of the bike again.
Position the insulator on the cylinder to begin reinstalling the carb.
Pull the rear half of the airbox out the the right to begin working the back end
of the carb in. Again, make sure that the choke is fully closed to stay
out of the way.
Push the carb towards the cylinder to make sure that the insulator is fully seated on the cylinder. Tighten the clamp on the cylinder end of the insulator. Then, push the rear airbox piece to be fully seated on the carburetor and tighten the clamp.
1) Remove both the rubber and plastic pieces from the airbox.
(photo)
6) Replace the Muffler insert using part # 18317-MBN-640 (or drill it out if you want. - I wanted to be able to reverse it if necessary so I used the new Honda part)

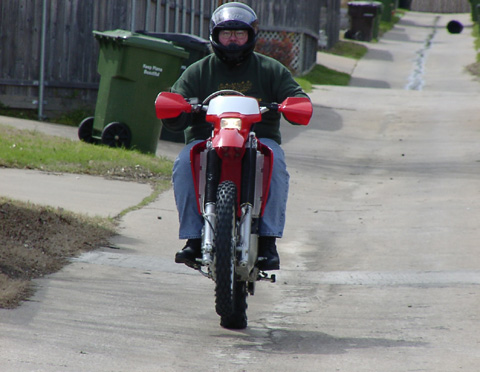
OK. You're now done uncorking your "pig"! Roll it outside,
turn the fuel petcock back on, and pull in the compression release and kick it
over a couple of times. Then, do your normal starting routine, and it
should fire up more easily than before.
Take it out for a test ride, but be careful, it may wheelie instantly when you pull out - now that the power is at full potential. The difference is dramatic.
Bob Naumann
Plano Texas
00XR650R (Fully Un-Corked!)