2
Meter Beam with Flexible Elements
Here's a versatile
3 element 2 meter beam that's just the ticket for hunting on foot. It's
lightweight, easy to carry and has flexible elements that will bend and
then come right back into position, a handy thing to have when you're hunting
in an area with trees and brush. Not only that, but the elements can be
folded or rolled up, so it stows easily in that small storage area in your
car. The elements are made from a steel tape measure, and the boom is from
1/2" PVC pipe. You can probably build the entire thing for less than $10
if you keep an eye out for a cheap tape measure. This antenna, used with
an external attenuator, is all you need to track down those small portable
hidden transmitters in the on-foot portion of many Foxhunts. Many hunters
also use it on mobile hunts, where its flexibility makes it easy to get
in and out of a car when you want to stop and take a signal bearing.
I built the one you see here using
a 1-inch wide tape measure for the elements. You can probably also make
the elements from a 3/4" wide tape. The ubiquitous 1/2" wide tape would
be a little too narrow and too flexible to keep 2 meter elements straight
as you walk along, but I've heard that some Hungarian foxhunters in serious
international competitions have used DOUBLE and TRIPLE THICKNESSES of 1/2"
tape for the centermost portions of their elements, with good success.
This gives them a good combination of rigidity and flexibility as they
run (yes, run) the course looking for the hidden transmitters.
 At
the 1999 Dayton Hamvention Foxhunt, organizers had more than ten of these
beams for visiting hunters to borrow. I used my beam with its 1" wide elements
for this hunt, which was held mostly in a very large (and windy) open field.
My antenna worked exceptionally well, as it has for me in the past, but
the wind played a trick or two with even my 1" wide elements. I'll probably
back up the center portions of my elements with another (shorter) section
of 1" wide tape to strengthen each element just a little more.
At
the 1999 Dayton Hamvention Foxhunt, organizers had more than ten of these
beams for visiting hunters to borrow. I used my beam with its 1" wide elements
for this hunt, which was held mostly in a very large (and windy) open field.
My antenna worked exceptionally well, as it has for me in the past, but
the wind played a trick or two with even my 1" wide elements. I'll probably
back up the center portions of my elements with another (shorter) section
of 1" wide tape to strengthen each element just a little more.
SAFETY
NOTE: Be careful of the sharp ends of the steel tape as you
cut the elements. They can inflict a nasty cut. Be sure to put some plastic
electrical tape or other protection over the cut ends of the elements before
you do anything else.
Original design by Joe Leggio,
WB2HOL. You can find complete dimensions and a description of how to build
this antenna at
Joe's
web page.)
Now here's a look at the one I
built. Click on any photo for a larger version.
Good Hunting!
John W2KI
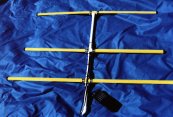 |
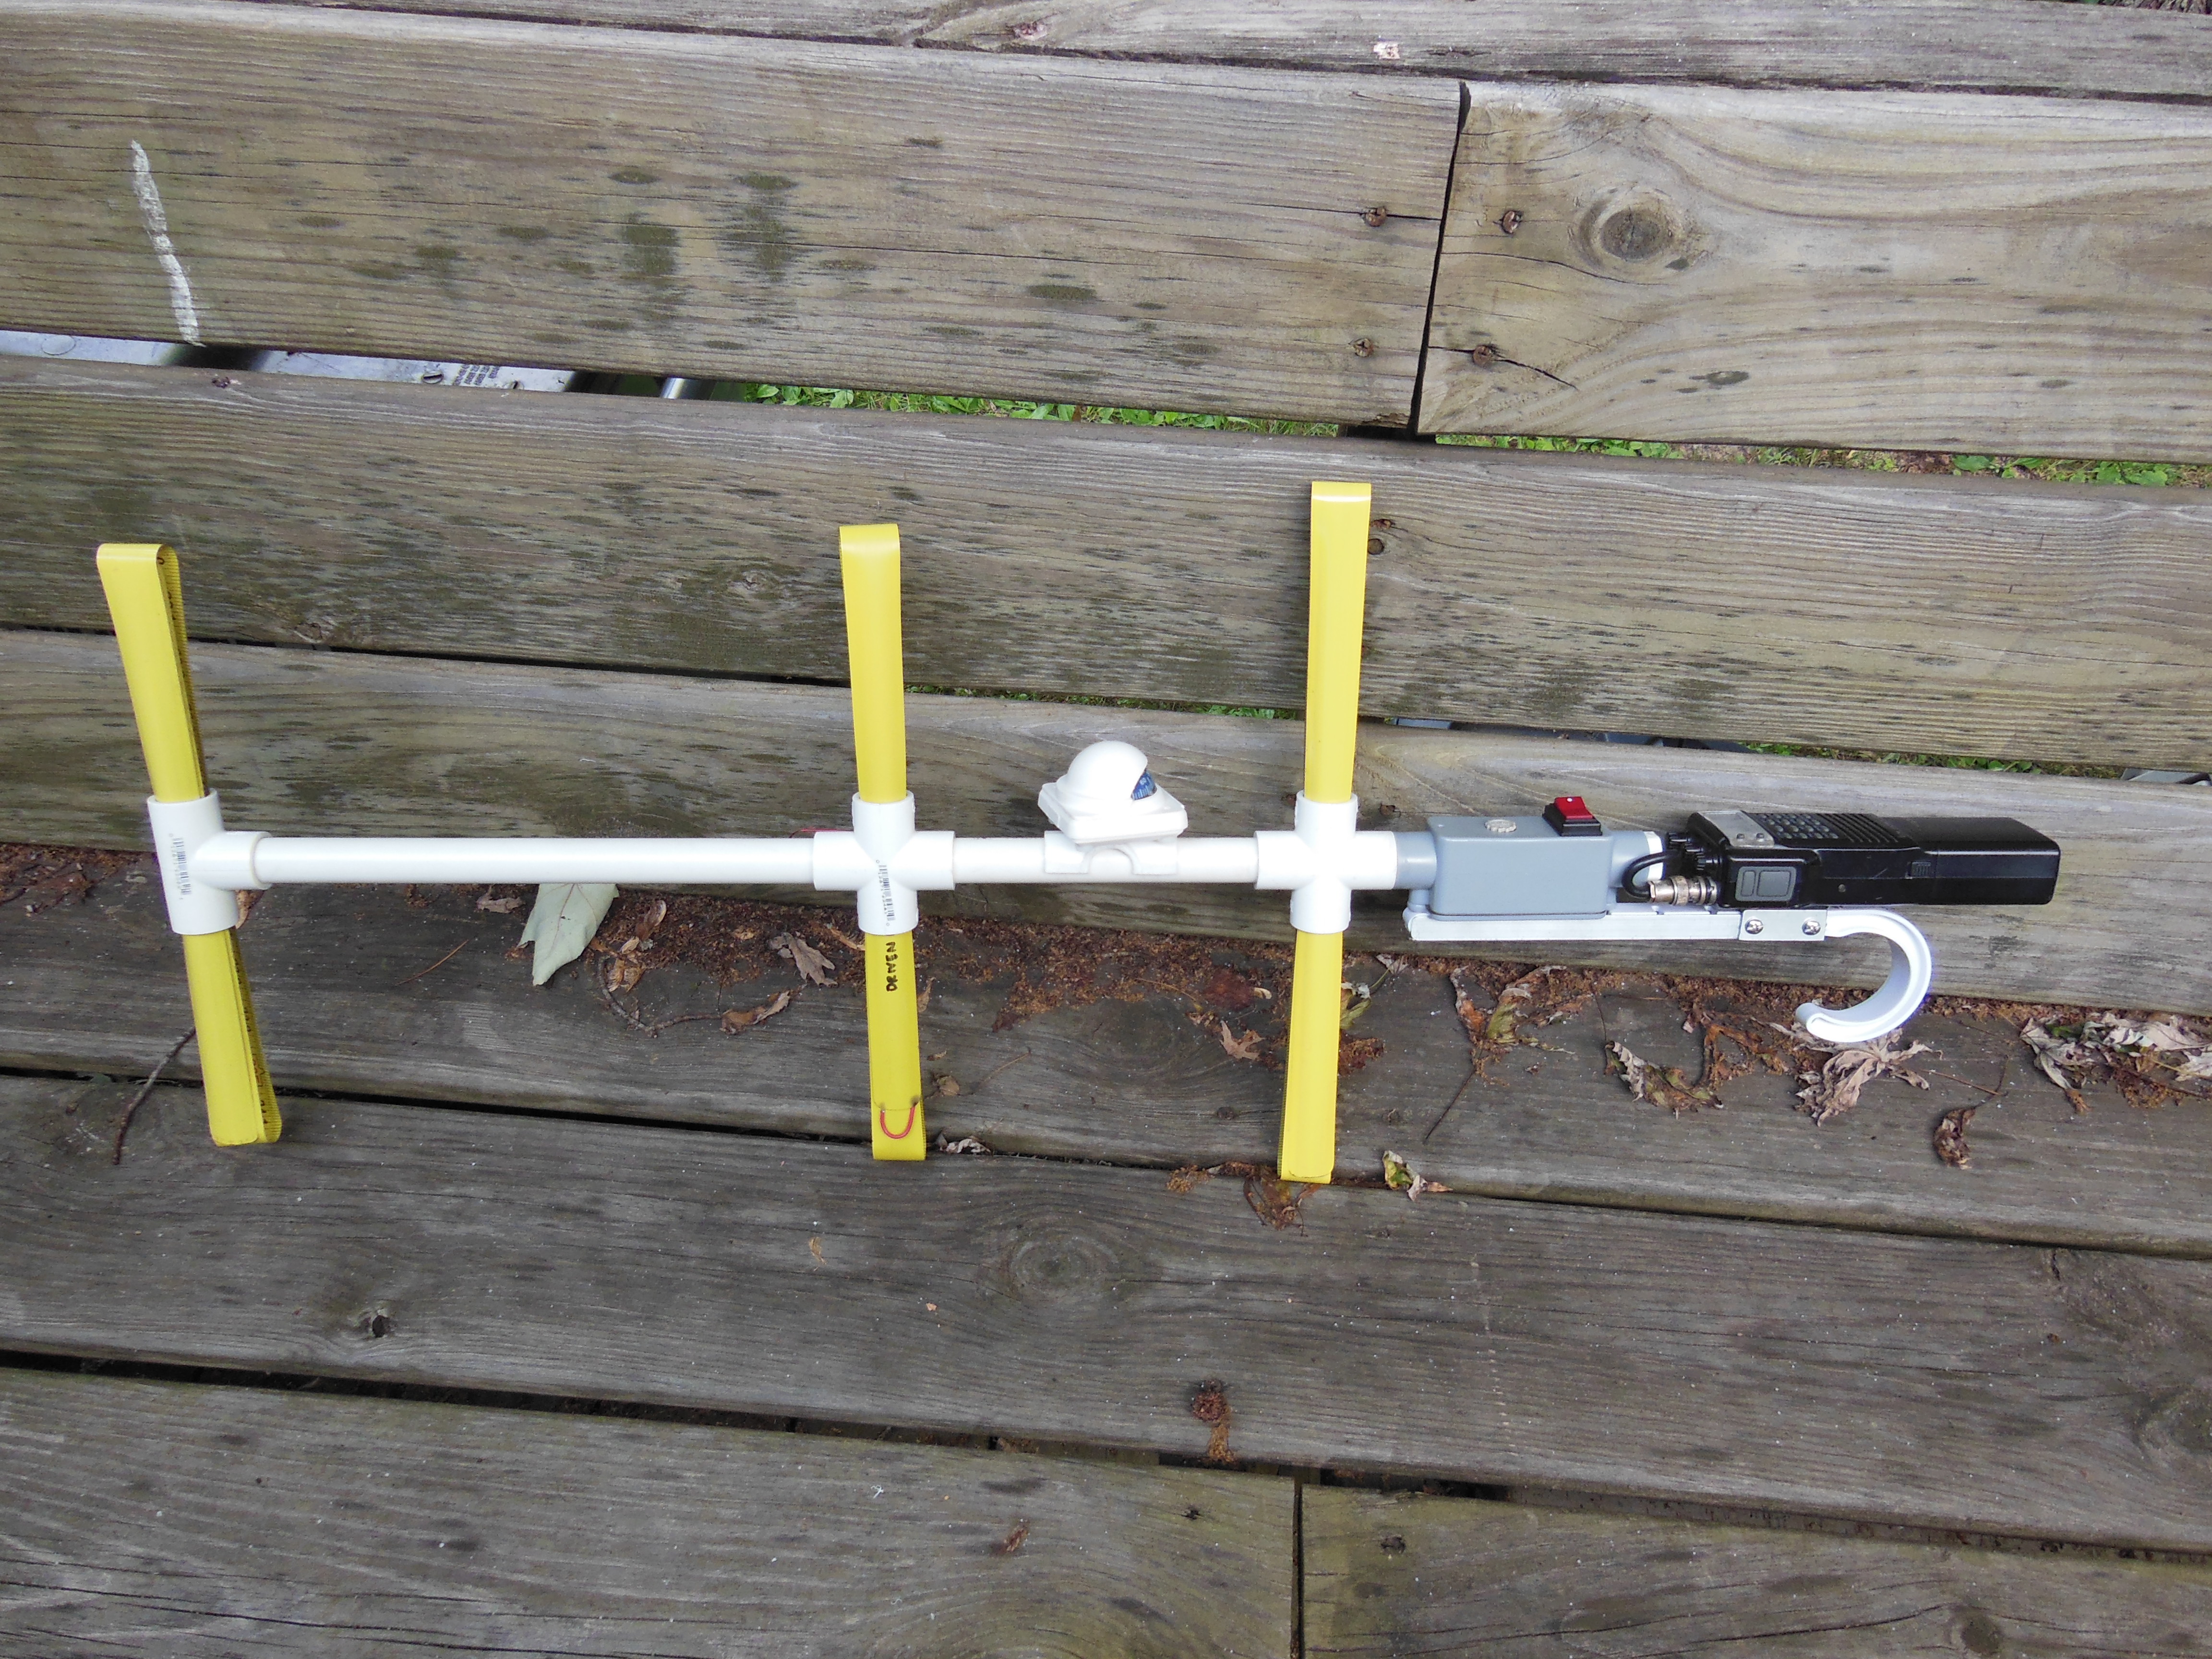
You can compare the size of the
yagi to the HT. |
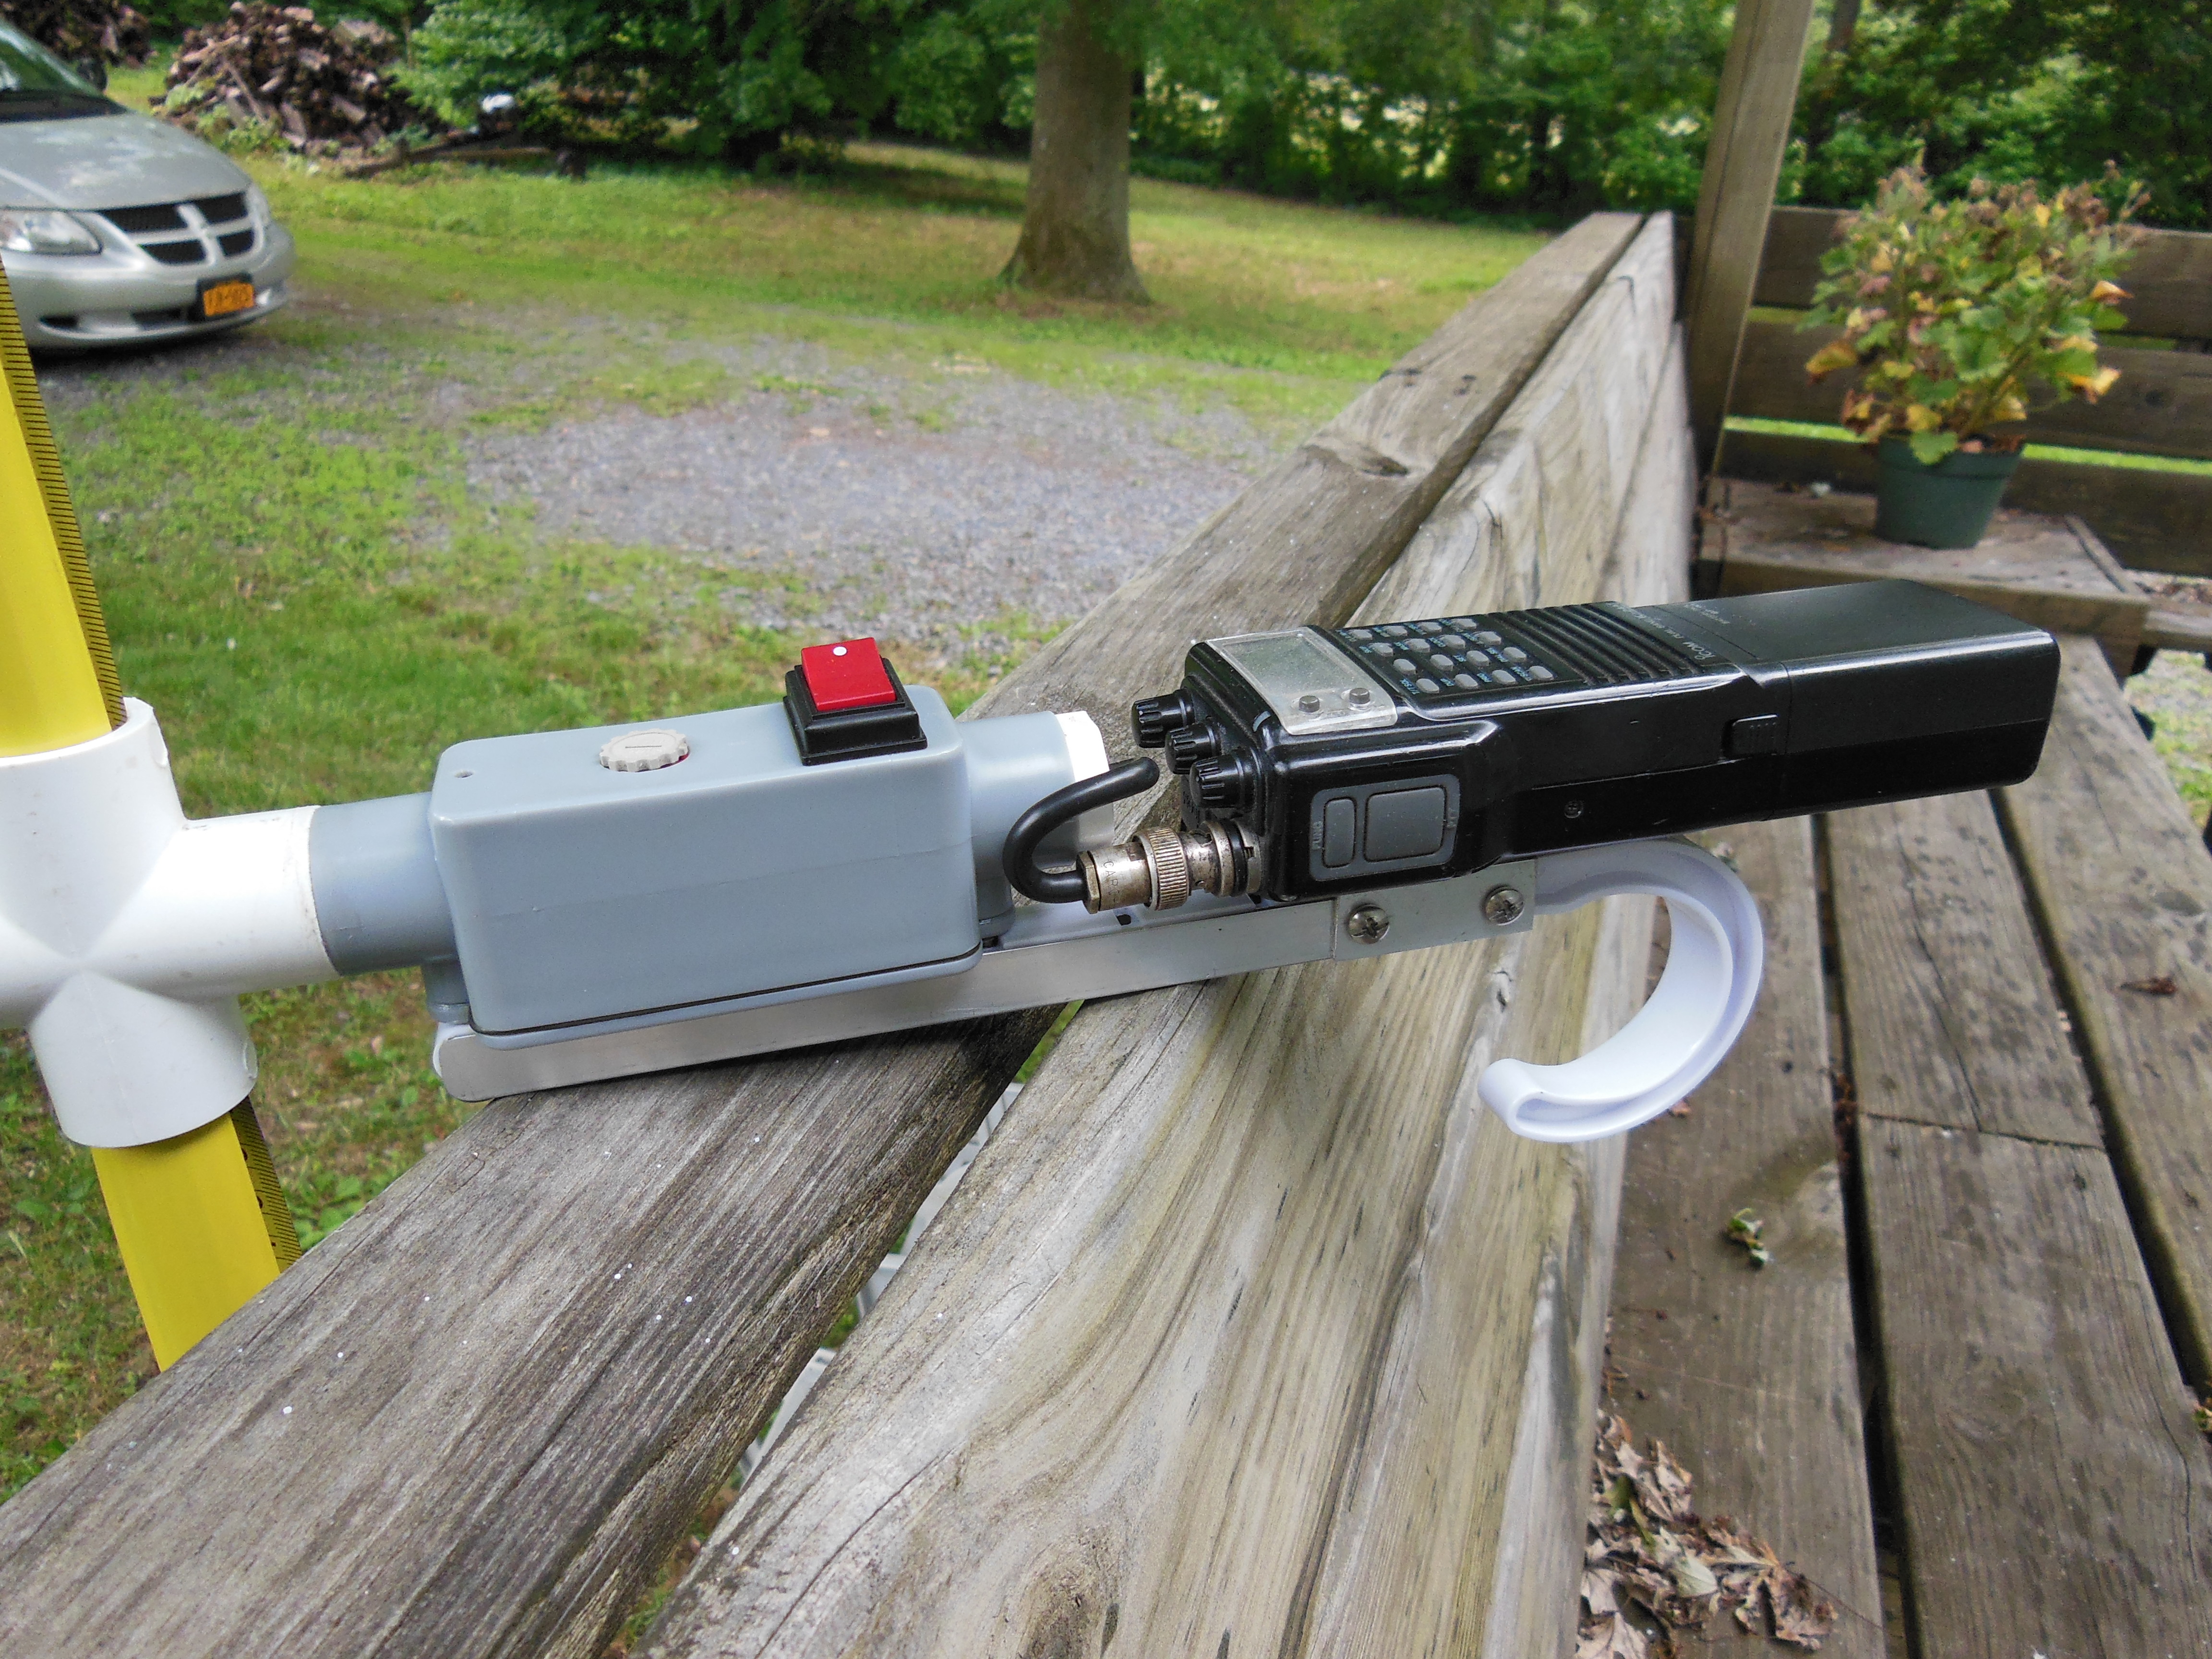
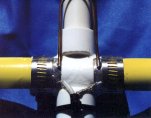
| Here's the feedpoint, with
direct attachment of the coax and the "Hairpin" match. See Joe Leggio's
original construction article for dimensions. |
 |
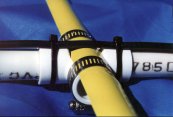 |
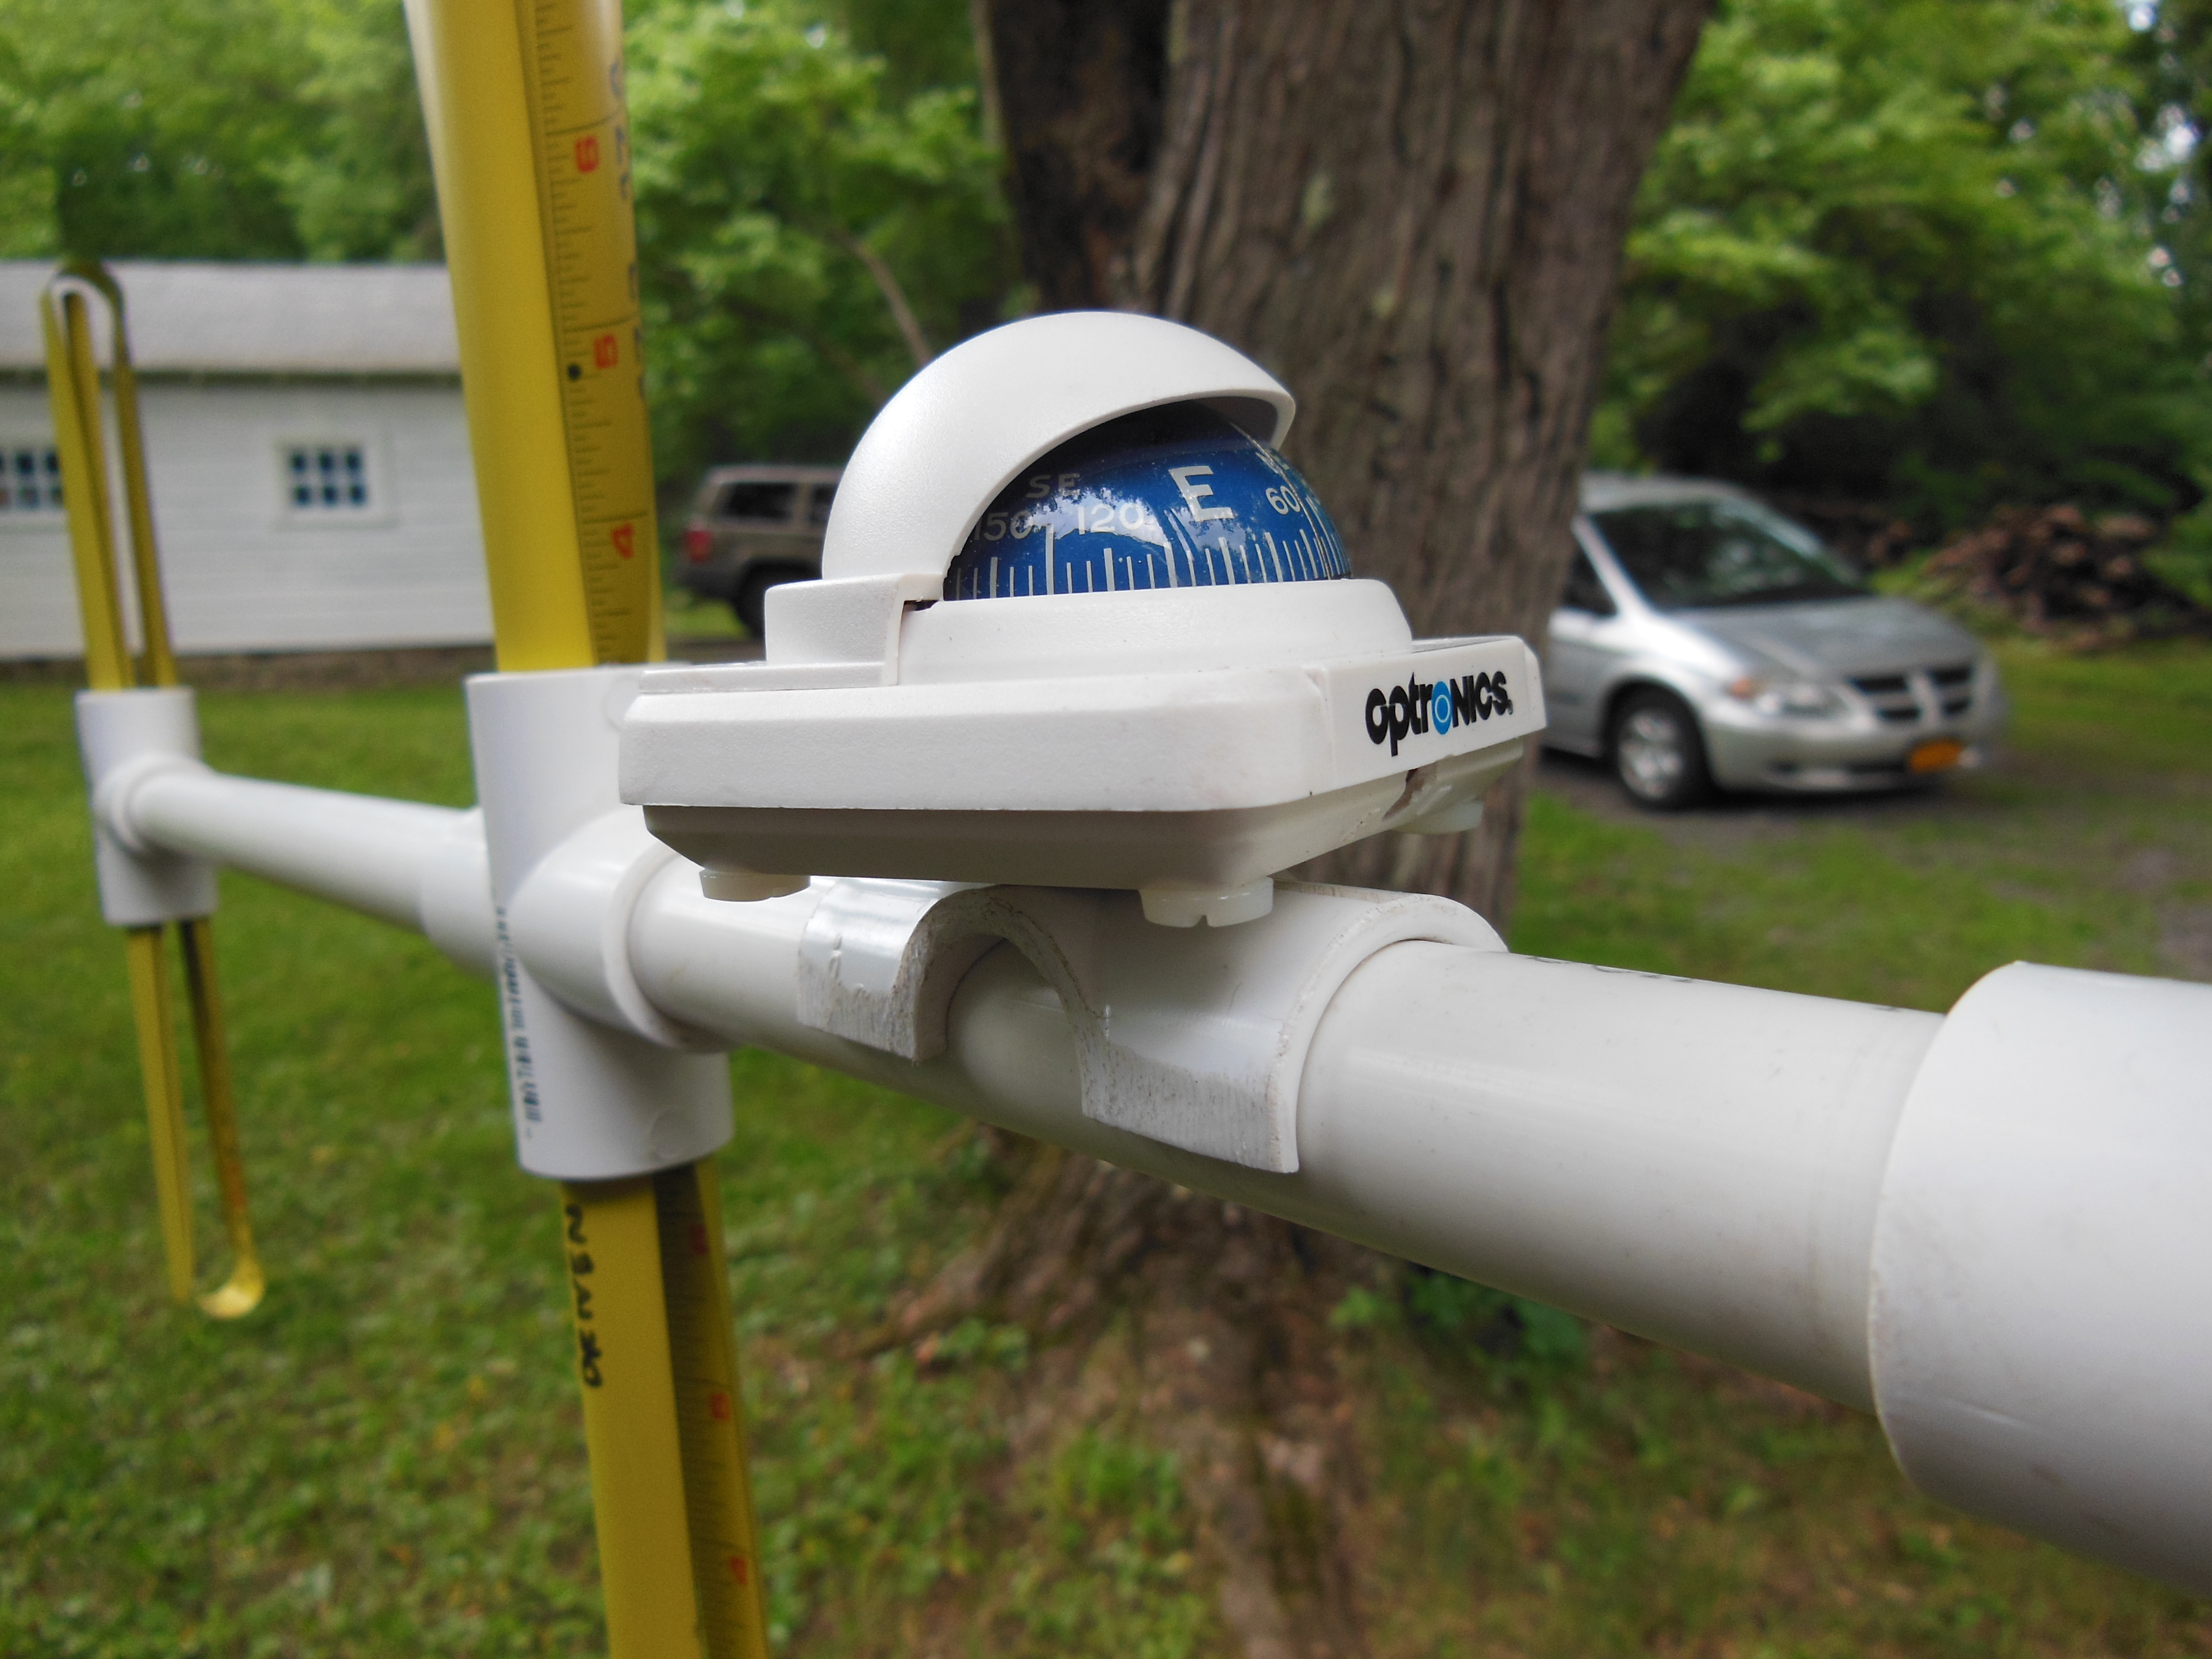
The PVC "Tee" is filed away to
allow the element to lie across the fitting without undue bending. |
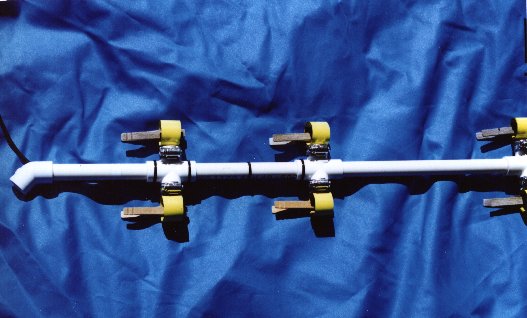
| Take special note of the special
non-conductive antique clamps that W2KI uses to keep the elements rolled
up for travel. |
 |
 |
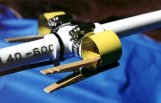
Here's a (partial) glimpse of
the antenna in "storage mode". |
Here is a Tape Measure Beam put together
by K2STN
Another Schematic for building a tape
measure beam.
Last
Modified 3/18/14 ajc
 At
the 1999 Dayton Hamvention Foxhunt, organizers had more than ten of these
beams for visiting hunters to borrow. I used my beam with its 1" wide elements
for this hunt, which was held mostly in a very large (and windy) open field.
My antenna worked exceptionally well, as it has for me in the past, but
the wind played a trick or two with even my 1" wide elements. I'll probably
back up the center portions of my elements with another (shorter) section
of 1" wide tape to strengthen each element just a little more.
At
the 1999 Dayton Hamvention Foxhunt, organizers had more than ten of these
beams for visiting hunters to borrow. I used my beam with its 1" wide elements
for this hunt, which was held mostly in a very large (and windy) open field.
My antenna worked exceptionally well, as it has for me in the past, but
the wind played a trick or two with even my 1" wide elements. I'll probably
back up the center portions of my elements with another (shorter) section
of 1" wide tape to strengthen each element just a little more.