|
|
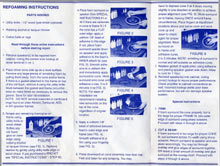
Here is the set of speaker re-coning photos, including 2 PDFs of the scanned directions.
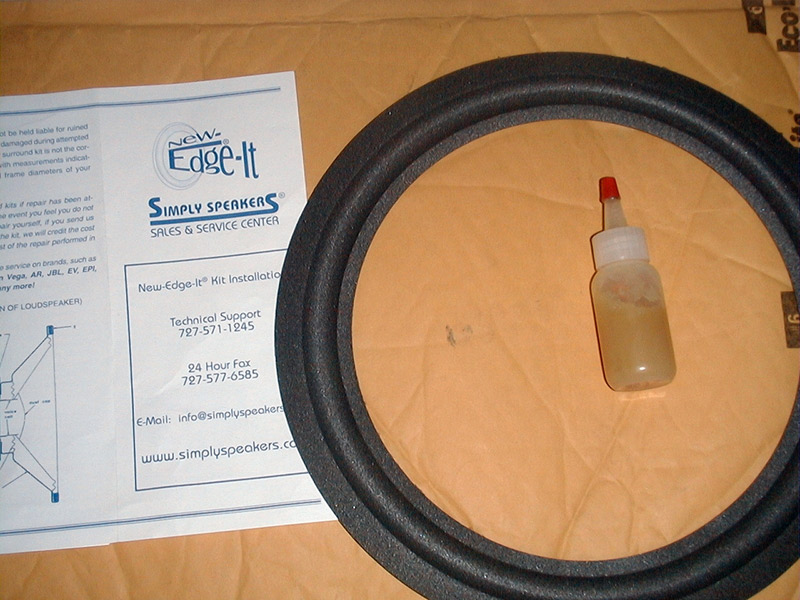
I will add "the rest of the story" (a text-based explanation and directions-expansion) as soon as I can. I felt you'd like to see the photos ASAP. As with most thumbnail photos in my website, click on the small photos for a better photo (~800 x 600). The parts (1 foam-surround already installed.) The speaker before repair.
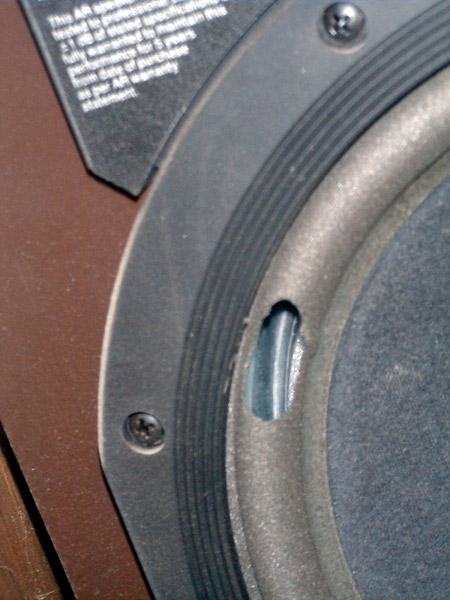
The deteriorated foam-surround: Ready to start the work...
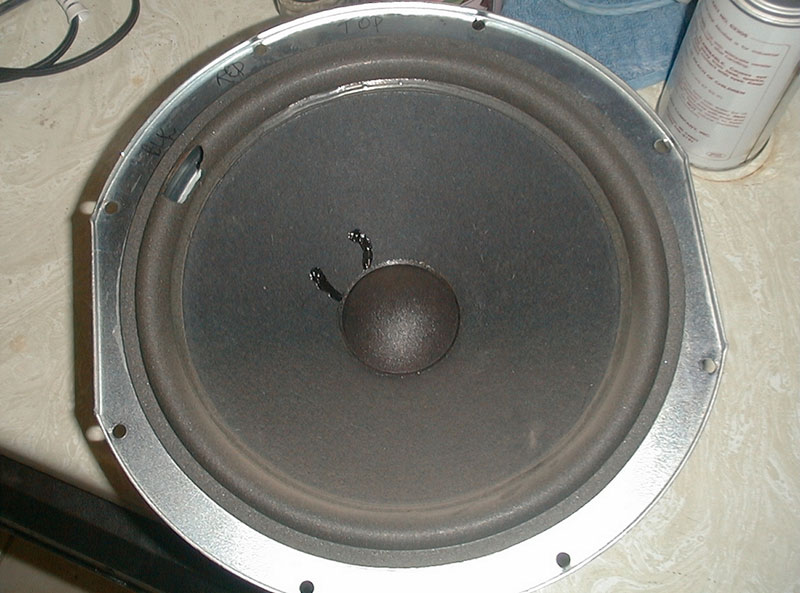
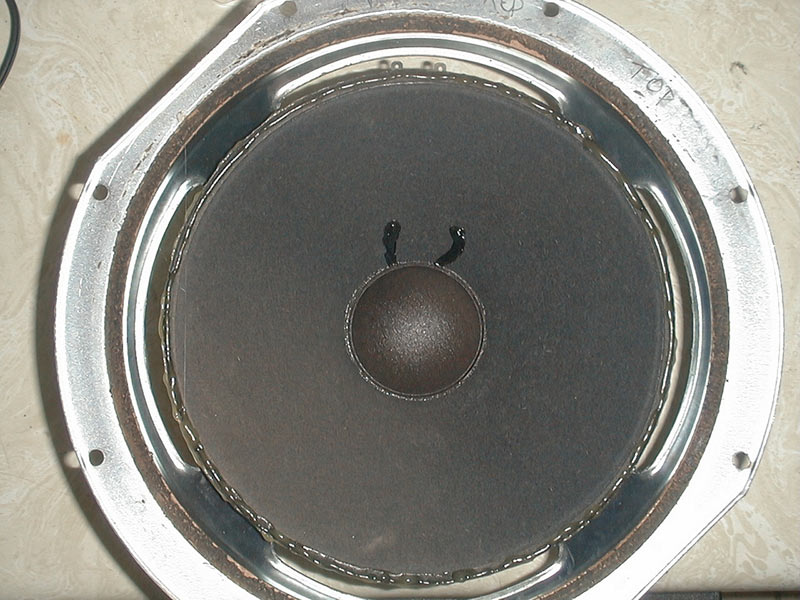
During the scraping/cleaning... A bead of glue around the inner edge
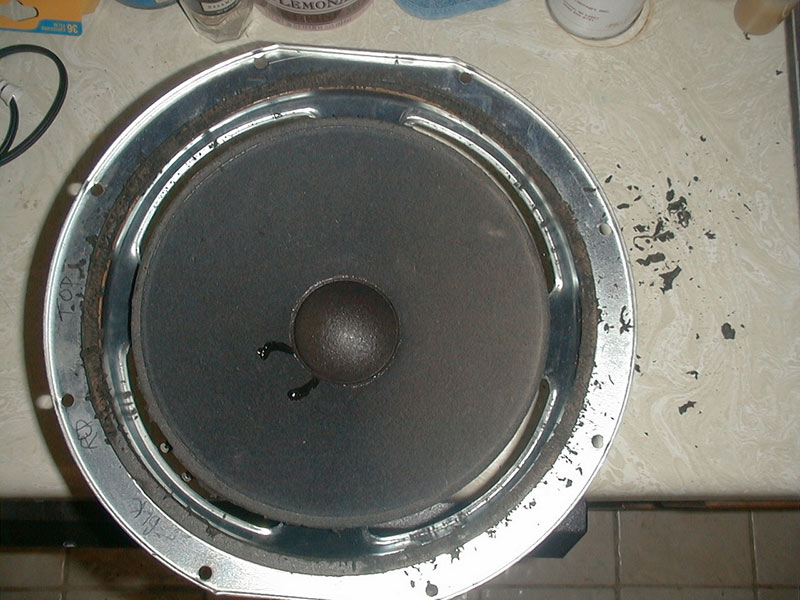
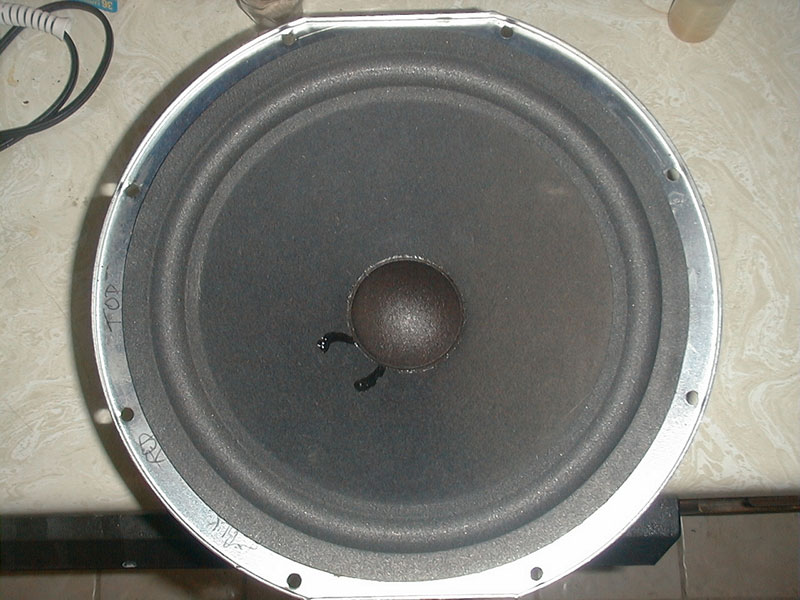
Now to glue the outer edge... Finished gluing
Wires reconnected, ready for remounting!!!
The speaker was remounted, the grill snapped back on, and it worked like a million bucks-or... at least as good as the original 800-900 bucks I think they cost. Whatever it was, they sound great. It cost a little over $30 TOTAL... and took about an hour or so apiece-taking my time. I will write this up much more thoroughly shortly, and place it here. The instructions appear below, in PDF format.
Note: I just checked these two PDFs on the website, and they take a LONG time to load. I scanned them in at hi-rez, and didn't optimize them 1st... the 2nd one took over 30 seconds on my DSL... and believe me that's heavy duty time. I'll try and fix it... but meanwhile, just be aware they are going to take a long time if you want to view them.
To continue browsing the website, please select from these categories: and from an Electronics perspective:
|


![]() This website is
always
under
construction...
This website is
always
under
construction...
![]()