
|
|
|
|
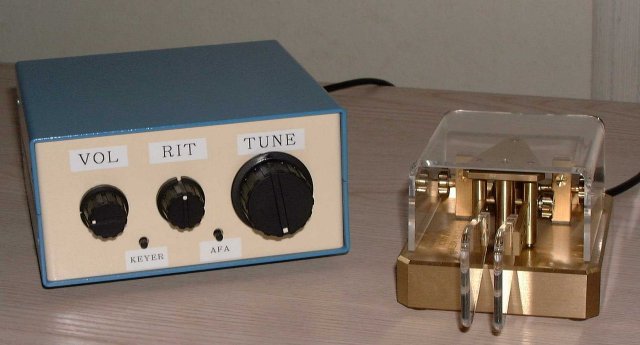
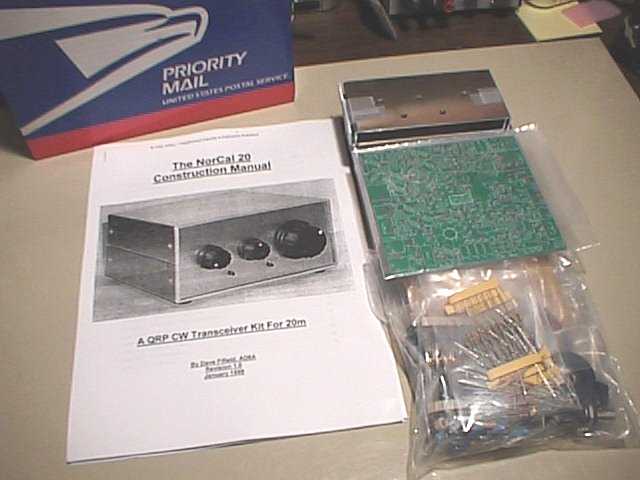
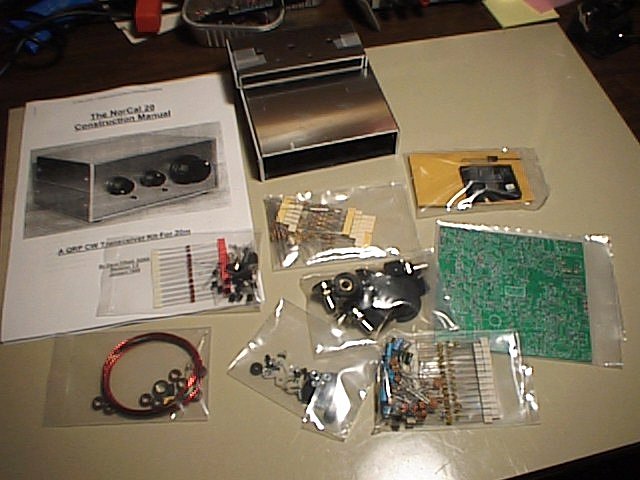
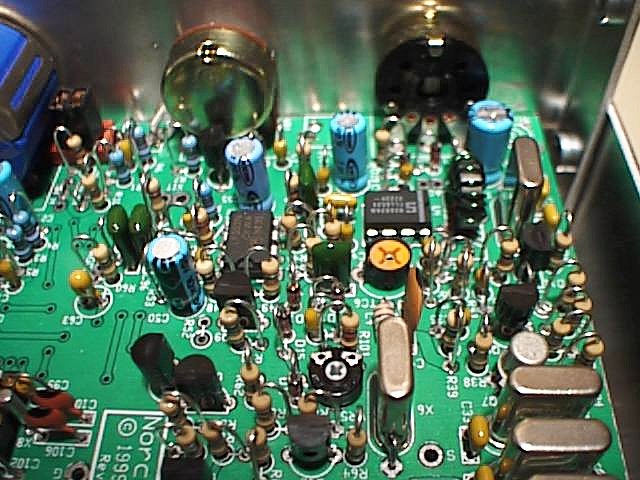
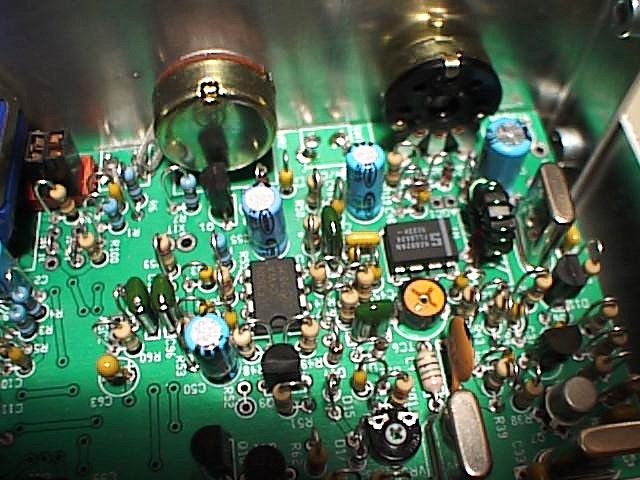
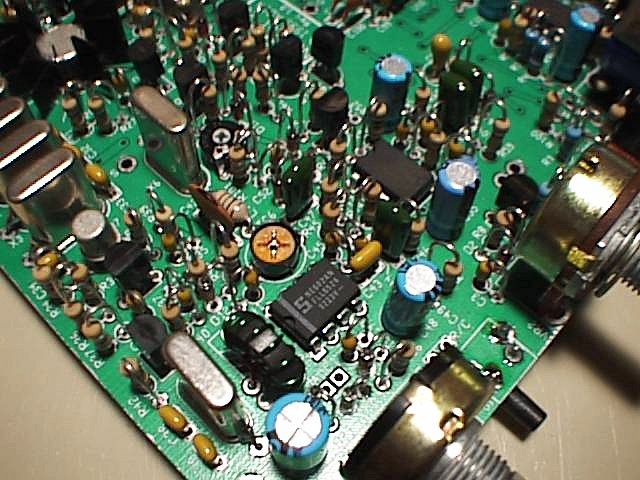
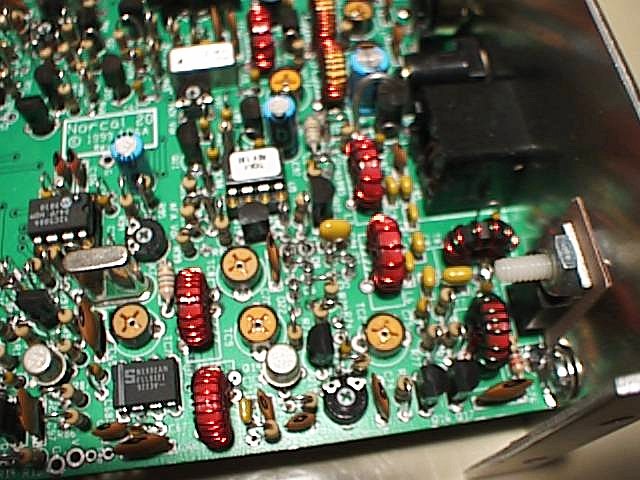
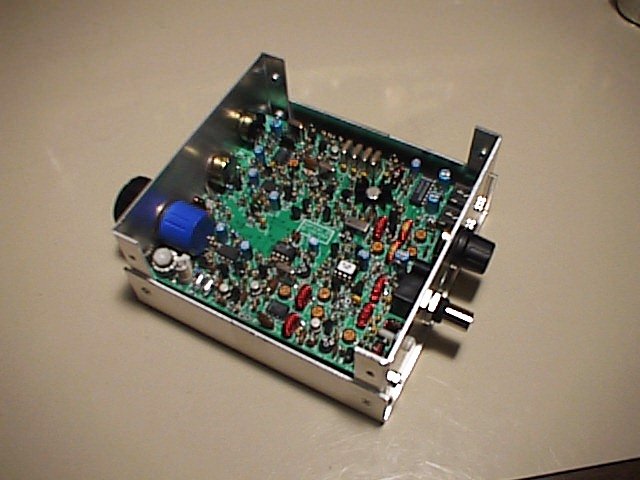
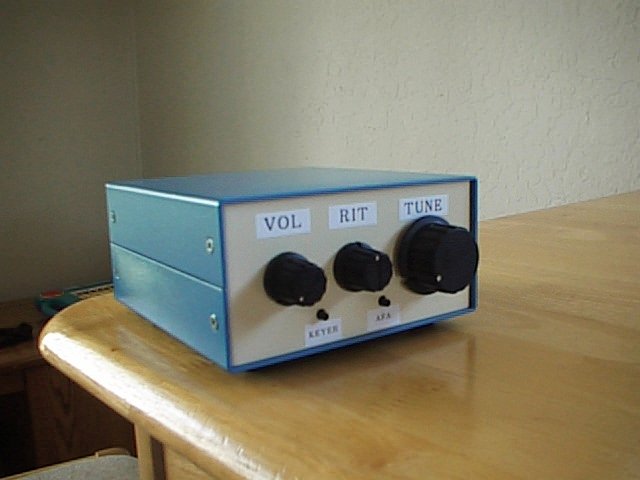
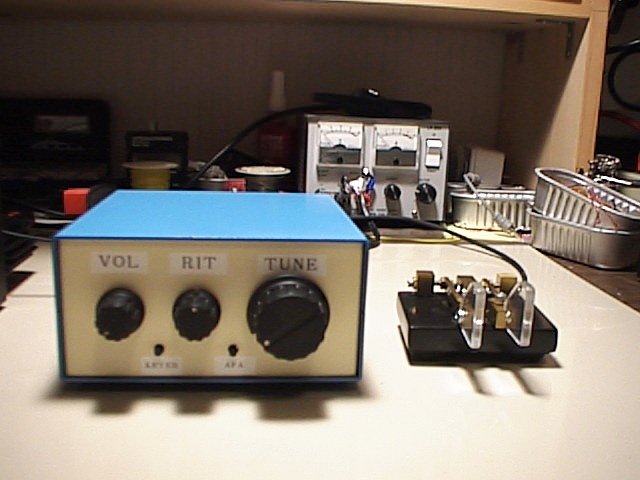
This is definitely a fun project! Although the kit has quite a few more parts than conventional single band QRP radio (~350 parts), its RX drain current is a bit on the high side (~200mA), performance is outstanding! However, the kit is not intended for the first time kit builder due to its many parts which have to be populated on a 5.5 in x 5.5 in PC board. 1. Background After a couple of field day trips with with my friends in 1998, I am convinced that I need an "ultimate" QRP field day station. My OHR-100 is ok, but it lacks a built-in keyer and a frequency readout. I end up building extra accessories to bring them along on my field day trips. The OHR IF filtering is ok, but it leaves a lot to be desired especially during group field day activities due to several transmitters close by. This "ultimate field day QRP" rig must be about the same size as my trusty OHR-100. It must have a built-in keyer, a frequency readout, must be able to withstand near by strong signal (RX overload during field day due to a TX near by), must be able to drive an external speaker, and must be able to put out about 5W. Base on my experience, 20M seems to be the best day band since it is always open through out the day even during sun-spot minimum! the 20M antenna is just about the right size for an occasional field-day excursion. One day in 1998 at a Norcal QRP Club meeting, Doug, KI6DS, and the Norcal QRP Project design team started to float around the idea of a successor to the "wildly popular" 38 Special kit. The new kit must be a complete kit, have a vey good RX performance since Norcal intended to donate some of these kits to "needy" HAM radio clubs around the world to promote HAM radio in these countries. What a marvelous idea! Norcal would donate these radio kits to help the needy HAM to learn about electronics. They would then build the radios, put them on the air, increase the DX activity, spead the good name on Norcal behalf... A couple months later, Mike Gipe, K1MG, started to show us at different QRP gatherings the new prototype of the new 20M rig which he Dave Fifield, AD6A, had been working on. The new rig would have an audio frequency annuniciator, a build in keyer based on the popular Tick PIC, on 20M. And best of all, the rig will be designed so that no wire is needed to attach different pots, connectors to the radio case. Having built both the OHR-100 then OHR QRP Classic rigs, I kew exactly how much a problem those wires could be. I knew right then that I wanted the NC-20! But the radio is not available for quite sometimes (I mean a long time!) because the designers wanted to test, improve, optimize their design! I must have seen at least 4 different prototypes from either Mike or Dave on various occasions (This was even before the project was announced to the world at Pacificon 98!) After a lengthy test run, the NC-20 design is completed. It was set to be announced at Pacificon 98 and QRP-L simultaneously. I was really excited! Naturally, I put in my order as soon as saw the announcement on QRP-L (Actually, I ordered 2 kits!). But due to a few part shortage and last minute design change, the kit was not shipped until March 1999. 2. Construction 2.1 Opening the Parts Bags and Inventory Upon opening the USPS packaging and looking at the many parts, I was really concerned whether I could build this "beast" since the most "complicated" project which I had worked on so far had been the OHR-100! The NC-20 has almost double the part count than the OHR! And since I can only work on the rig for about 1 hour to 1 1/2 hour a day either very late at night or early in the morning before going to work, I wonder when I could get this thing done. But I told myself that I should just start "melting the solder" then see what would "come out at the end"...
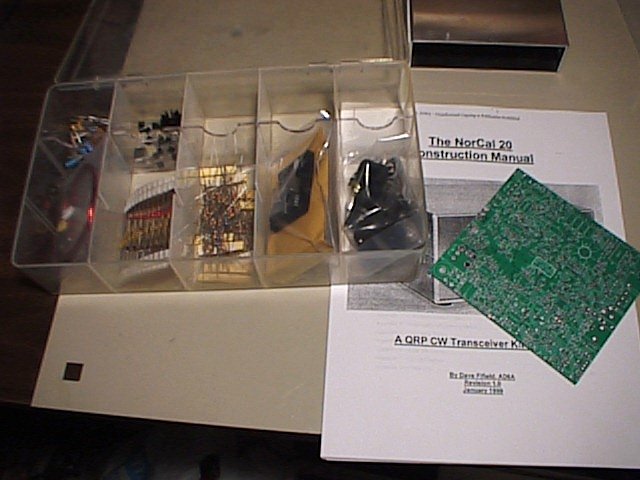
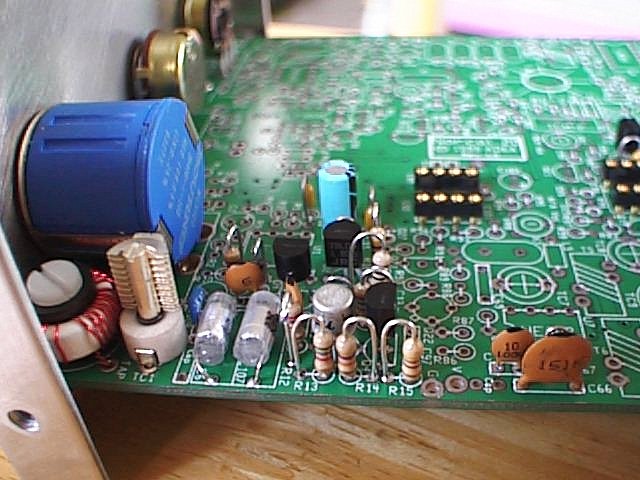
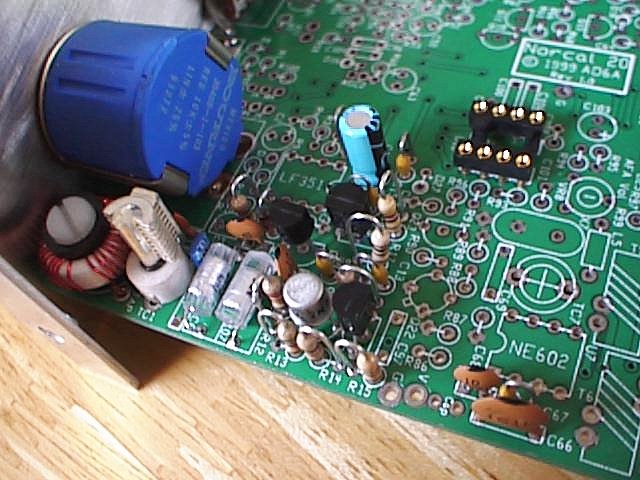
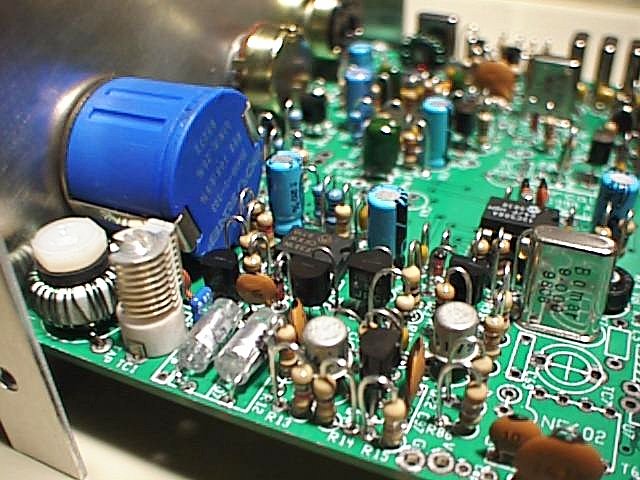
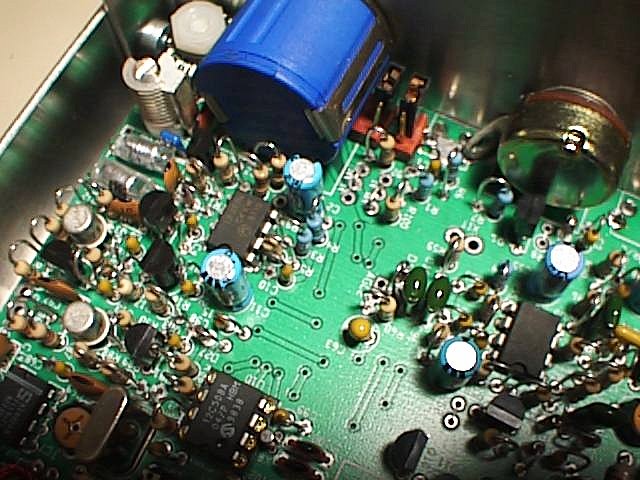
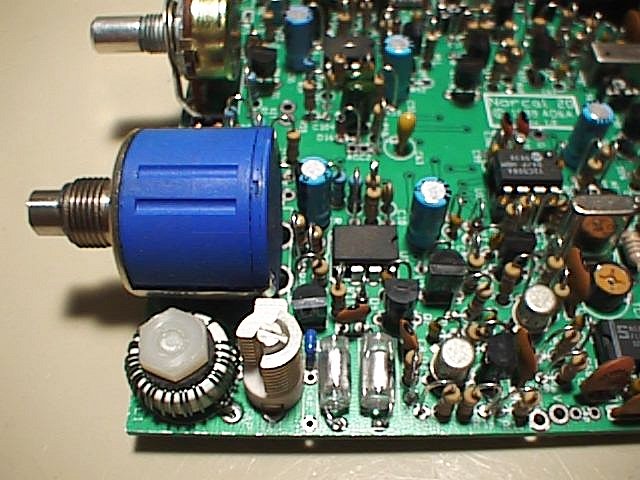
After the parts had been inventory (a couple parts missing - no big deal, I had them in my spare part box), the fun began... 2.2 VFO and VFO Buffer Amp I elect to use a 10 turn-pot for a much better resolution than the single turn pot supplied with the kit. A search around the spare part box came up with a really nice 10 turn precision Bourne pot. Since the pot's shaft is a little bit long, I decide to fire up the Dremel tool and cut about 1/4 inch off.
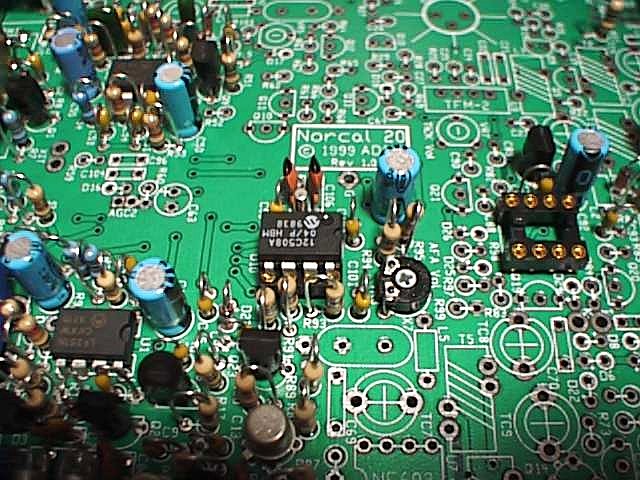
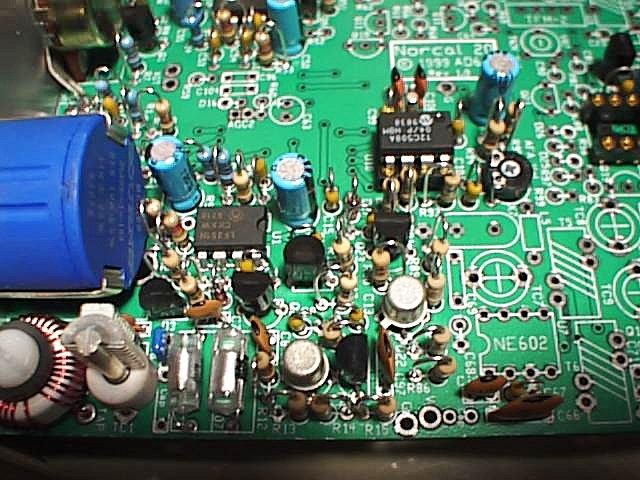
2.3 Audio Amplifier and Audio Pre-Amp
2.4 Audible Frequency Annunciator (AFA)
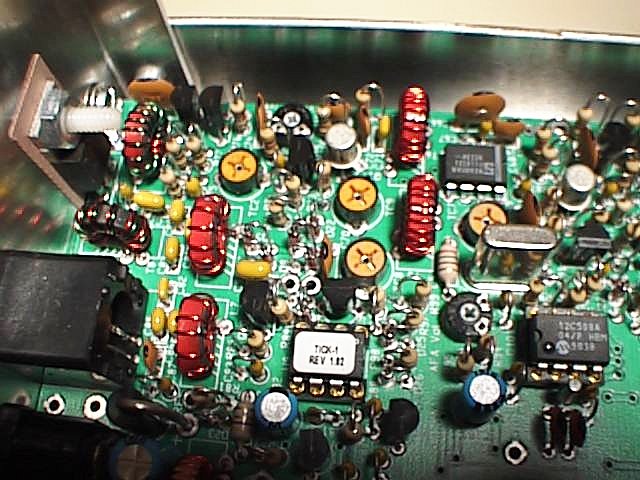
2.5 Keyer and Transmit Control (Tick Keyer)
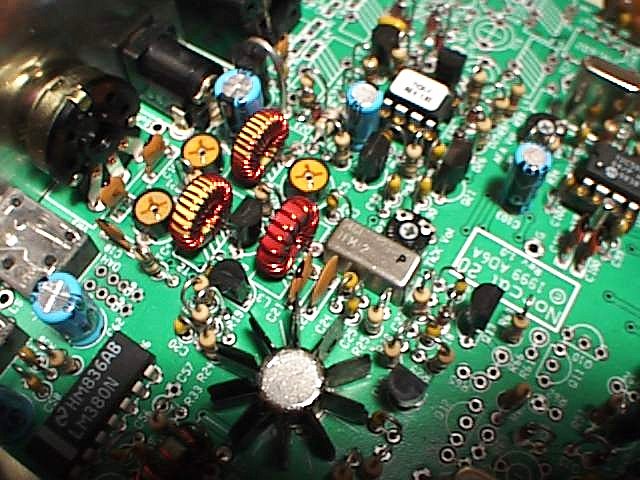
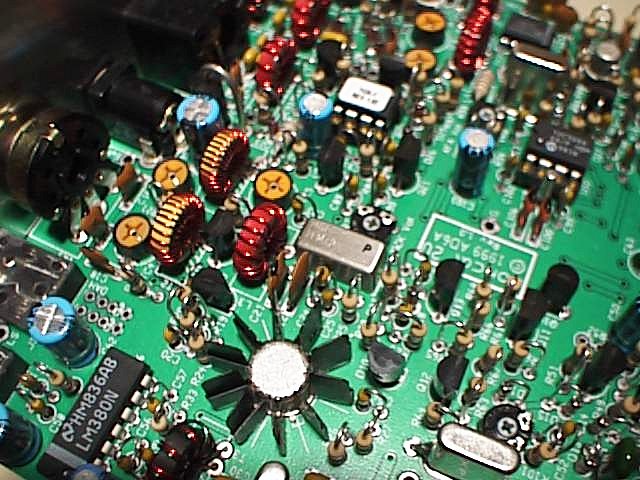
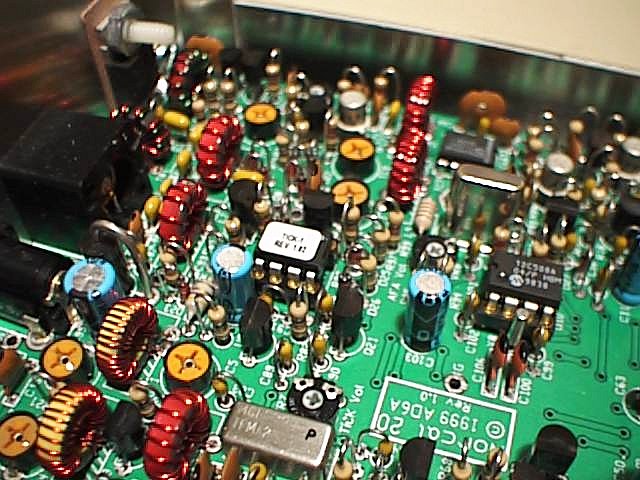
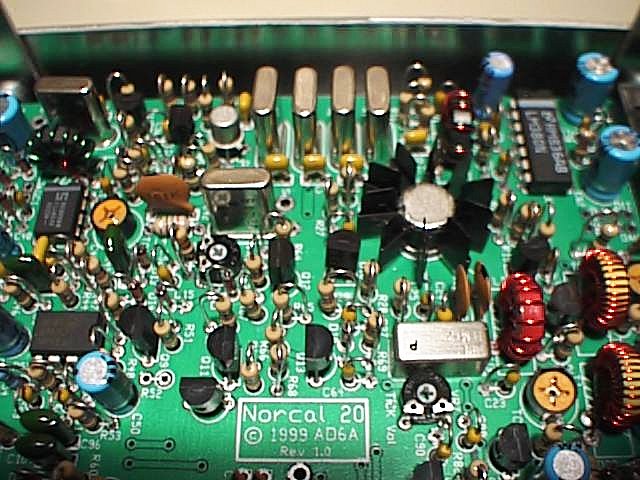
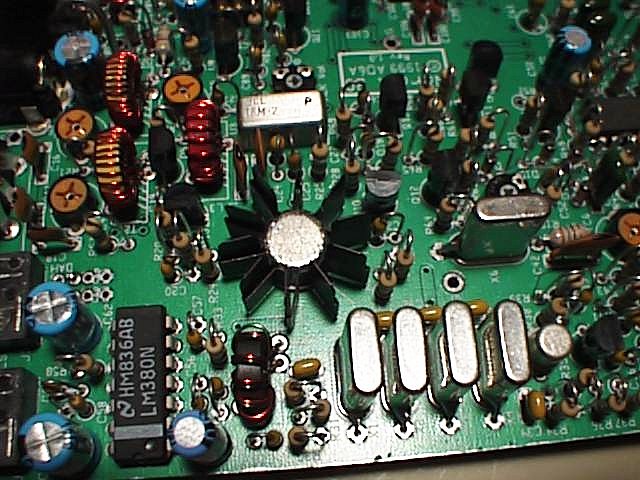
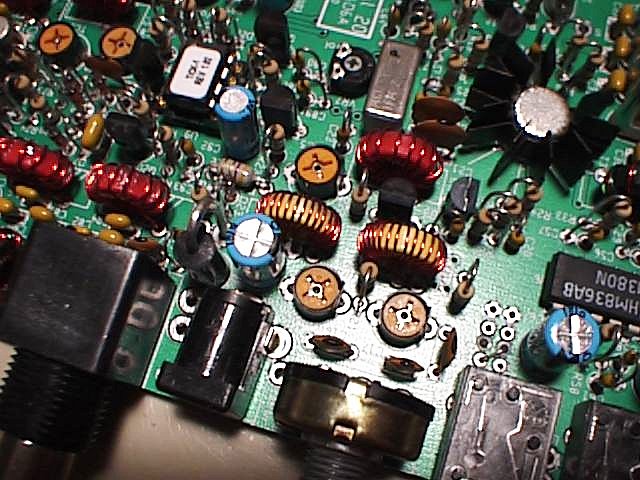
2.6 Receiver and AGC That "star heatsink" is really a pain to put on! After quite a few tries to open the heat sink with my fingers and force it on the top the transistor's can unsuccesfully, I came up with an idea to install this heat sink very quickly. Poking a big flat head screwdriver through the vertical opening of the heatsink, then twisting it to the horizontal position, I can keep the heatsink open and suspended with the screwdriver. Simply drop the heatsink over the transistor's can then twist the screwdriver back into the vertical position, the heatsink bites on the the transistor's can as soon as the screwdriver is removed! 2.7 Transmitter Section There are a lot of toroids in this single band transceiver, but they are are very simple to wind and the pictorials are very good. I don't mind winding toroids, but I know quite few people hate them!
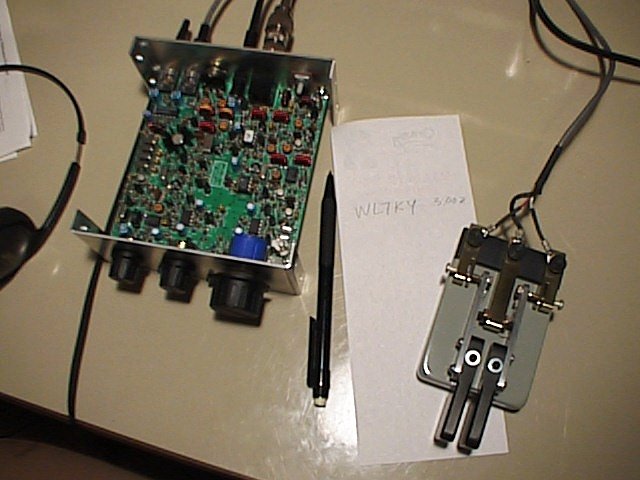
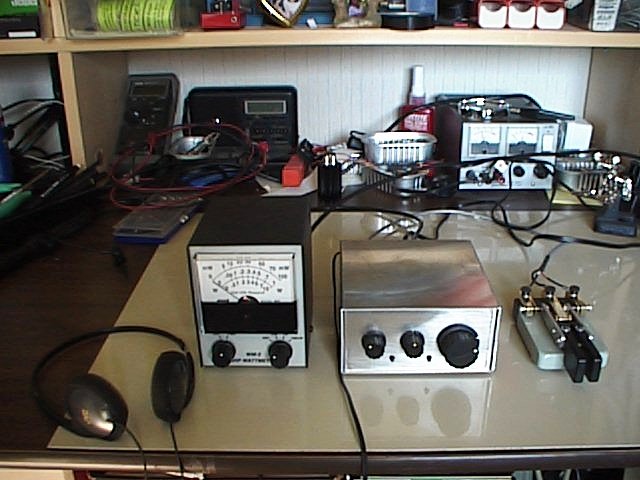
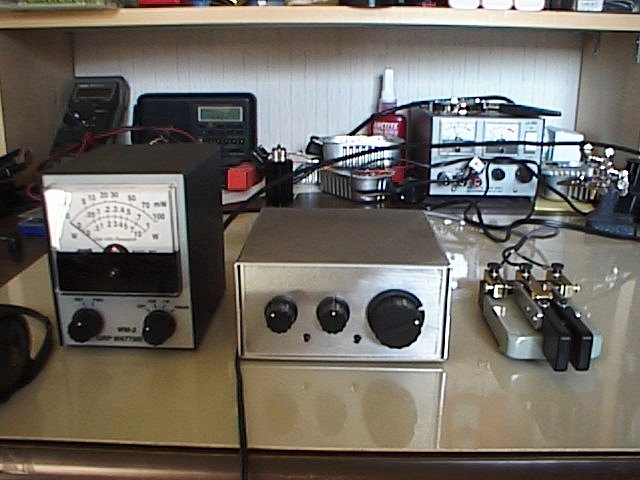
2.8 Testing Driving the New Rig and Putting on the Finishing Touch No QRP radio construction project is completed without the "ritual rite" of making the first QSO! After hours of aligning, tuning, and tweaking, I was very satisfied with the new toy. Tuning around around the band, there was a contest going on. A KL7 signal was really pecking the "S-meter" calling CQ TEST. Hey, what the heck... Let me see if he could hear my 5W signal into a low dipole. I hooked up the paddles, set the key speed, then dropped my call in. He came right back with "KE6D 5NN AK" I followed through with "WL7KY 5NN CA TU".... Hey, my NC-20 is alive! 3. Conclusion The Norcal NC-20 is a really fun project to work on. During the construction, I worked on it roughly 1 1/2 hour every night. The radio was completed (minus the sanding and painting) within 2 weeks! There were a couple of problems with AGC loop, chirp, and a few minor things, but the designers and QRP-L gurus (especially Gary Surrency, AB7MY) were quickly coming up with wonderful modifications to correct these problems. The NC-20 is now a pleasure to operate. I highly recommend this rig to anyone who like the challenge of "going the extra mile" to build a TUF-1/diode ring mixer QRP rig which outperforms most conventional 602 based Gilbert Cell Mixer on the market. Needless to say, The NC-20 is now my favorite field day radio! 72, Dan Last Update: May 02, 2001 at 1600 PDT
|