|
| | I bought this rotor for a back up for the HD-73 which was already installed on
the roof of my house. The owner advertised that the rotor was in excellent
condition. I agreed to buy it for $130, but when the rotor arrived, I was in
shock to see its condition. It also didn't work! I emailed the seller asking him
to let me return the rotor since it didn't match what he advertised on the net.
After several email exchanges, he agree to refund me $50 to help with repairing
it.
Being an avid builder and tinkerer, I decided to rebuild and recondition it
myself to learn a little bit about antenna rotator. The experience I learn in
rebuilding it may help me to repair the one which is currently in use on my
roof. I took quite a few pictures along the way to help me with documenting the
rebuilding process. These pictures also help me later when it was time to put
the rotator back together.
Below is the pictorial procedure for rebuilding/reconditioning this
"rotator from hell"!
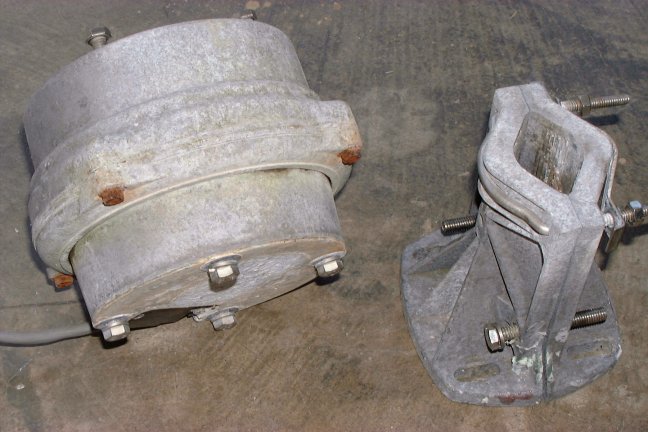
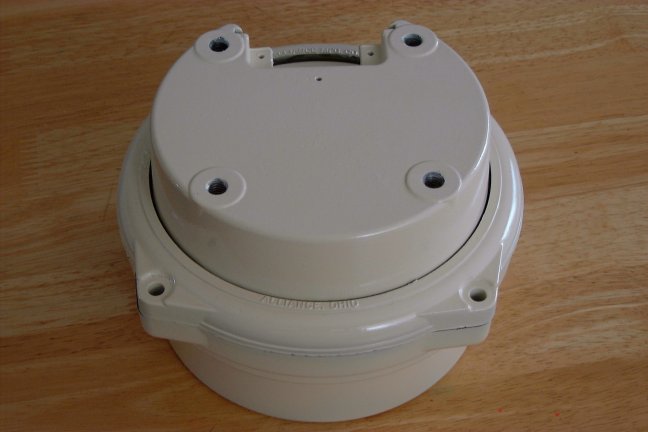
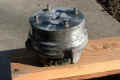
 | The first thing I wanted to to was to clean up the aluminum rust on the
out side of the rotator so that I could paint it later on. I found that a
steel brush and some wet sand papers (various grades) worked best. This is
how the rotator looked after the "hard" sanding work! |
| Prepare a clean surface. Turn the rotator over (the cover with the
terminal strip is on top) Remove 4 5/16" x 3/4" long bolts which hold the bottom
ball bearing ring. Remove the bottom bearing ring. There are 51 steel balls
on the bottom ball bearing. Carefully remove them from the ball bearing
rail. Clean them up and store them in a container (I prefer not to mix the
bottom and the top steel balls) |
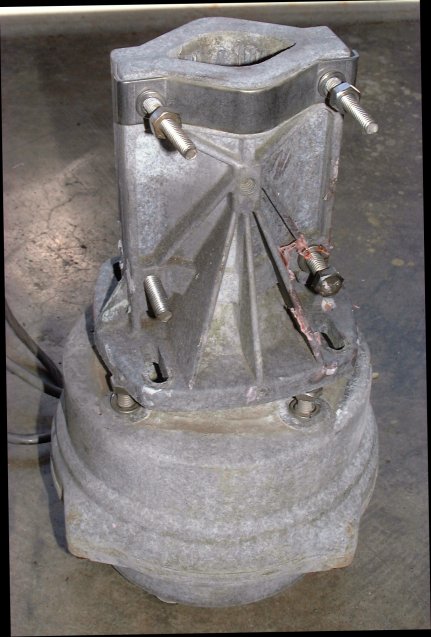
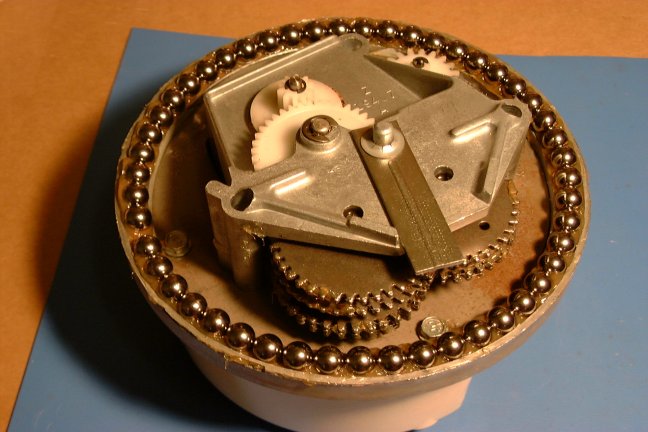
| Carefully turn the rotator over (right side up) Be extra careful when
doing this since the top rotator housing can fall out very easily. Remove
the top rotator housing from the rotator. There are 49 steel balls on the
top ball bearing. Carefully remove them from the ball bearing rail. Clean
them up and store them in another container. |
| Remove and clean the disc brake ring. |
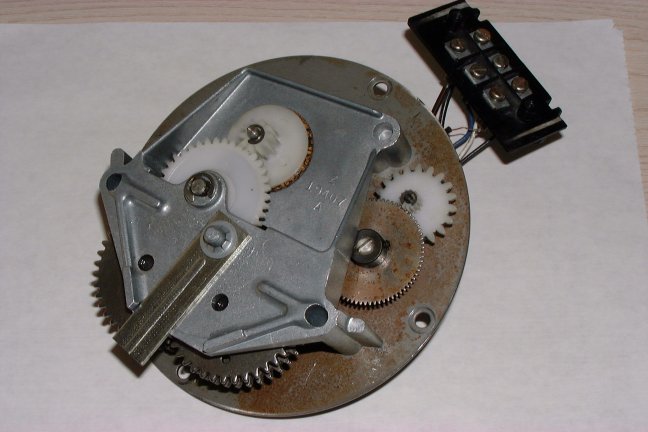
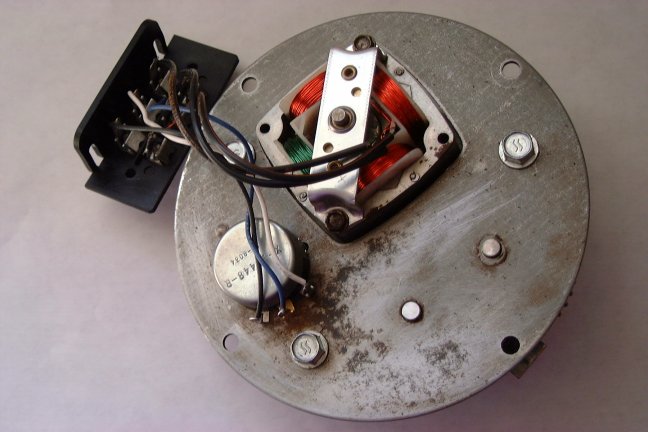
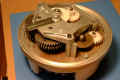
| Use cotton swab and paper tissue to clean up the old grease and dirt off
the gear plate, gear teeth and the motor shaft. This is how the motor/gear
plate look after cleaning up: |
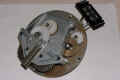
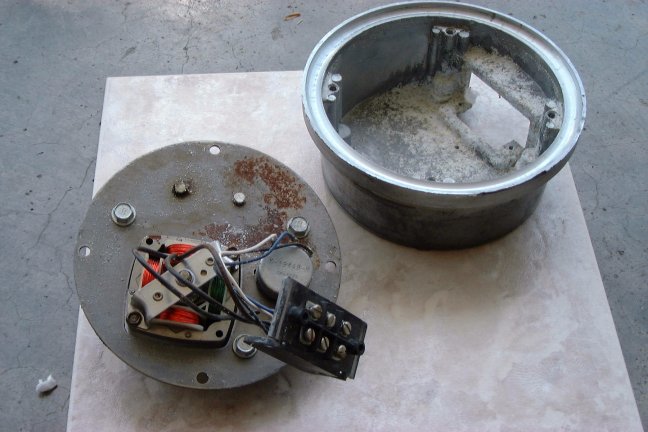
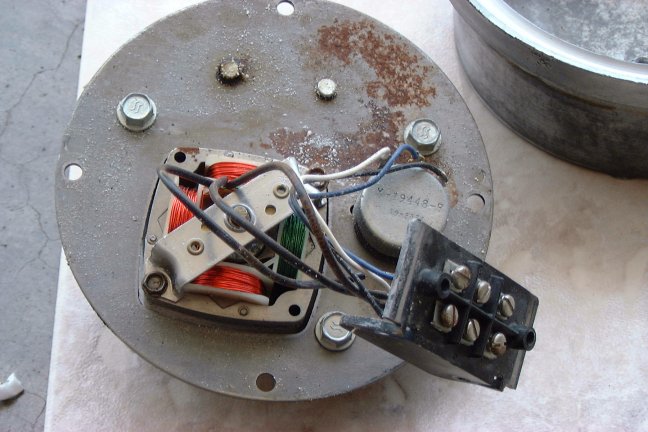
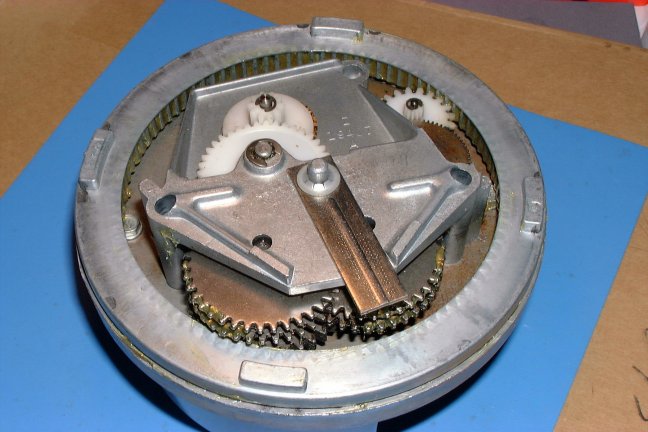
| Remove the 4 bolts which hold the motor/gear plate to the lower housing.
Remove the two screws which hold the terminal strip to the lower housing.
Carefully separate the motor/gear plate from the lower rotor housing. I
found the problem with my rotor after removing the motor plate from the
housing. Apparently, there was quite a bit of rust on the inside of the
rotor housing, and on the motor wires. One of the wires broke off from the
terminal strip during shipping. Here is how the lower rotator housing look
after the motor plate was removed:
|
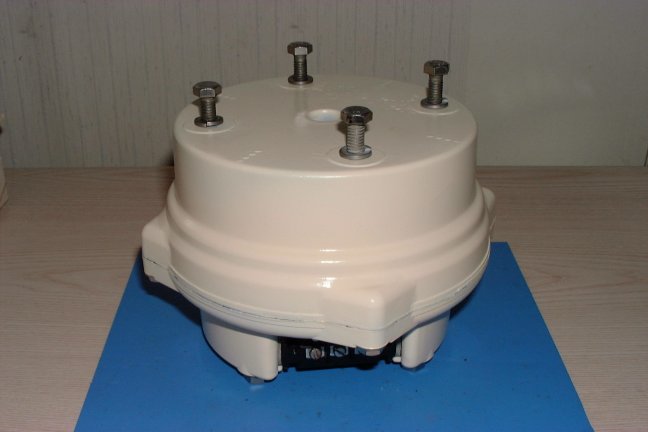
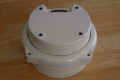
| Clean up the rotator housings and the bottom ball bearing ring with the
steel brush and wet sand paper. We are going to paint them. I noted that the
inside top housing was free of rust, but the inside of the lower housing has
quite a bit of rust on it. Water was apparently able to get inside the
rotator and collect on the bottom housing at one point. It may be a good
idea to paint the inside of the bottom housing also. Use masking tape and
mask off the ball bearing rails since you don't want the paint to get in
there. Looking around the garage, I found some prime paint and an Off-White
spray paint can left over from the NorCal 20 project. So that would be the
color of my Alliance HD-73 :) Here is how the housing look after painting: |
| Wait a couple of days for the paint to dry, then put a rotator back
starting with the motor plate and the lower housing. Be sure that a small
hole on the bottom of the housing is not blocked by paint. This is the water
exit hole (if it some how gets inside the rotator) |
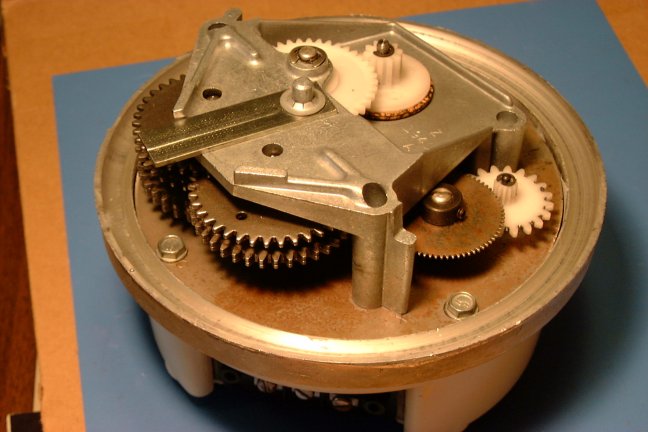
| White lithium grease is recommended for rotator ball bearing, but the
automotive lithium base general purpose grease should work ok. Apply enough
grease on the top rail, then carefully assemble the 49 top steel balls onto
the top rail. Don't forget to lightly grease the gear teeth using a cotton
swab. Put the braking ring and top rotator housing back. Make sure that the
end travel hard stop (a piece of long metal plate which has one end attached
to the motor housing) situated properly. I found it much easier to wire the
rotator to the controller, then rotate back and forth. If the end travel
hard stop is situated properly, there should be very little play between the
top housing and the bottom housing. If the hard stop is not situated
properly, you will see about 10-20 degrees play between the top housing and
the bottom housing. |
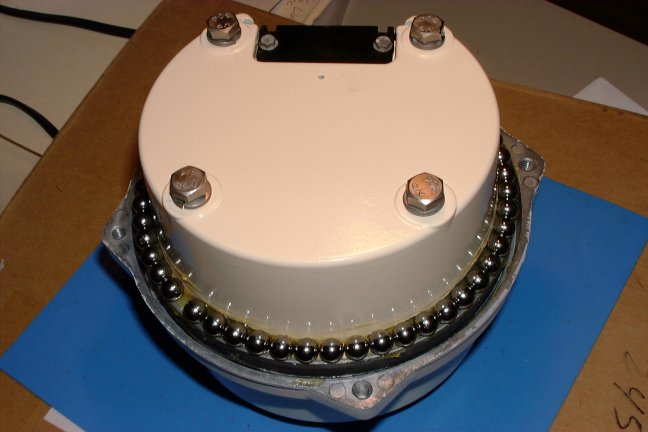
| Once the end travel hard stop is correctly set, carefully turn the rotator
assembly upside down (hold to top and bottom housing as ONE unit when
flipping it over) Lubricate and assemble the 51 lower steel balls on the
bottom rail. |
| Assemble the bottom bearing rail ring. Tighten 4 5/16" x 3/4"
bolts. Use a diagonal pattern when tightening the bolts to keep the ring
from deforming. |
| There you have it! A rebuilt rotator which should look and work just like
new... |
73 es Happy Tinkering,
Dan, KE6D
This page was last updated on 08/17/01.
|