Antenna Launcher
(a.k.a. spud gun)
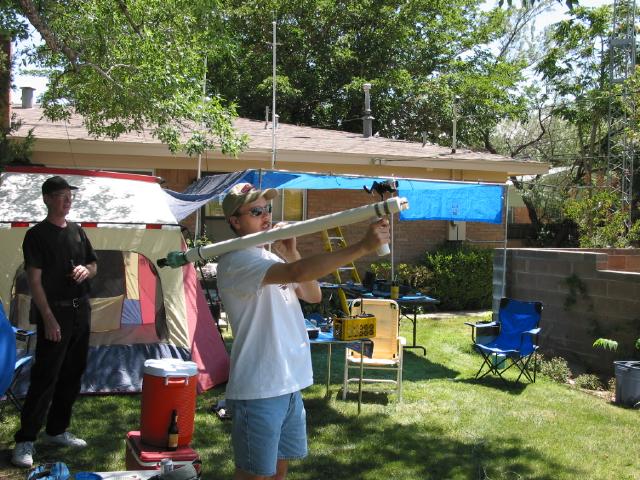
Corey, KC5YCO fires one off with the K5LXP Antenna Launcher During Field Day 2003
Corey, KC5YCO fires one off with the K5LXP Antenna Launcher During Field Day 2003
Building the launcher started when I needed to get a wire over the crowns of some 50-60ft trees in my yard. The EZ hang sling shot I tried was a joke, I could almost throw a weight by hand as far and as accurately as it could. Leaves and branches easily deflected the small line weight. I looked around at various stores for an inexpensive bow and arrow set. Thanks to liability I'm sure, there is no such thing as a child's inexpensive bow and arrow set, only expensive hunting models for adults. I didn't want to spend $150 or more on a nice bow just to put an antenna up once in a while. Then I remembered a QRP buddy of mine having an "antenna launcher" he used while in the field to put up his portable wire antennas. All it amounted to was a compressed air spud gun and a fishing reel. A plastic plug takes the place of the spud which takes the fishing line with it when launched. So I duplicated the setup for the sum total of less than $20, the most expensive part being the 24V sprinkler valve from Lowe's. Using this launcher literally gives you point and shoot antenna placement capability. Not only can I get a line over a tree, I can even pick the branch I want. Adjusting the pressure determines your range. At full pressure I can easily run all the line off the fishing spool, more than 60 yards, at a height than can go over any tree I've encountered. Might seem like a lot of trouble to go through to get a line over a tree, but it was quick, simple and cheap to build. Along with a 12 volt tire inflator and gel cell to pressurize it, it's portable and quick to use. It was a real time saver during Field Day putting antennas up. When you're not putting up antennas it'll launch a spud well over 100 yards, adding to the between-QSO fun.
Shopping List:
Sounds like a lot of pieces but you probably already have some of
this stuff around the house, and PVC pipe and fittings are cheap.
 |
Here are some basic instructions to get you going. If you can think of a better way to do it, by all means feel free to strike out on your own, there really aren't many rules for these things. There are many plans for compressed air guns on the internet if you need additional inspiration (some people have *way* too much fun with these things...).
Drill a hole for the schrader valve in the 1-1/2" cap. Glue it on one of the 36" pipe sections.
Put the F-F fittings on the 36" pipes. Glue the 1-1/2" to NPT adapters into the other end of the F-F fittings.
Let this dry overnight. Really. If you can smell the PVC cement, it's not dry yet.
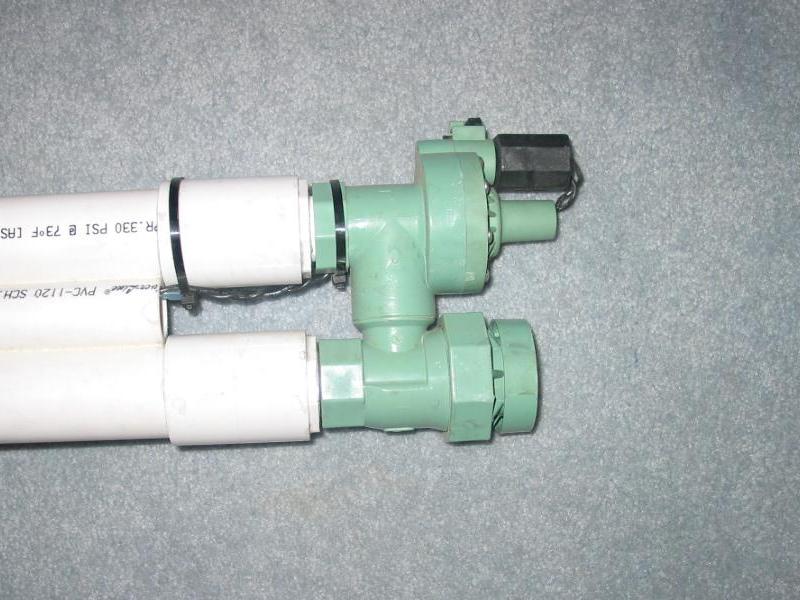
Put teflon tape on the 1" NPT nipples, and thread into the ends of
the
pipes. Thread these into the valve, and tighten. I
tightened
them as hard as I could by hand. The one with the schrader valve
goes to the side of the valve that has the solenoid, this is the air
tank.
The other side is the barrel. There are flow direction arrows
molded
into the valve, the arrows should point towards the barrel. You
may
want to sharpen the end of the barrel if you expect to use this for
spuds
or other organic projectiles.
 |
 |
|
(It will cut the potato to size as you shove it in the barrel.) |
|
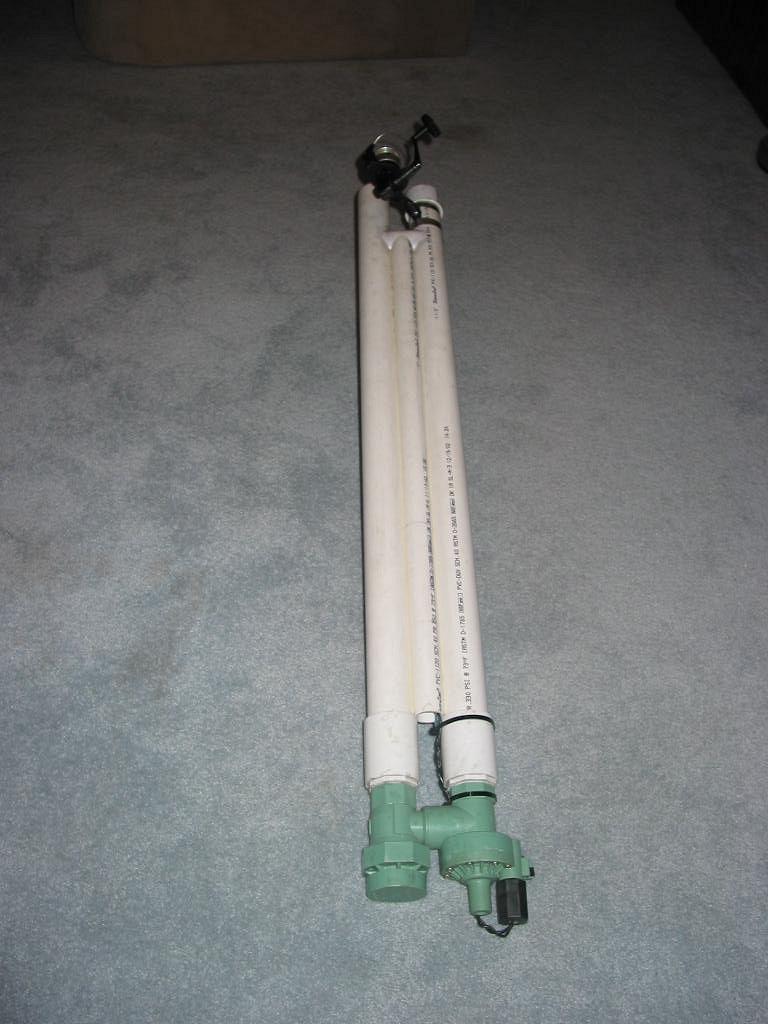
Now, the two pipes will be pretty unstable just screwed into the valve, so I used some 1" PVC to serve as a rib between the two. It makes the entire assemby sturdy and parallel, as well as provides a place to run the valve wiring.
Using a hole saw I modifed the 1-1/4" PVC tee so it fit between the barrel and the tank. The 8" long 1-1/4" PVC pipe sticks out the bottom and serves as a trigger grip. The trigger switch and 9V batteries go in here. The 1-1/4" cap at the end is friction fit only, so it can be removed to change batteries. (A set should last several years, the duty cycle is pretty low, HI.)
The batteries and switch are all wired in series. Connect the
zip cord, run it through the 1" rib pipe. Connect the zip cord to
the valve. Polarity is not important. It should give a
noticeable
click when the trigger is pulled.
 |
 |
|
|
|
I mounted the fishing reel to the tank side of the launcher with hose clamps.
The projectile is made of two 1" end plugs glued end to end, and
electrical
tape wrapped around the flanges of the plugs for a critical fit down
the
barrel. Drill a small hole in one end for the screw eye and tie
the
line to it. Be sure to file off any excess mold sprue to make the
flange smooth before taping.
 |
 |
|
|
|
Final Steps
I pressure tested the launcher before handling it. I connected
my compressor to the schrader valve and let my compressor run up to
140PSI,
as high as it would go while I waited outside the garage. Then
when
it was full I yanked on the hose pulling it off the workbench onto the
concrete floor. If it was going to blow up I'm sure it would've
under
that stress. The pipe is rated for like 300PSI but you need to
test
your glue joints.
 |
|
Thanks Tom for providing the inspiration to build one of my own. |

Project Page |

Home Page |

© 2004 Pane Relief
Computer Services