
|
|
|
|
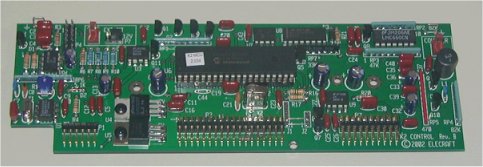
This is the first board to be built and I had little problems assembling it. There are a couple of things to be wary of though. 1) The two crystals have ground wires soldered to the cans. This can be quite tricky although in my case I found that the wires soldered to the cans without any problems in a couple of seconds. Be careful that you don't overheat the crystals. 2) The manual advises against using IC sockets for any of the IC's except the PIC controllers. At first I was a bit sceptical of this but having installed most of them now have found it not to be a problem. 3) Be very careful when aligning the three connectors at the bottom of the board. The manual does advise that you spend some time ensuring they are correctly aligned. If these connectors are not correctly aligned then the control board will not plug into the RF board correctly and I would not want to have to try and remove one of those connectors on a thru plated board. 4) I am building all of the board on an anti-static mat and would thoroughly recommend this to anyone. The use of a wrist strap should also be considered. 5) At various stages in the construction the manual calls for resistance checks to be performed between ground and various points on the board. I found a couple of things here. a) Where a value is specified as being greater than a certain resistance in the manual it may well be open circuit. b) Don't forget that most DVM's will have an inbuilt tolerance themselves. I was quite happy if I had readings within 5% of the quoted values. |