|
Page last updated: 24/10/2012 |
Bat detector #1
Design
Simple design using readily available components.
Easy to build and set up.
Light weight suitable for portable operation.
Low power consumption suitable for battery operation.
A small and compact design.
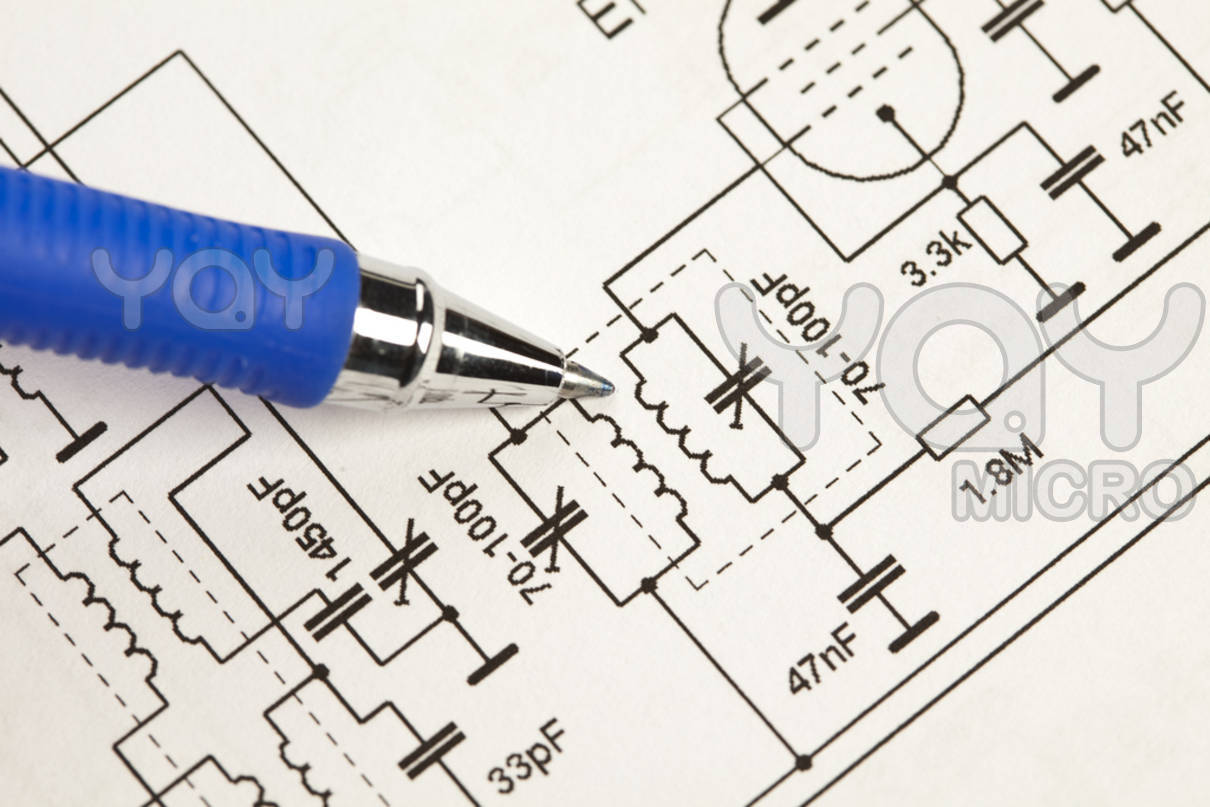
Circuit description:
A simple to build, requiring no special test equipment or procedures to set, The circuit is presented here is pretty much build and go...
The output of the electret microphone is passed through an active high pass filter IC1a & IC1d (four pole multiple feedback butterworth filter) then after pre-amp gain control a further stage of amplification IC1c. IC1b is used to generate half supply voltage.The signal is then further processed by CMOS counter IC2 configured as divide by 16 in order to reduce the received signals frequency to the point it audible by the human ear.Via the output gain control (volume control) the signal is presented to the final stage of amplification IC3 (the audio power amplifier). The signal is now at a frequency and level suitable for driving a small loudspeaker.
Happy listening...
 Bat detector #1 PCB component placement / layout:
 Bat detector #1 PCB bottom trace:
 Bat detector #1 parts
listing:
Bat detector #1 parts
listing:
Original Files:
Further to the details of the pages above - the original CAD files created using EAGLE PCB Design software are included below, along with associated PDF files of both schematics and PCB layouts suitable for printing directly.
To use the original CAD files, they must be opened with EAGLE. Visit the CADsoft web site for more details, the software (including a freeware version), part libraries, tutorials, for EAGLE are available.
Bat detector #1 PCB component layout PDF
Bat detector #1 PCB bottom track layout PDF
Bat detector #1 EAGLE schematic