| Click on the thumbnails below
to view a larger image. Click on your browser Back button to return to this page. |
||
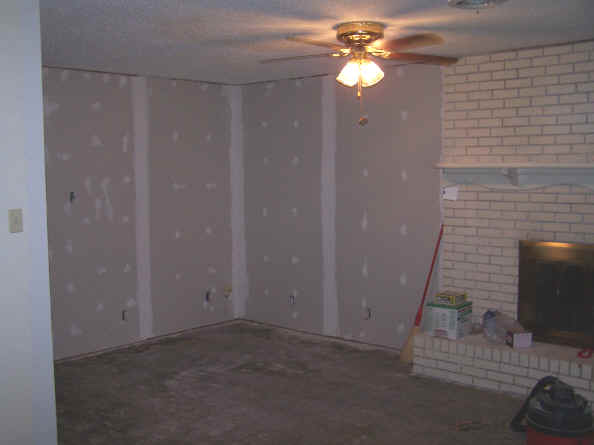
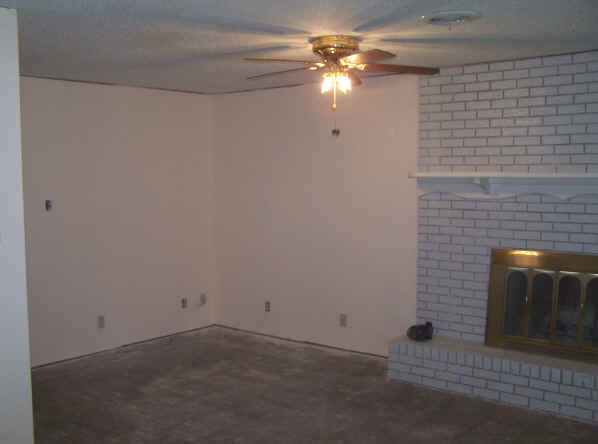
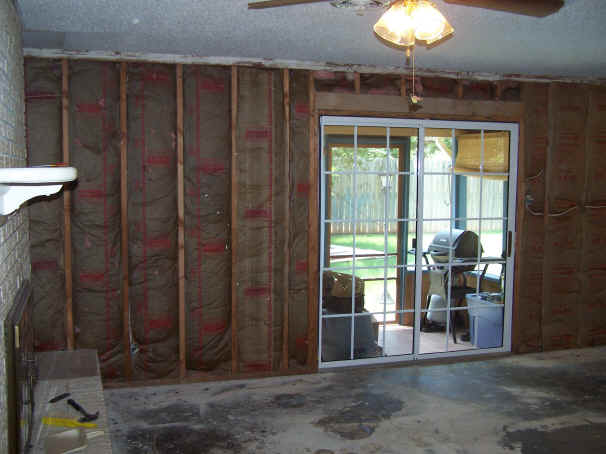
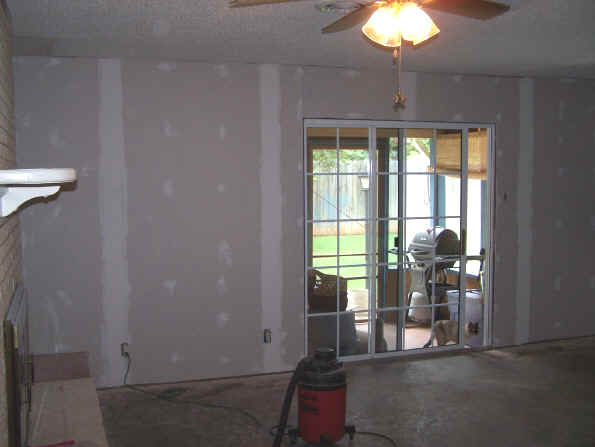
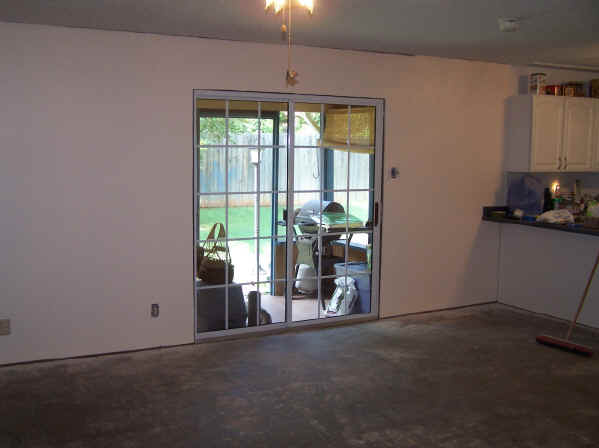
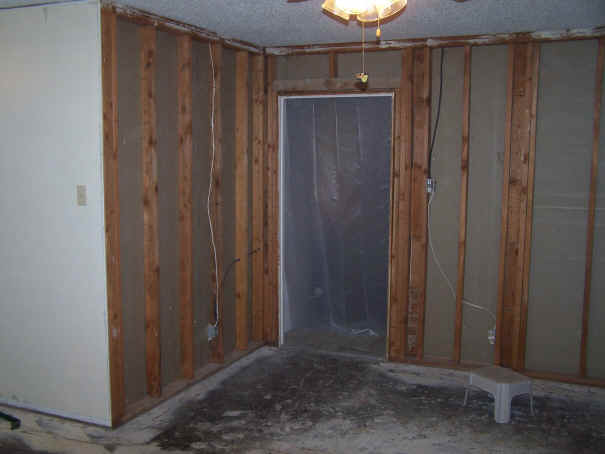
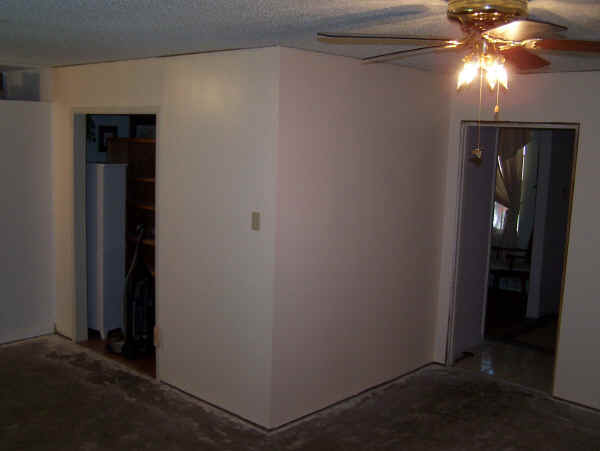
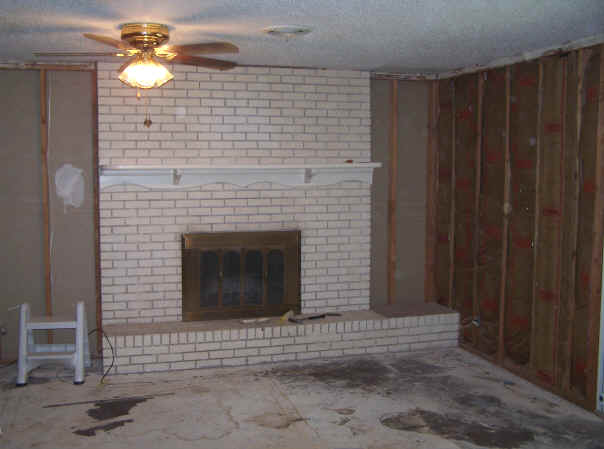
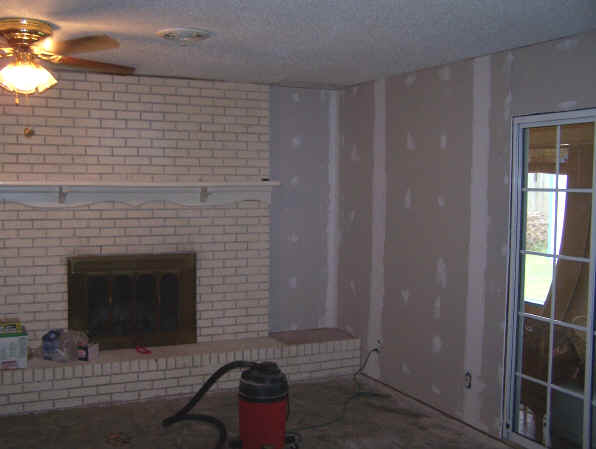
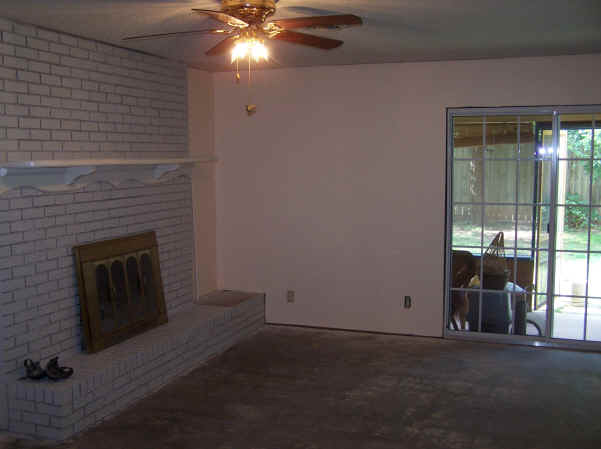
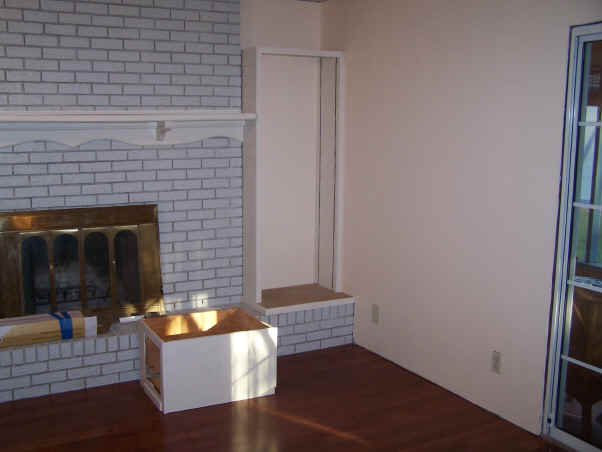
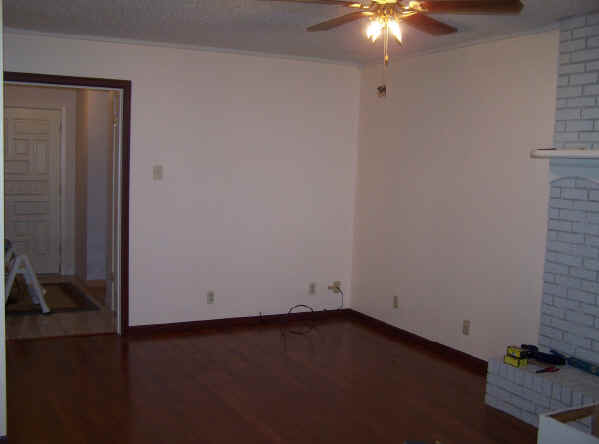
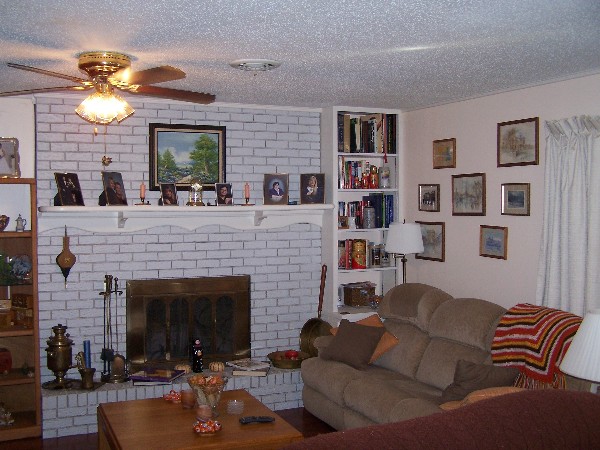
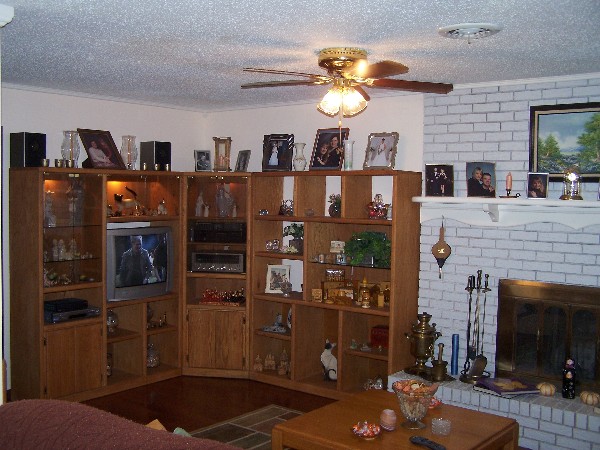
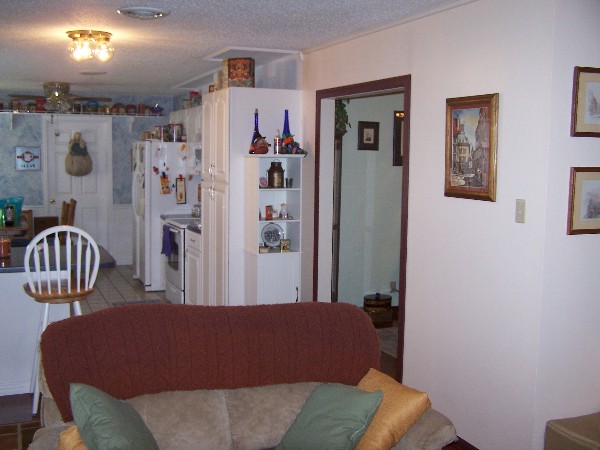
| The Wall Makeover When we moved into this house, which was built in the early '60s, it had dark wood paneling in the living room and kitchen. The people we bought it from had painted the paneling white and it looked crappy from day one. My first task was to strip the paneling from the walls and tear out the carpet and pad, leaving bare studs and the concrete floor. After adding a couple of badly needed wall outlets, I drywalled, primed and painted the walls. As you can see in the the last two photos, the fireplace brick was repainted a light shade of gray and the mantel was painted the same antique white I later used on the ceiling trim and corner bookshelf/cabinet. |
||
 |
 |
 |
 |
 |
 |
 |
 |
 |
 |
 |
 |
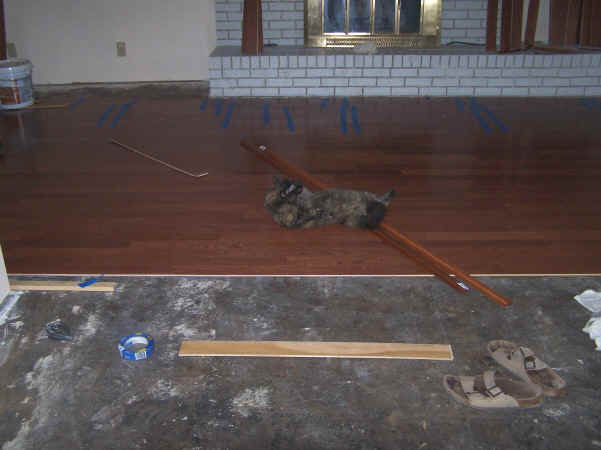
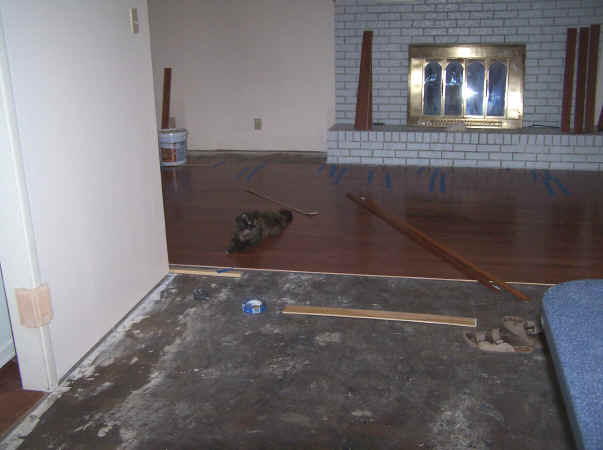
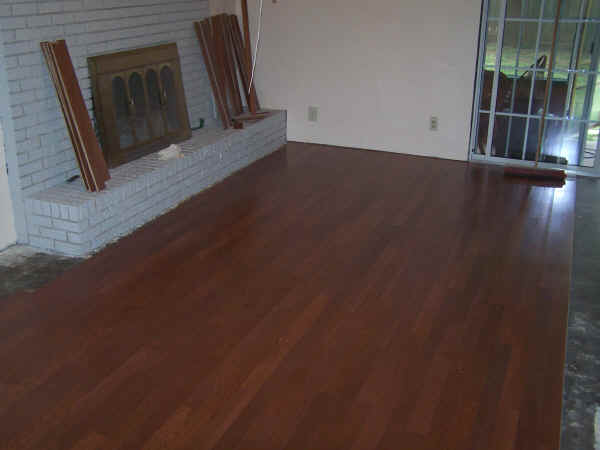
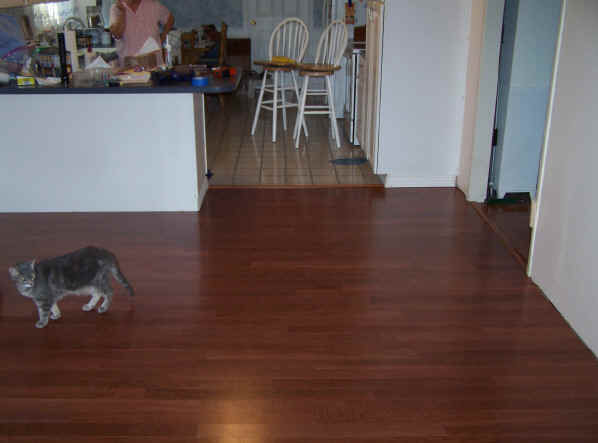
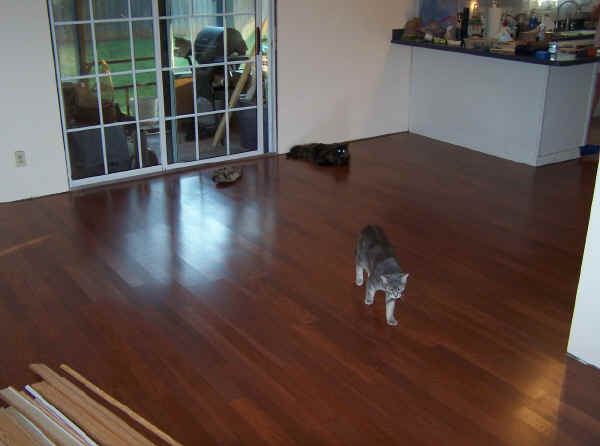
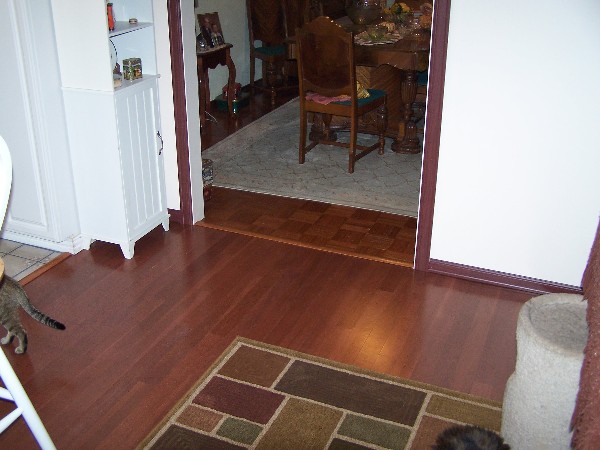
| The Floor Makeover With a bare concrete floor to work with, I laid a glue-down engineered wood floor. Unlike laminated flooring, this flooring can be refinished (up to two times, if needed). The parquet flooring I laid in our dining room is a similar engineered product. I didn't anticipate it would take nearly 20 hours to lay 285 square feet of flooring by myself. A floating floor would have been easier and would have gone down quicker, but this floor feels solid, not hollow, when you walk on it. Amazingly, the cats weren't too interested in the room makeover until I was finishing the last 20 or so square feet of flooring. They were scared of the noise of the power saw. But they decided they just had to walk across the fresh adhesive to get to the kitchen before I could get the flooring planks down. Janet and I had multiple cat footprints to clean up afterward. |
||
 |
 |
 |
 |
 |
 |
 |
 |
 |
| The Trim Work The original paneling had cove moulding all around and in the corners. The room is really too small to put up a full crown moulding, so I chose a bed moulding (which looks like a cove and quarter round joined together). The baseboard and door casings are some sort of plastic (not that foam stuff that's covered with wood grain shelf liner). The color match was pretty close and it beat the heck out of the alternative, which was staining and varnishing raw pine. |
||
 |
 |
 |
|
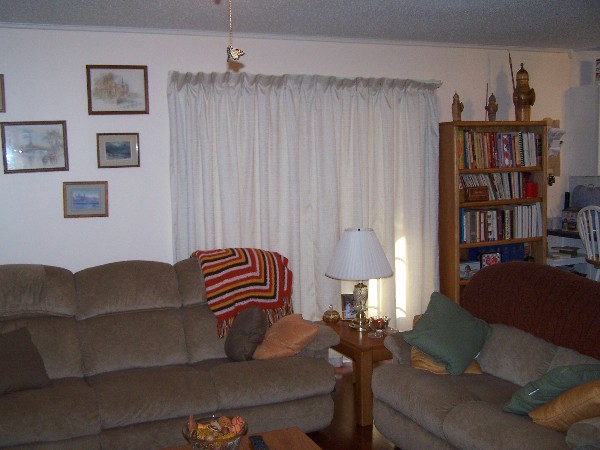
The "After" Photos |
||
 |
 |
 |
 |
 |
 |